 English
 Español
 Türk
TürkContent
- 1 Quick Answer: How To Sew A Laptop Case
- 2 Sleeve, Case, Or Padded Bag: Choosing A Design Before You Cut
- 3 What Actually Makes A Laptop Case Protective
- 4 Special Performance Interlining: What It Is And Why It Matters
- 5 Interlining Versus Padding Versus Batting: Clearing Up The Confusion
- 6 Tools And Materials Checklist
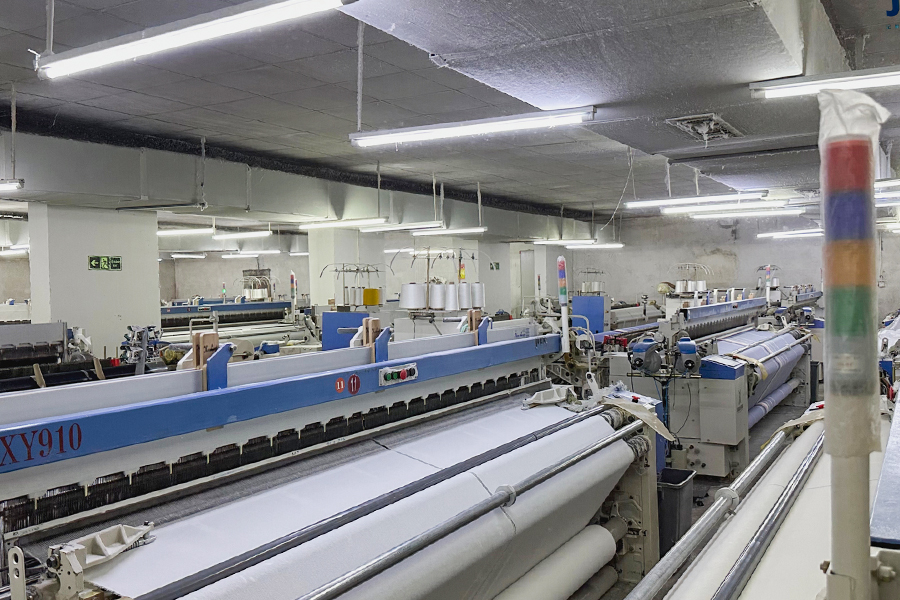
- 7 Sewing Machine Settings For Interlined Panels
- 8 Step 1: Measure And Cut The Pattern Pieces
- 9 Step 2: Fuse The Interlining To The Outer Panels
- 10 Optional: Adding A Gusset For Extra Depth
- 11 Step 3: Attach The Zipper Or Flap Closure
- 12 Step 4: Sew The Side And Bottom Seams
- 13 Seam Finishing Methods Compared
- 14 Choosing Interlining Weight By Laptop Size
- 15 Troubleshooting Table For Common Sewing Problems
- 16 Common Mistakes To Avoid
- 17 Customization Ideas Once The Base Case Is Sewn
- 18 DIY Versus Store-Bought: A Rough Cost Comparison
- 19 Caring For A Sewn Laptop Case
- 20 Glossary Of Terms Used In This Guide
- 21 Frequently Asked Questions
- 21.1 Can I sew a laptop case without any interlining at all?
- 21.2 What is the difference between interlining and interfacing?
- 21.3 Can I substitute craft foam for special performance interlining?
- 21.4 Do I need a special sewing machine for foam-backed interlining?
- 21.5 How much seam allowance should I add when using thick interlining?
- 21.6 Why does my finished case sag at the corners even with interlining?
- 21.7 Is fusible or sew-in interlining better for a laptop case?
- 21.8 Can the same pattern work for a tablet instead of a laptop?
- 21.9 How do I know if my interlining is too thick for my sewing machine?
- 21.10 Does the color or print of the outer fabric affect how the interlining bonds?
Quick Answer: How To Sew A Laptop Case
To sew a laptop case that actually protects your device, cut two outer panels and two lining panels sized to your laptop plus a 2.5 to 4 cm seam allowance, then fuse a special performance interlining to the wrong side of the outer fabric before assembly. The interlining is what turns a soft fabric envelope into a case with real body, shock absorption, and shape retention. Skipping it is the single most common reason homemade laptop cases go saggy and stop protecting the screen after a few weeks of use.
The full process below covers case design choices, interlining science, pattern drafting with worked measurements, machine settings, zipper or flap closure sewing, corner reinforcement, seam finishing, troubleshooting, and a ten-question FAQ. Read the whole guide once before cutting fabric, since the interlining choice covered in the middle section changes how you cut and press the outer panel earlier in the process.
This is a long, detailed reference rather than a quick five-minute tutorial. Sewists who work through it end to end typically finish a first case in two to three hours, most of which is spent on careful measuring, fusing, and pressing rather than the sewing itself.
Sleeve, Case, Or Padded Bag: Choosing A Design Before You Cut
Before any fabric is cut, it helps to decide which of three common designs the project is actually aiming for, since each one calls for a different interlining weight and a different closure method.
Slim Sleeve
A slim sleeve is a snug-fitting envelope meant to slide inside a larger bag rather than be carried alone. It uses the lightest interlining of the three designs, usually a single layer of fusible non-woven interlining, since the outer bag provides most of the impact protection and the sleeve's job is mainly to prevent scratches and add a little rigidity.
Standalone Padded Case
A standalone case is designed to be carried on its own or dropped into a general bag without additional protection, so it needs a foam-backed performance interlining and often a separate padding core as well. This is the design the step-by-step section below is written around, since it is the most commonly requested project and the one where interlining choice matters most.
Structured Bag With Exterior Pockets
A structured bag adds a strap, a front pocket, and sometimes a base panel cut from a stiffer board-weight interlining so the bag stands upright on its own. This design borrows the same core method as the standalone case but adds a boxed base and a heavier interlining at the bottom panel specifically, since that panel bears the bag's full weight when it is set down.
| Design | Typical Closure | Interlining Approach |
|---|---|---|
| Slim sleeve | Flap with hook-and-loop tape, or open top | Single layer fusible non-woven |
| Standalone padded case | Zipper around three sides | Foam-backed performance interlining, optional separate padding core |
| Structured bag with pockets | Zipper plus a strap or handle | Foam-backed interlining on walls, board-weight interlining on the base |
What Actually Makes A Laptop Case Protective
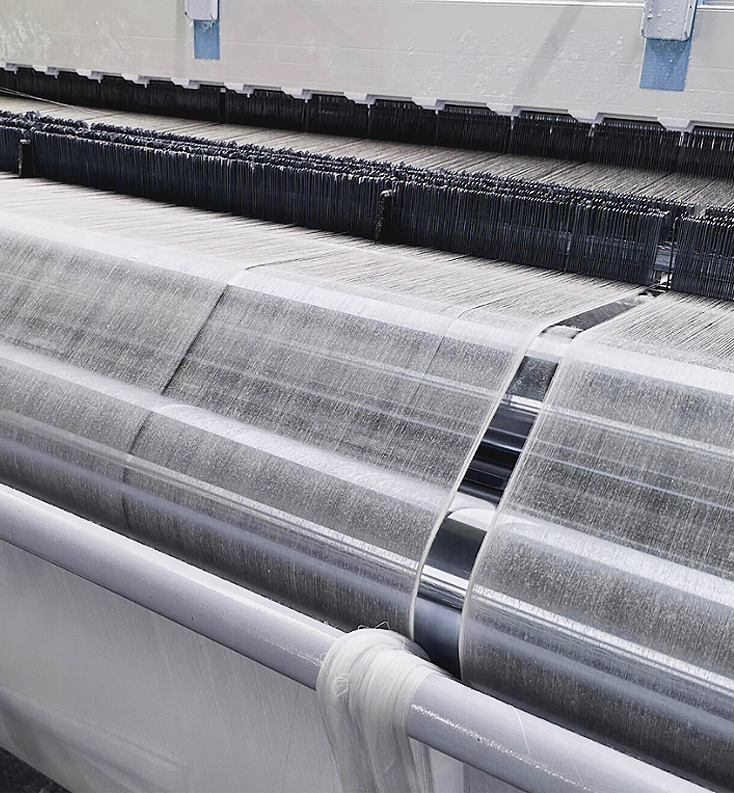
A laptop case has three jobs: cushion against drops and bumps, keep the shape rigid enough that the screen never presses against the keyboard, and resist the fabric stretching out of shape after repeated zipping and unzipping. Outer fabric alone does none of these things well. The layer that does the actual work is the interlining sandwiched between the outer shell and the lining, along with any foam or padding chosen to sit against it.
It helps to think of the case wall as a small composite structure rather than a single fabric. Each layer answers a different failure mode: the outer shell resists surface abrasion and light moisture, the interlining resists bending and keeps the wall from collapsing flat, the padding core absorbs a sudden impact by compressing instead of transferring force straight through to the laptop, and the lining stops the whole assembly from scratching the laptop's finish. Removing any one layer does not just weaken the case a little, it removes an entire category of protection.
Typical Fabric And Layer Combinations
| Layer | Common Material | Function |
|---|---|---|
| Outer shell | Canvas, denier nylon, or wool felt | Abrasion resistance, water shedding, visual finish |
| Special performance interlining | Fusible non-woven, foam-backed, or laminated interlining | Body, shape retention, impact dispersion |
| Padding core | Closed-cell foam, EVA sheet, or quilted batting | Direct shock absorption on impact |
| Lining | Brushed polyester or soft cotton twill | Scratch prevention against the laptop lid |
Home sewists who skip the interlining step often try to compensate with thicker outer fabric or extra padding, but padding alone compresses under sustained pressure, such as a laptop case sitting at the bottom of a backpack for hours. Interlining is what keeps the case wall itself from collapsing, independent of how much foam is inside it.
Special Performance Interlining: What It Is And Why It Matters
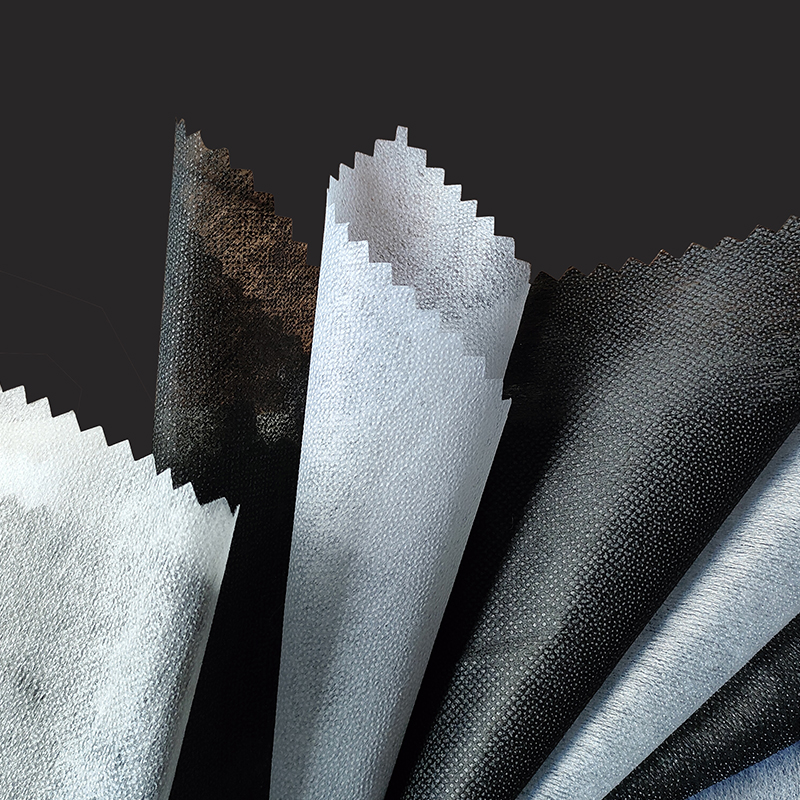
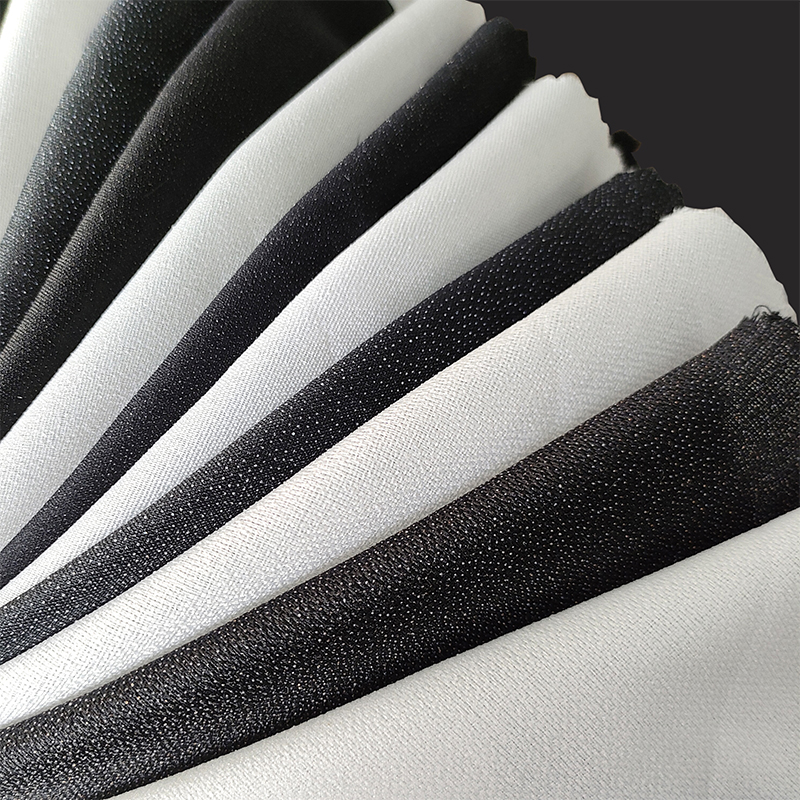
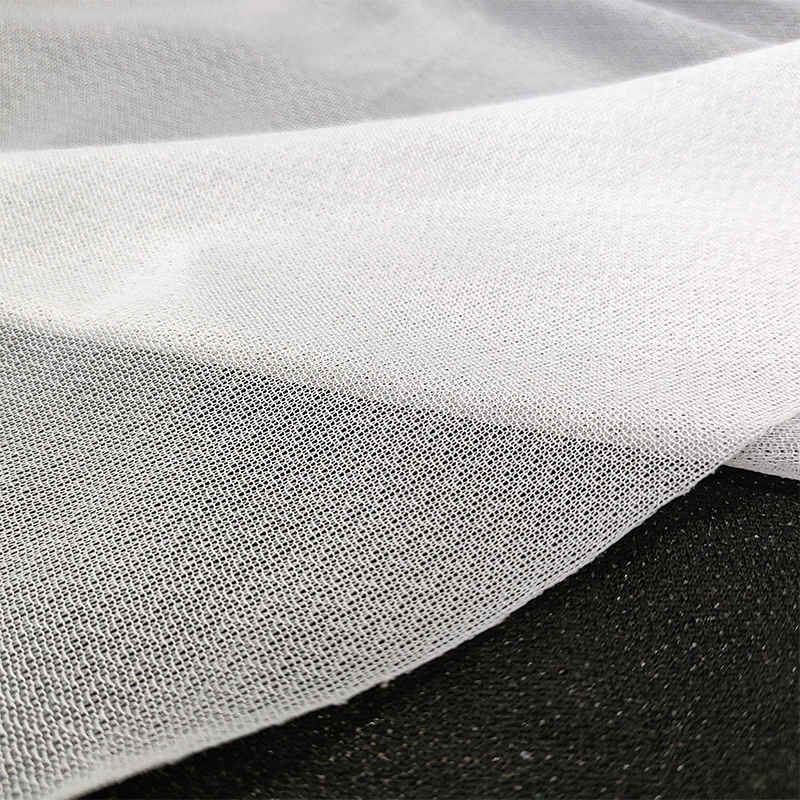
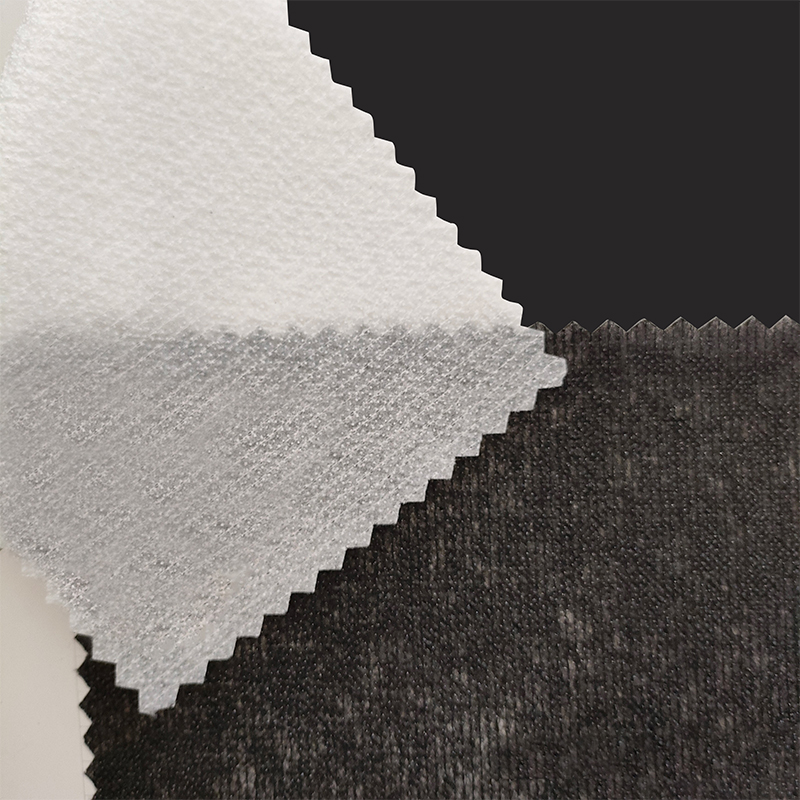
Special performance interlining refers to a category of interlining engineered beyond basic garment interfacing, built for structural bags, cases, and technical accessories rather than soft clothing. Where a shirt interlining only needs to stiffen a collar, a performance interlining for a laptop case has to survive repeated flexing, resist heat buildup from electronics, and keep bonding to the outer fabric through years of zipper stress at the seams.
How Performance Interlining Differs From Standard Interfacing
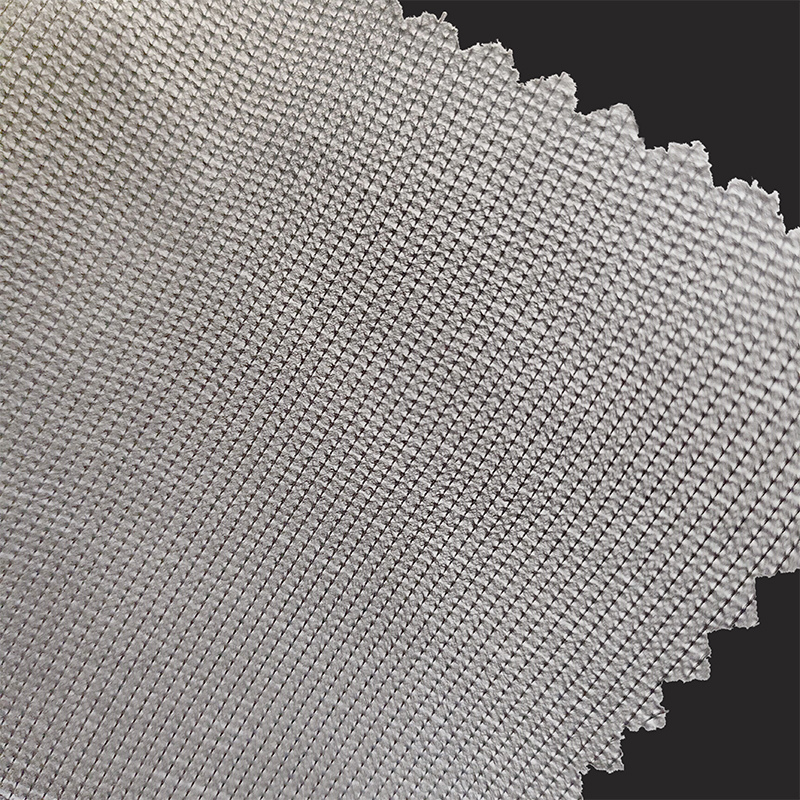
Standard garment interfacing is usually a light non-woven sheet designed to add crispness without changing how a fabric drapes, since a shirt collar or waistband is not expected to bear repeated load. Performance interlining is built on a denser fiber base, sometimes reinforced with a scrim layer, so it resists tearing along the fold lines that form at the case's corners and edges every time it is opened and closed.
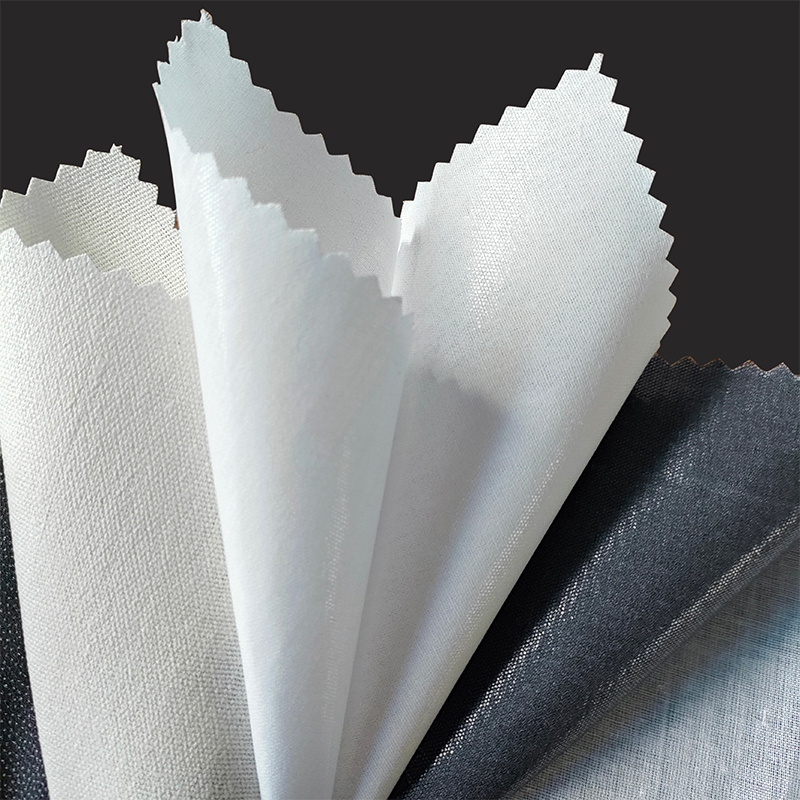
Three Interlining Types Sewists Actually Use
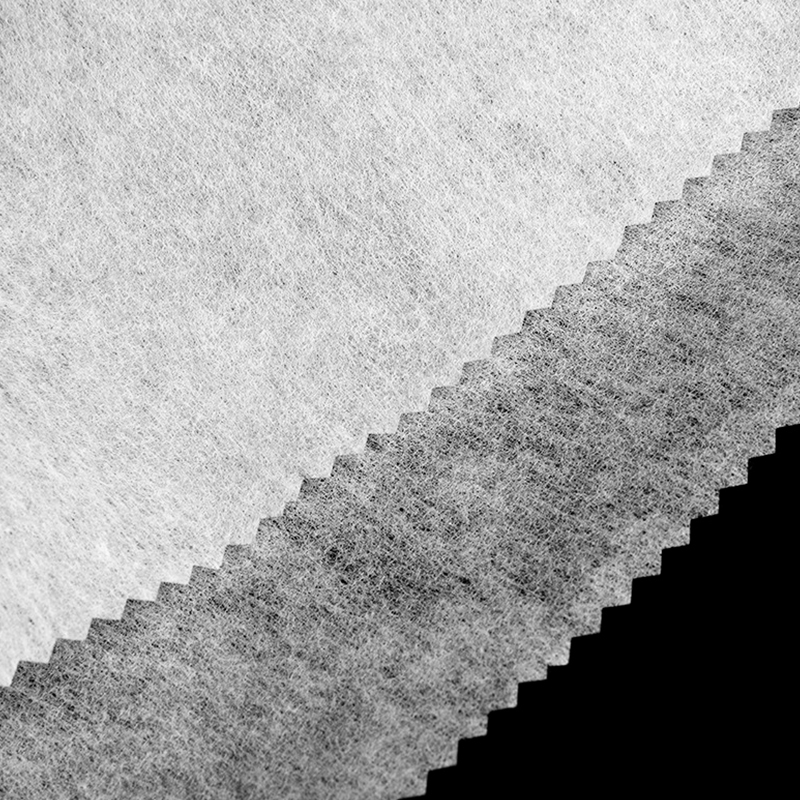
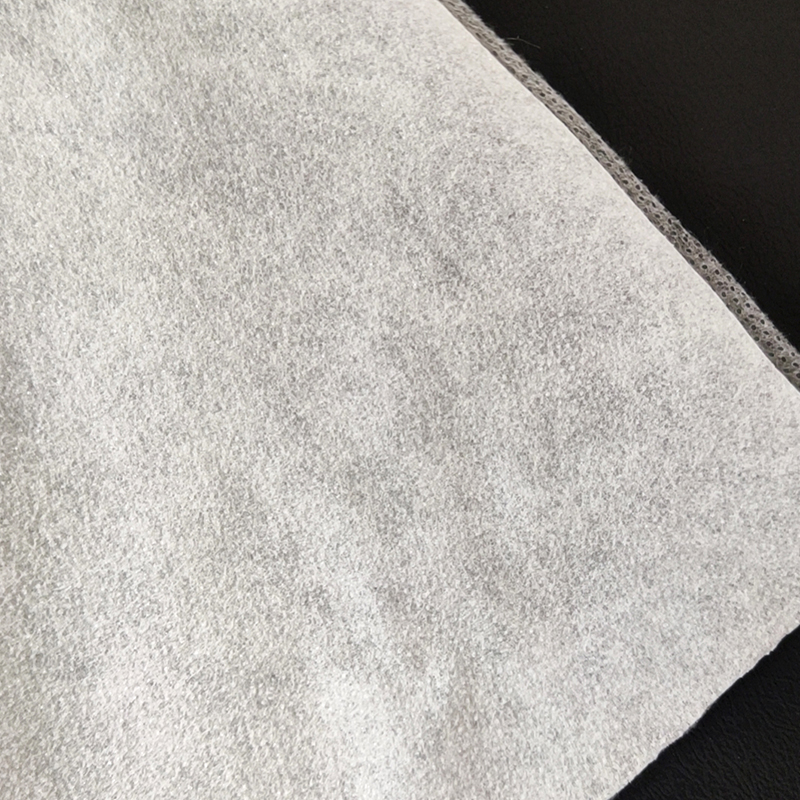
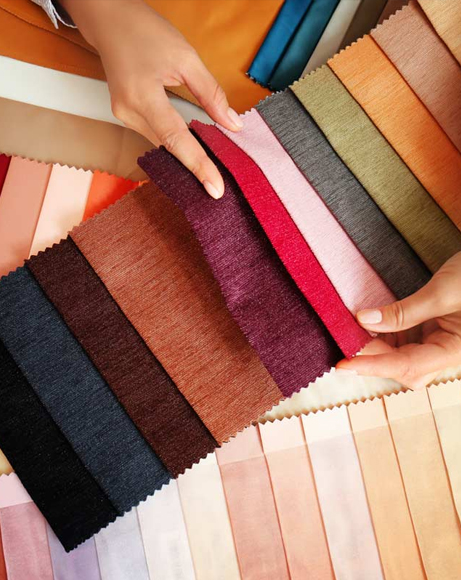
Fusible non-woven interlining bonds to the outer fabric with a household iron and is the easiest starting point for a first laptop case. It adds crispness and prevents the outer fabric from wrinkling around the laptop's edges, but on its own it gives limited cushioning.
Foam-backed performance interlining combines a thin foam layer with a fusible or sew-in backing sheet, giving both shape and shock absorption in a single piece. This is the type most commercial laptop sleeves use, since it removes the need for a separate padding layer and keeps the finished case thinner.
Laminated or coated performance interlining adds a thin moisture barrier film bonded to the non-woven base, which matters if the case will travel in wet weather or a damp bag pocket. This type is stiffer to sew through and usually needs a heavier machine needle.
Weight is measured in grams per square meter, commonly written as gsm, and this number is the fastest way to compare interlining options when shopping, since brand names for interlining vary widely between fabric suppliers. A lower gsm number means a thinner, more flexible interlining suited to sleeves and pockets, while a higher gsm number means a thicker, stiffer interlining suited to a case's main wall panels.
Woven, Non-Woven, And Knit Interlining Bases
Beyond weight, interlining also comes on three different base structures. A non-woven base is the most common for laptop cases because it does not fray at cut edges and holds its shape in every direction equally. A woven base drapes more naturally and is sometimes chosen for structured bags with a more tailored look, but it must be cut on-grain like the outer fabric or the panel will twist over time. A knit base stretches slightly and is generally not recommended for laptop case walls, since some stretch is exactly what a rigid, protective panel should not have.
Interlining Versus Padding Versus Batting: Clearing Up The Confusion
These three terms get used interchangeably in casual sewing conversation, but they describe different functions, and a laptop case that uses the wrong one in the wrong place ends up either too stiff to close comfortably or too soft to protect the screen.
| Material | Primary Role | Placement In A Laptop Case |
|---|---|---|
| Special performance interlining | Structure and shape retention | Fused directly to the wrong side of the outer fabric |
| Padding or foam core | Impact absorption on a sudden drop | Sandwiched between interlining and lining |
| Quilting batting | Soft loft and a decorative quilted surface texture | Quilted to the lining before assembly, mainly cosmetic |
A well-built case very often uses all three at once: interlining fused to the outer shell for structure, a foam core for impact absorption, and a lightly quilted lining purely for a soft-touch feel against the laptop. Trying to make one material do all three jobs is where most under-protective homemade cases go wrong.
Tools And Materials Checklist
Gather everything before cutting, since interruptions mid-project are the most common reason panels end up cut slightly off-grain or mismatched in size.
- Outer fabric, 0.5 meter for a 13 to 14 inch laptop, 0.7 meter for 15 to 16 inch
- Special performance interlining, matched in size to the outer fabric panels
- Lining fabric, same yardage as the outer fabric
- Optional padding core or thin foam sheet, if not using foam-backed interlining
- Zipper, 5 to 8 cm longer than the case's finished width
- Sewing machine fitted with a size 90 or 100 universal needle
- Walking foot attachment, strongly recommended for foam-backed interlining
- Zipper foot attachment
- Household iron and a pressing cloth
- Fabric scissors or a rotary cutter with a self-healing mat
- Fabric marking pen or tailor's chalk
- Straight pins or fabric clips
- Measuring tape and a clear quilting ruler
- Point turner or a blunt knitting needle, for pushing out corners after turning
Needle And Thread Guide By Fabric Weight
| Outer Fabric Type | Needle Size | Thread |
|---|---|---|
| Quilting cotton or light canvas | 80/12 to 90/14 | All-purpose polyester |
| Mid-weight canvas or denim | 90/14 to 100/16 | Heavy-duty polyester or upholstery thread |
| Denier nylon with foam-backed interlining | 100/16 with a sharp or denim point | Bonded nylon thread |
Sewing Machine Settings For Interlined Panels
Interlined panels behave differently under the needle than plain fabric, and small setting adjustments prevent skipped stitches and puckering.
- Lengthen the stitch to roughly 3 mm, since a short stitch length perforates thick interlining more than it secures it.
- Reduce top thread tension slightly when sewing through foam-backed interlining, since the extra layer thickness already adds resistance the tension discs do not expect.
- Sew a test seam on scrap layers matching the actual panel stack before starting on the real pieces, adjusting tension and stitch length until the seam lies flat with no puckering on either side.
- Slow the machine speed through corners and the zipper area, where the layer count is highest.
If the machine still skips stitches after these adjustments, the needle is very likely too fine for the combined thickness of outer fabric, interlining, and padding at that seam, and sizing up one needle size usually resolves it immediately.
Step 1: Measure And Cut The Pattern Pieces
Measure the laptop's height, width, and depth with the lid closed. Add 1.5 cm to the height and width for ease, then add double the depth to allow the case to close around the laptop's thickness. Add a further 2.5 cm seam allowance to all four sides of the resulting rectangle.
Worked Example For A 14 Inch Laptop
| Measurement | Laptop Dimension | Cut Size Including Allowances |
|---|---|---|
| Height | 24 cm | 30.5 cm |
| Width | 33 cm | 39.5 cm |
| Depth | 1.8 cm | Included in width and height totals above |
- Cut two outer fabric panels to the calculated rectangle size.
- Cut two special performance interlining panels 0.5 cm smaller on all sides than the outer fabric, so the fused edge sits inside the seam allowance rather than under the stitching line.
- Cut two lining panels to the same size as the outer fabric panels.
- If using a separate padding core rather than foam-backed interlining, cut two padding panels matching the interlining size.
Cut all pieces on a single layer rather than folded fabric where possible, since interlining and outer fabric can shift slightly when doubled, leading to panels that are mirror images instead of identical. Mark the top edge of every panel with a small chalk arrow immediately after cutting, since outer fabric, interlining, and lining panels look nearly identical once separated and mixing up orientation is an easy mistake to make later.
Step 2: Fuse The Interlining To The Outer Panels
Lay each outer panel wrong side up on the ironing surface. Center the special performance interlining, resin or adhesive side down, on the fabric. Cover with a pressing cloth and apply the iron in overlapping sections for 10 to 15 seconds each, using firm pressure rather than sliding motions, which can shift the interlining out of position before it bonds.
Let the fused panel cool flat for at least two minutes before handling it. Interlining adhesive is at its weakest immediately after heat is removed, and picking the panel up too soon can peel the bond at the corners, which is the most common point of later delamination.
For foam-backed performance interlining, use a slightly cooler iron setting and a longer pressing cloth buffer, since excess heat can flatten the foam layer permanently and reduce its cushioning before the case is even assembled.
If the chosen interlining is sew-in rather than fusible, baste it to the wrong side of the outer fabric with a long straight stitch around the edges instead, staying within the seam allowance so the basting line disappears once the panels are joined.
After fusing, check every corner of the panel by lightly trying to lift the interlining edge with a fingernail. Any spot that lifts easily needs a second, shorter pressing pass before moving on, since a weak bond at this stage only gets harder to fix once the panel is cut into a finished case shape.
Optional: Adding A Gusset For Extra Depth
A flat two-panel case works well for slim laptops but can feel tight once a charger or a mouse is tucked inside alongside the laptop. Adding a gusset strip, a separate rectangle of fabric sewn between the front and back panels, adds usable depth without changing the core interlining method described above.
- Cut a gusset strip as long as the combined side and bottom edges of the case, plus seam allowance, and as wide as the desired extra depth plus seam allowance on both long edges.
- Fuse a lighter-weight interlining to the gusset strip than the one used on the main panels, since the gusset needs to flex slightly at the corners rather than stay perfectly rigid.
- Pin the gusset to the front panel first, easing it gently around the bottom corners, then repeat on the back panel before adding the lining as described in the closure step.
This variation adds roughly 30 minutes to total sewing time but turns a flat sleeve-style case into something closer to a small padded bag, which is worth the extra step for anyone who regularly carries a charger or accessories alongside the laptop itself.
Step 3: Attach The Zipper Or Flap Closure
For a zippered case, place one outer panel right side up, lay the zipper face down along the top edge with the zipper tape edge aligned to the fabric edge, then place the lining panel right side down on top, sandwiching the zipper tape between outer and lining. Pin through all three layers and stitch close to the zipper teeth using a zipper foot.
- Repeat the same sandwich construction on the zipper's second side using the remaining outer and lining panels.
- Open the zipper halfway before continuing, since a fully closed zipper will trap the case inside itself once the side seams are sewn.
- Topstitch 3 mm from the zipper on both sides to keep the fabric flat and away from the zipper pull.
A flap closure with hook-and-loop tape or magnetic snaps follows a similar sandwich method at the flap seam but skips the zipper foot in favor of a standard presser foot, and is generally the easier starting closure for a first attempt at sewing a laptop case.
Choosing Zipper Type By Case Weight
A standard nylon coil zipper works fine for cases up to about 14 inches. Larger cases carrying heavier laptops benefit from a metal-tooth or molded plastic zipper, since coil zippers under sustained sideways pressure from a heavy laptop can gradually separate at the teeth over months of use.
Step 4: Sew The Side And Bottom Seams
With the zipper attached and the two panel assemblies now joined at the top, fold the piece so outer fabric faces outer fabric and lining faces lining. Pin the side and bottom seams, leaving a 10 to 12 cm gap in the lining's bottom seam for turning the case right side out later.
Reinforcing The Corners
Stitch the side seams at a standard 1 cm seam allowance, then sew a second reinforcement line 3 mm inside the first at the bottom corners only, where the interlining adds bulk and the seam takes the most repeated stress from the laptop's weight. Do not backstitch directly over the interlining's fused edge, since dense reverse stitching there can perforate the fused bond rather than reinforce the fabric.
Trim the seam allowance at the corners diagonally to reduce bulk before turning the case right side out through the gap left in the lining.
Once turned, use a point turner or a blunt knitting needle to gently push out each corner from the inside rather than pulling from the outside, which can stress the corner seam exactly where the interlining bond is already under the most tension.
Seam Finishing Methods Compared
Once the case is turned right side out and the turning gap is closed, the raw seam edges inside the case still need a finish. The right choice depends on the fabric weight and the interlining thickness already sewn into the seam.
| Finishing Method | Best For | Bulk Added |
|---|---|---|
| Zigzag stitch over raw edge | Light to medium interlining | Low |
| Bias tape binding | Any weight, most durable finish | Medium |
| Serged or overlocked edge | Thin interlining, fast production | Low |
| Fully lined with no exposed seam | Foam-backed heavy interlining | None visible |
Choosing Interlining Weight By Laptop Size
Heavier laptops need firmer interlining to prevent the case walls from bowing inward under the device's own weight during transport. Use the table below as a starting point, then size up one weight class if the case will regularly go into a backpack alongside heavy books or a charger brick.
| Laptop Size | Recommended Interlining Weight | Suggested Type |
|---|---|---|
| 11 to 12 inch | 90 to 120 gsm | Fusible non-woven |
| 13 to 14 inch | 150 to 200 gsm | Foam-backed performance interlining |
| 15 to 16 inch | 200 to 260 gsm | Foam-backed or laminated performance interlining |
| 17 inch and larger | 260 gsm and above | Double-layered foam-backed interlining |
Troubleshooting Table For Common Sewing Problems
| Problem | Likely Cause | Fix |
|---|---|---|
| Machine skips stitches through the seam | Needle too fine for the combined layer thickness | Size up to a 100/16 or 110/18 needle |
| Bubbling or peeling at the interlining edge | Panel handled before the adhesive fully cooled | Re-press with a pressing cloth and let cool fully before moving |
| Case corners look lumpy after turning | Seam allowance not trimmed diagonally at the corner | Trim corner bulk before turning, then push out gently from the inside |
| Zipper puckers along its length | Zipper too short for the case opening, or uneven stitching pace | Use a zipper 5 to 8 cm longer than the opening and stitch at a steady, slower pace |
| Case feels floppy despite interlining | Interlining weight too light for the laptop's size and weight | Size up one weight class using the size table above |
| Outer fabric scorched near the interlining | Iron too hot for a synthetic outer fabric, or no pressing cloth used | Lower iron heat, always use a pressing cloth, and test on a fabric scrap first |
Common Mistakes To Avoid
- Cutting the interlining the same size as the outer fabric instead of 0.5 cm smaller, which pushes bulk directly under the needle at every seam.
- Fusing interlining with a dry iron and no pressing cloth, which can scorch synthetic outer fabrics before the adhesive fully activates.
- Choosing a zipper shorter than the case opening, which forces the fabric to pucker at both ends once the zipper is sewn in.
- Skipping a walking foot on foam-backed interlining, which can cause the top and bottom layers to shift and produce a wavy seam.
- Forgetting the turning gap in the lining seam, which leaves no way to turn the finished case right side out without unpicking a seam.
- Using an interlining weight below 150 gsm for a 15 inch or larger laptop, which under-supports the case and lets the corners sag over time.
- Cutting outer fabric and interlining on different grainlines, which causes the finished panel to twist slightly once it is handled and washed.
- Pressing directly over pins, which can melt synthetic pin heads onto the interlining and leave a permanent mark on the outer fabric.
Customization Ideas Once The Base Case Is Sewn
The same construction method scales into several useful variations without changing the core interlining and lining approach described above.
Front Pocket Addition
Add a lightweight pocket panel to the outer front piece before assembly, using a thinner interlining weight than the main body so the pocket stays flexible enough to hold a charger cable without adding rigidity to the front face.
Handle Or Cross-Body Strap
A folded fabric strap, interfaced with the same performance interlining used on the main panels, resists stretching under the laptop's weight far better than an uninterfaced strap of the same fabric. For a cross-body option, add metal D-rings at both top corners during the side seam step so the strap can be attached after the case is fully turned and finished.
Contrast Piping At The Seams
Piping inserted into the side and bottom seams during Step 4 adds a finished, made-to-measure look and is sewn in the same pass as the seam itself, adding no extra construction steps.
Quilted Exterior Panel
For a padded, textured look on the outside rather than a smooth panel, quilt the outer fabric to a layer of thin batting before fusing the special performance interlining underneath. The interlining still handles structure, while the quilting adds visual texture and a small amount of extra surface cushioning.
Water-Resistant Zipper Upgrade
Swapping a standard coil zipper for a water-resistant coated zipper, paired with a laminated performance interlining, gives meaningfully better protection for anyone who regularly walks between buildings in wet weather, without changing any other part of the construction method above.
DIY Versus Store-Bought: A Rough Cost Comparison
Sewing a laptop case is rarely dramatically cheaper than buying one once fabric, interlining, a zipper, and tool costs are counted, but it does allow exact sizing to an unusual laptop shape and full control over the outer fabric and finish.
| Cost Category | DIY Sewn Case | Typical Retail Case |
|---|---|---|
| Materials only | Fabric, interlining, zipper, and thread | Not applicable, already assembled |
| Time investment | Two to three hours for a first attempt | None |
| Fit customization | Exact match to any laptop, tablet, or accessory bundle | Limited to standard size brackets |
| Repairability | Sewist already knows the construction, easy to repair or resize | Usually replaced rather than repaired |
The clearest financial case for sewing rather than buying shows up with unusual laptop sizes, dual-device setups such as a laptop plus a separate tablet, or when reusing fabric already on hand, where materials cost drops close to zero.
Caring For A Sewn Laptop Case
| Situation | Recommended Care |
|---|---|
| Light surface dust or crumbs | Wipe with a dry soft brush or lint roller |
| Small stains on outer fabric | Spot clean with a damp cloth and mild soap, then air dry flat |
| Full case washing | Avoid machine washing, since heat and agitation can separate fusible interlining from the outer fabric |
| Long-term storage | Store flat rather than folded, so the interlining does not crease permanently |
| Zipper feels stiff after months of use | Rub a small amount of paraffin wax or a dry lubricant stick along the zipper teeth |
A well-interfaced case holds its shape for years under normal use, but the interlining bond, not the outer fabric, is usually the first part to show wear. Checking the corners for any lifting or bubbling every few months catches a failing bond before it spreads across the whole panel.
Glossary Of Terms Used In This Guide
- Special performance interlining: A structural, non-woven or laminated layer fused or basted to a fabric panel to add body, shape retention, and durability in bags and cases.
- gsm: Grams per square meter, the standard unit for comparing interlining and fabric weight regardless of brand.
- Fusible: A material bonded to fabric using heat and pressure from a household iron rather than sewn in place.
- Gusset: A separate strip of fabric sewn between two main panels to add depth or volume to a flat case.
- Ease: Small extra measurement added beyond exact laptop dimensions so the case is not sewn skin-tight.
- Walking foot: A sewing machine attachment that feeds top and bottom fabric layers evenly, useful for thick or foam-backed interlining.
Frequently Asked Questions
Can I sew a laptop case without any interlining at all?
Yes, but the case will lose its shape quickly and offer little shock absorption. Interlining is what separates a fabric envelope from a functional protective case, and skipping it is only advisable for a temporary dust cover rather than a case meant to cushion drops.
What is the difference between interlining and interfacing?
Interfacing usually refers to lighter-weight stabilizers used in garment construction, such as collars and cuffs, while interlining in the bag and case-making context is a heavier, structural layer designed to carry load and resist repeated flexing rather than simply add crispness.
Can I substitute craft foam for special performance interlining?
Craft foam can supplement padding but is not a substitute for interlining, since it has no fabric backing to bond to the outer shell and tends to shift or bunch inside the case over time without a fused layer holding it in place.
Do I need a special sewing machine for foam-backed interlining?
A standard home sewing machine handles foam-backed interlining fine with a size 90 or 100 needle and a slightly lengthened stitch, though a walking foot noticeably improves feed consistency through the thicker sandwich of layers.
How much seam allowance should I add when using thick interlining?
A 1 to 1.5 cm seam allowance works for most interlining weights up to 200 gsm. For anything heavier, increasing the allowance slightly and trimming corners diagonally before turning the case right side out reduces excess bulk at the seams.
Why does my finished case sag at the corners even with interlining?
Corner sagging usually means the interlining weight is too light for the laptop's weight class, or the corner seams were not reinforced with a second stitch line during assembly. Sizing up one weight class from the recommended table above typically resolves it.
Is fusible or sew-in interlining better for a laptop case?
Fusible interlining is faster to apply and gives a smoother, bubble-free surface for most home sewists, while sew-in interlining is preferable on delicate or heat-sensitive outer fabrics that cannot tolerate direct iron contact.
Can the same pattern work for a tablet instead of a laptop?
Yes, the same layer structure and construction steps apply. Simply substitute the tablet's own height, width, and depth into the measuring formula in Step 1, and consider a slightly lighter interlining weight given a tablet's generally lower overall weight.
How do I know if my interlining is too thick for my sewing machine?
Sew a test seam through a scrap stack of the same layers planned for the real case. If the machine struggles to feed the fabric evenly or the stitches look uneven, the interlining is likely too heavy for that particular machine and a lighter foam-backed option or a household machine service may be needed.
Does the color or print of the outer fabric affect how the interlining bonds?
No, the interlining bonds the same way regardless of the outer fabric's color or print. What matters for bonding is the fabric's fiber content and weight, since some finishes and coatings on printed fabrics can affect how well the adhesive adheres, which is worth testing on a scrap first.