 English
 Español
 Türk
TürkContent
- 1 The Short Answer: How to Line a Garment
- 2 The Anatomy of a Lined Garment: How the Layers Stack
- 3 What Lining, Interlining, and Underlining Each Do
- 4 Types of Interlining and Lining Materials Compared
- 5 Tools and Materials Checklist Before You Start
- 6 Step-by-Step: How to Line a Garment Correctly
- 7 Fusible vs. Sew-In Polyester Non-Woven Interlining
- 8 Matching Interlining Weight to Garment Type
- 9 Matching Lining Fabric to the Shell
- 10 Common Mistakes When Lining a Garment
- 11 Troubleshooting Guide
- 12 Caring for a Lined and Interlined Garment
- 13 Quick Glossary of Lining Terms
- 14 Frequently Asked Questions
- 14.1 Do I always need interlining before adding a lining?
- 14.2 Can polyester non-woven interlining be used on stretch fabrics?
- 14.3 What is the difference between interlining and interfacing?
- 14.4 Why does my collar feel stiff after fusing interlining?
- 14.5 Is sew-in or fusible interlining more durable long-term?
- 14.6 Can I line a garment without a sewing machine?
- 14.7 Does a fully lined garment always feel warmer than an unlined one?
- 14.8 How do I know if my supplier's polyester non-woven interlining is consistent quality across a bulk order?
The Short Answer: How to Line a Garment
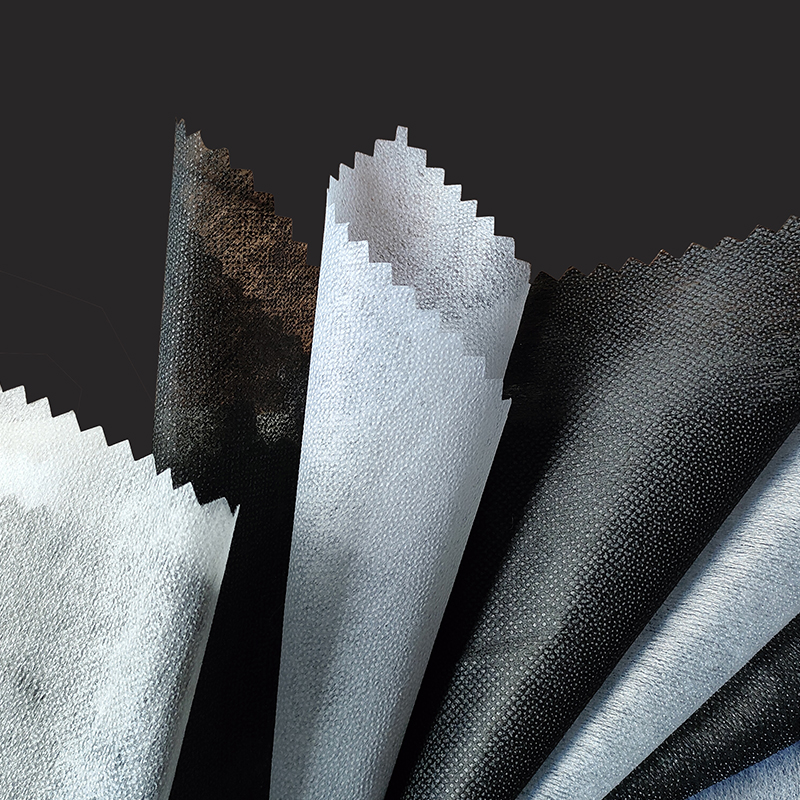
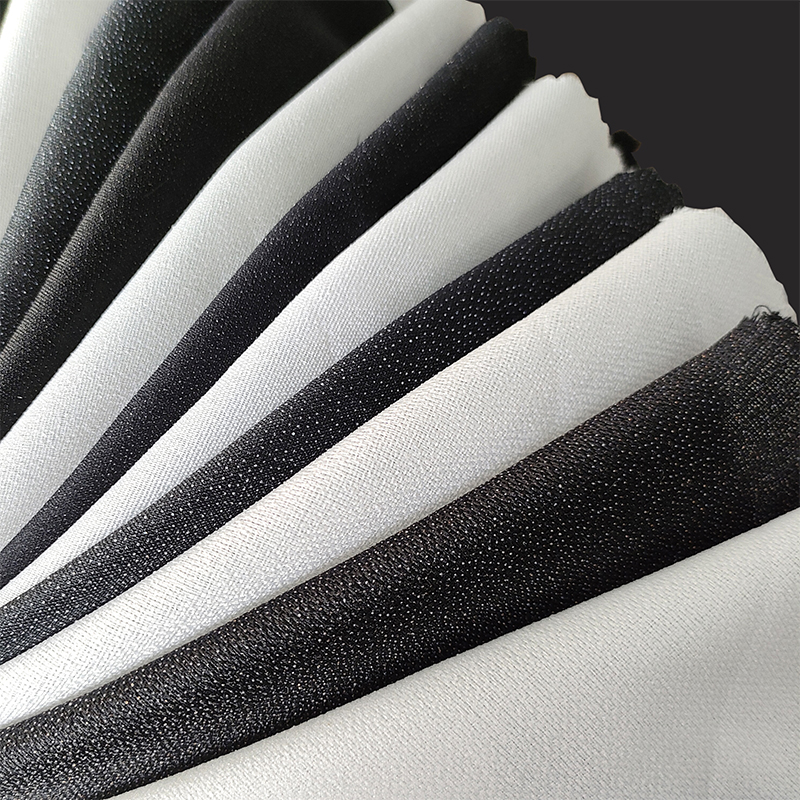
Lining a garment means attaching a second layer of fabric to the inside of the outer shell so the piece holds its shape, resists stretching, and feels smooth against the body. The process has three stages: stabilizing the shell with interlining, cutting and sewing the lining fabric to match the pattern pieces, and joining lining to shell at the hems, facings, and openings. For most tailored jackets, coats, skirts, and structured bags, a polyester non-woven interlining is fused or sewn onto the shell fabric first, because it adds body and crease resistance without adding bulk or weight.
Once that support layer is in place, the lining fabric is attached last, acting as the finished inner surface the wearer actually touches. Skipping the interlining step is the single biggest reason home-sewn and small-batch garments look unstructured compared to factory-made ones. A collar, waistband, or cuff without interlining will fold flat and lose its edge within a few wears, while the same piece built with the correct weight of polyester non-woven interlining keeps a crisp line through hundreds of wash cycles.
The Anatomy of a Lined Garment: How the Layers Stack
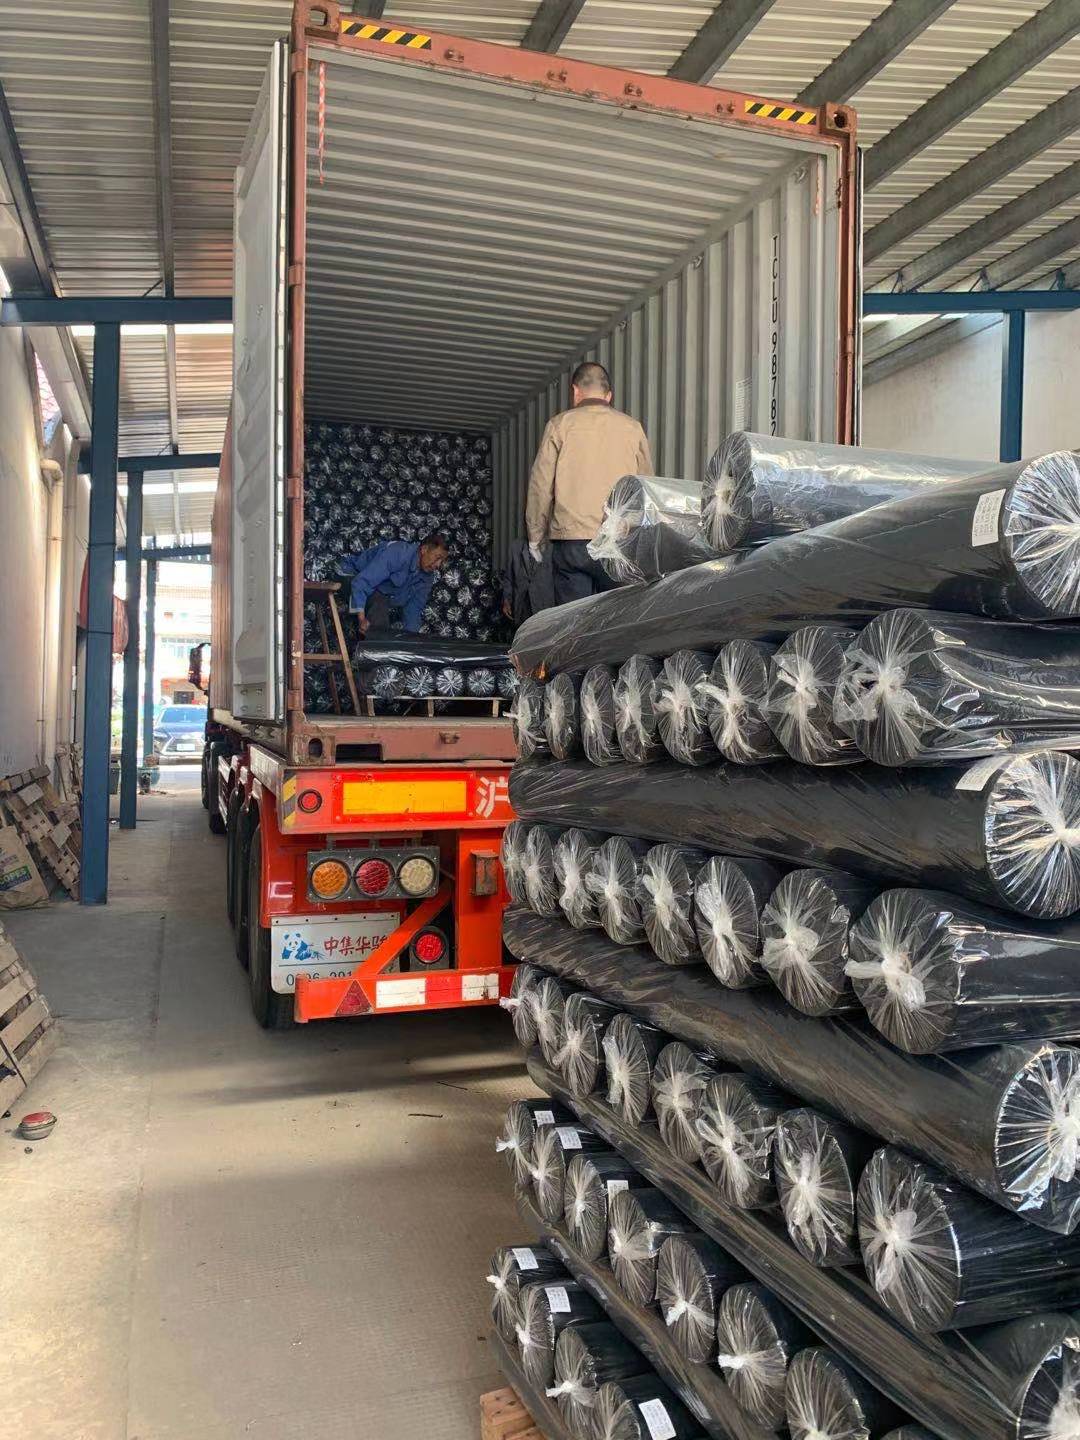
Before picking up a needle, it helps to see the build in cross-section. A finished lined garment is rarely just two layers; in structured areas it is closer to three, stacked in a fixed order from the outside in.
Not every zone of a garment carries all three layers. A jacket body might only have shell and lining, while the collar, cuffs, and front facings carry all three because those are the areas that need to hold a shape rather than drape.
What Lining, Interlining, and Underlining Each Do
People often use "lining" and "interlining" interchangeably, but they solve different problems in a garment build, and confusing them is a common source of sourcing mistakes when ordering materials in bulk.
- Interlining sits between the outer shell fabric and the lining. Its job is structure: it stiffens collars, lapels, waistbands, cuffs, and plackets so they hold a defined shape through wear and washing.
- Lining is the visible inner layer the wearer's skin or undergarments touch. Its job is comfort and finish: it hides raw seams, reduces friction against the body, and lets the garment slide on and off easily.
- Underlining, a less common third layer, is cut to the exact shape of the shell pieces and basted to the wrong side before construction, mainly to add opacity or reinforce delicate fabrics such as lace or loosely woven linen.
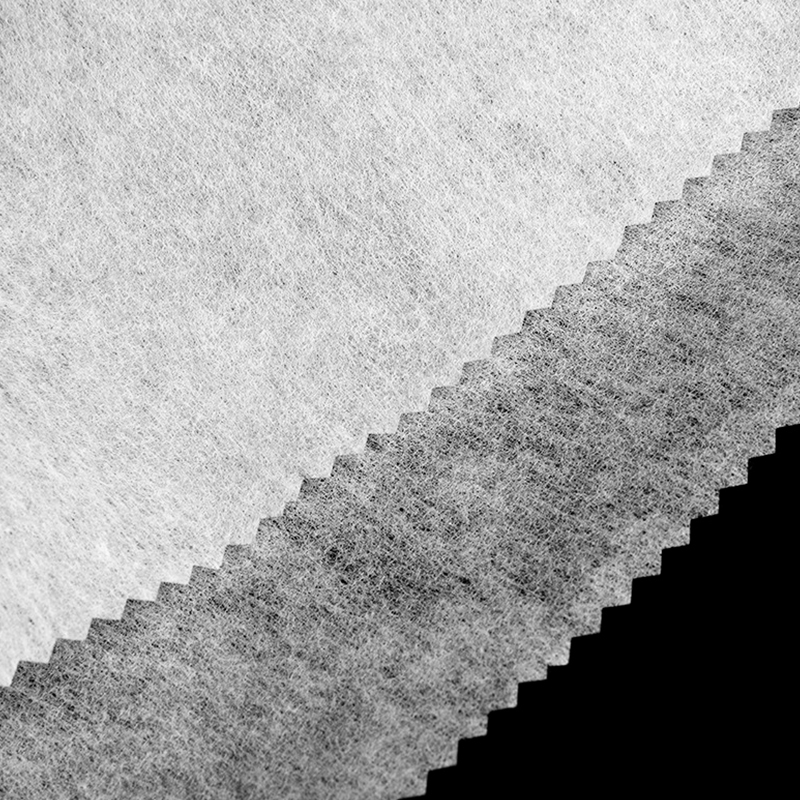
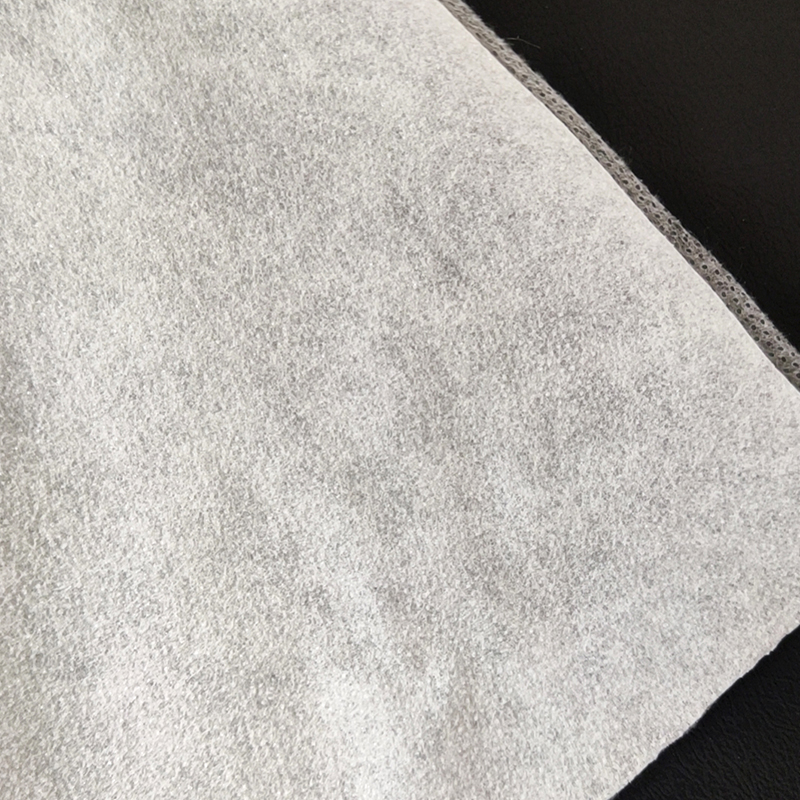
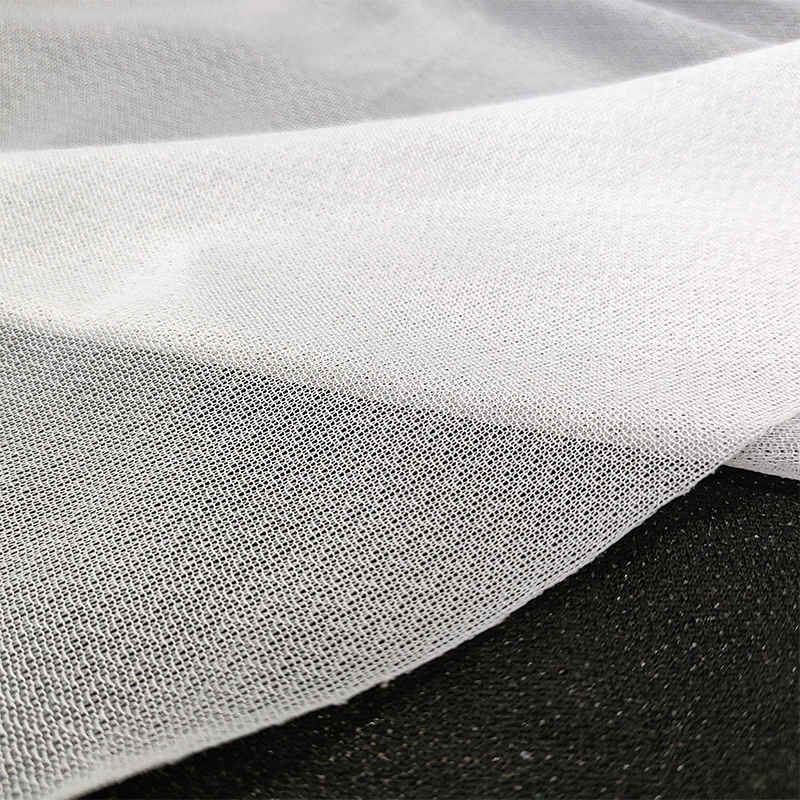
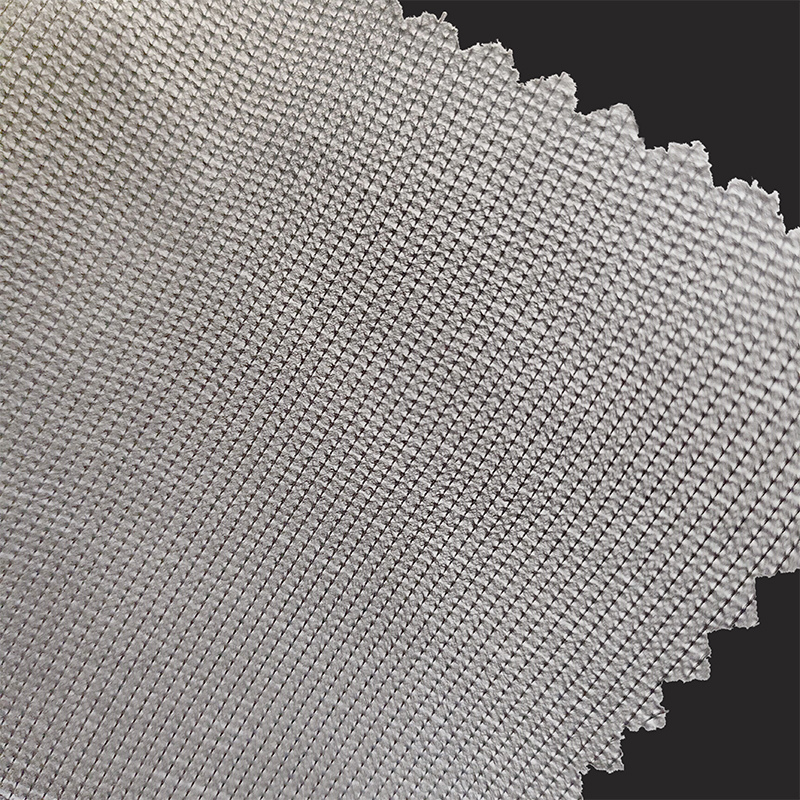
A polyester non-woven interlining is manufactured by bonding polyester fibers together with heat, pressure, or resin rather than weaving or knitting them, which is why it does not fray at cut edges and holds a consistent thickness across the entire sheet. That consistency is what makes it predictable to work with compared to older woven or knitted interlinings, which can shift grain and distort a collar point during pressing.
Types of Interlining and Lining Materials Compared
Choosing the wrong interlining is the second most common cause of a poorly finished garment, after skipping it entirely. The table below compares the main categories used in apparel manufacturing today.
| Material | Construction | Typical Use | Drape |
|---|---|---|---|
| Polyester non-woven interlining | Bonded fiber web, no grainline | Collars, cuffs, waistbands, bag panels | Crisp, stable |
| Woven cotton interlining | Traditional weave, has grainline | Tailored jacket fronts, lapels | Soft, natural roll |
| Knitted tricot interlining | Warp-knitted, stretches slightly | Knit fabrics, stretch garments | Flexible |
| Polyester satin lining | Woven, glossy face | Jacket and coat body lining | Slippery, smooth |
| Bemberg / cupro lining | Woven, breathable cellulose fiber | Premium suiting and dresses | Fluid, breathable |
| Acetate lining | Woven, semi-glossy | Budget-friendly jackets and skirts | Crisp, less breathable |
Among these, polyester non-woven interlining has become the default choice in mid-to-high volume production because it is dimensionally stable in both directions, so pattern pieces cut from it do not need to follow a grainline the way woven interlining does. That single property speeds up cutting room efficiency and reduces fabric waste on large orders, which is why it dominates shirt collar and cuff production worldwide.
Tools and Materials Checklist Before You Start
| 1 | Outer shell fabric, pre-washed or pre-shrunk if the fiber requires it |
| 2 | Lining fabric matched in weight and stretch to the shell |
| 3 | Polyester non-woven interlining in the correct weight for the garment zone |
| 4 | Iron and a clean pressing cloth for fusible application |
| 5 | Sharp fabric scissors or a rotary cutter, separate from paper scissors |
| 6 | Pins or fabric clips, plus a point turner for corners |
| 7 | Sewing machine with a straight stitch, or needle and thread for hand finishing |
Step-by-Step: How to Line a Garment Correctly
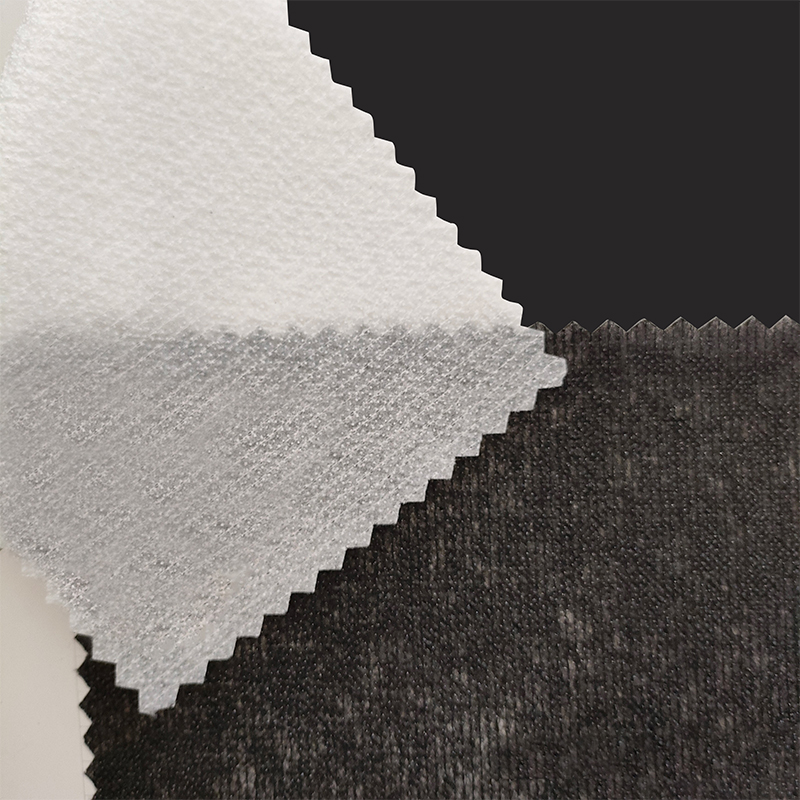
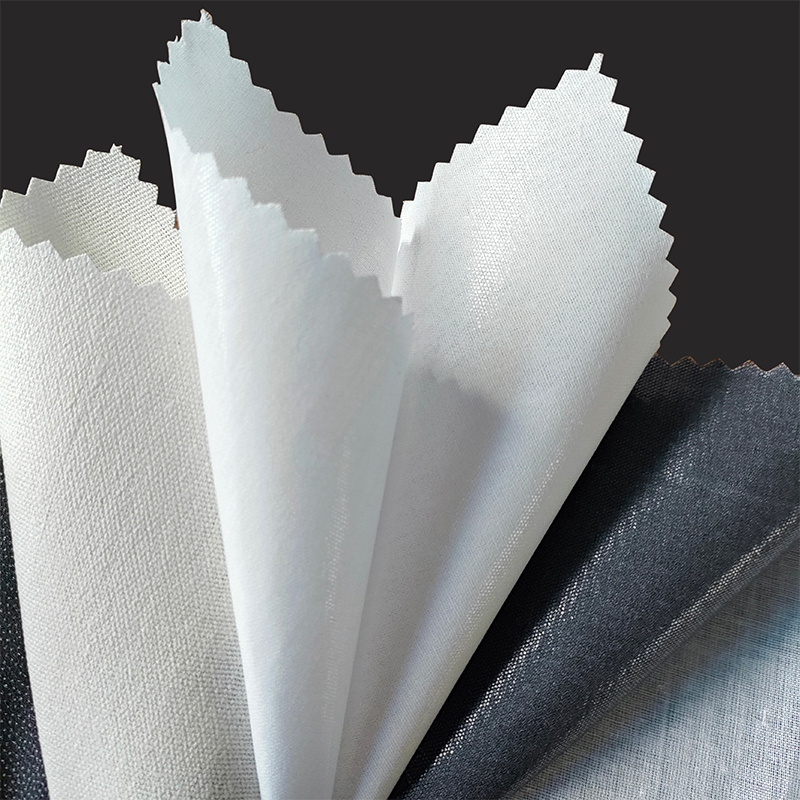
Cut the interlining pieces from the same pattern as the shell fabric sections that need support, typically collars, collar stands, cuffs, waistbands, front facings, and pocket flaps. For fusible polyester non-woven interlining, place the resin-coated side against the wrong side of the fabric, cover with a pressing cloth, and apply a dry iron at a temperature matched to the fabric fiber, usually medium-hot for cotton and polyester blends, for eight to twelve seconds with firm, even pressure. Do not slide the iron; lift, press, and move to the next section to avoid distorting the fibers.
Sew the shoulder seams, side seams, and any darts on the shell fabric exactly as the pattern instructs, with interlined pieces already fused in place. Press every seam open or to one side before moving to the next construction step, since interlined sections are much harder to correct once the lining is attached over them.
Cut lining pieces from the same pattern, sometimes with a small design adjustment such as a pleat at the center back for ease of movement. Sew the lining's shoulder and side seams the same way as the shell, leaving any openings the pattern specifies for turning the garment right side out later.
With right sides facing, pin the lining to the shell along facings, necklines, armholes, or hems, depending on the garment. Stitch along the seam allowance specified in the pattern, typically 1 to 1.5 centimeters, then trim and clip curves so the seam lies flat once turned.
Turn the garment right side out through the opening left in step 3, push out corners fully with a point turner, and press every seam from the shell side using a pressing cloth over interlined areas. Hand-stitch the remaining opening closed with a slip stitch, and attach the lining hem to the shell hem with a swing tack if the pattern calls for one, which allows the two layers to move independently without pulling.
Fusible vs. Sew-In Polyester Non-Woven Interlining
Polyester non-woven interlining is produced in two application types, and picking the correct one affects both hand-feel and durability of the finished garment.
| Factor | Fusible Interlining | Sew-In Interlining |
|---|---|---|
| Application method | Heat-activated resin, ironed or pressed | Basted or stitched into seam allowance |
| Best for | Cotton, linen, most mid-weight wovens | Sequinned, textured, or heat-sensitive fabrics |
| Production speed | Fast, ideal for volume manufacturing | Slower, more hand labor |
| Long-term durability | Very good, resin bond can soften after years of heat exposure | Excellent, no adhesive to break down |
Matching Interlining Weight to Garment Type
| Garment Type | Recommended Weight (gsm) | Application |
|---|---|---|
| Blouses, lightweight dresses | 25–40 gsm | Fusible |
| Shirts, collars, cuffs | 40–60 gsm | Fusible |
| Jackets, blazer fronts | 60–90 gsm | Fusible or sew-in |
| Coats, waistbands | 90–120 gsm | Sew-in preferred |
| Bags, belts, structured panels | 120–200 gsm | Sew-in or laminated |
Matching Lining Fabric to the Shell
A common mistake is choosing a beautiful lining fabric that behaves nothing like the shell it is paired with. The lining should generally match or exceed the shell's care requirements and stretch behavior, never fall short of them.
- If the shell is machine washable, the lining and interlining used with it should also tolerate machine washing, or the whole garment is forced into dry cleaning regardless of the shell's own care label.
- If the shell has some stretch, such as a stretch wool suiting, the lining needs comparable give, or the lining will restrict movement and eventually tear at the seams.
- For warm-weather garments, a breathable lining such as cupro or a lightweight polyester non-woven interlining in structural areas only, rather than a full heavy lining, keeps the finished piece comfortable to wear.
- For cold-weather coats, a slightly heavier lining paired with a mid-weight sew-in interlining at the collar and cuffs adds warmth without making the garment feel stiff.
Common Mistakes When Lining a Garment
- Fusing interlining at too high a temperature, which can cause the resin to bleed through to the right side of the fabric and leave a shiny mark that will not come out.
- Skipping a test fuse on a fabric scrap, which is the only reliable way to confirm the correct iron temperature and pressing time before committing to the actual garment piece.
- Using a lining fabric with less stretch or recovery than the shell, which causes the outer fabric to pucker every time the garment is worn or washed.
- Cutting interlining on the wrong grain when using woven interlining instead of non-woven, which distorts collar points after the first wash. This is one of the reasons polyester non-woven interlining is preferred for high-volume cutting, since it has no grainline to track.
- Choosing interlining that is too heavy for the shell fabric, which makes lightweight garments feel stiff and unnatural instead of simply structured.
- Trimming seam allowances too close before turning a collar or facing right side out, which weakens the seam right where interlining puts the most stress on the stitching.
- Pressing directly on fusible interlining without a pressing cloth, which can transfer resin onto the iron plate and then mark every fabric pressed afterward.
Troubleshooting Guide
| Symptom | Likely Cause | Fix |
|---|---|---|
| Bubbling under fused interlining | Uneven heat or insufficient pressure during fusing | Re-fuse with firm, even pressure and slightly longer dwell time |
| Shiny patches on fabric | Iron too hot or no pressing cloth used | Lower iron temperature and always fuse through a cloth |
| Collar feels floppy | Interlining weight too light for the fabric | Move up to a mid-weight polyester non-woven interlining |
| Lining puckers at seams | Lining and shell have mismatched stretch | Swap in a lining with comparable stretch and recovery |
| Interlining peeling after months | Resin bond weakened by repeated high-heat drying | Re-fuse a fresh patch, then switch to lower-heat drying going forward |
Caring for a Lined and Interlined Garment
Once a garment is lined, the interlining is sealed between two fabric layers, so care instructions should follow the most delicate of the three layers involved, usually the lining. Turn the garment inside out before washing to reduce friction on the outer fabric surface, and avoid high-heat tumble drying, which can soften the resin bond in fusible polyester non-woven interlining over repeated cycles and eventually cause slight separation, known as delamination.
For structured pieces like blazers and coats, dry cleaning or gentle hand washing followed by flat drying protects the shape the interlining was designed to hold. If a collar or cuff starts to feel soft or loses its crease after months of wear, it is almost always the interlining bond weakening rather than the outer fabric itself, and re-fusing a fresh patch of interlining from the inside can restore the original structure without replacing the whole garment.
Quick Glossary of Lining Terms
| Fusing | Bonding interlining to fabric with heat and pressure via an iron or press. |
| Grainline | The direction of woven threads a pattern piece must follow; not relevant to non-woven materials. |
| GSM | Grams per square meter, the standard unit for measuring interlining and fabric weight. |
| Swing tack | A short thread chain connecting lining hem to shell hem, allowing independent movement. |
| Delamination | Separation of fused interlining from the shell fabric after the resin bond weakens. |
Frequently Asked Questions
Do I always need interlining before adding a lining?
Not always. Garments that do not need structure, such as a simple lined skirt with no waistband stiffening, can skip interlining entirely. Any piece with a collar, cuff, lapel, waistband, or button placket benefits from interlining because those areas need to hold a shape rather than drape softly.
Can polyester non-woven interlining be used on stretch fabrics?
Standard polyester non-woven interlining does not stretch, so it is best reserved for stable areas even on a stretch garment, such as a button placket or collar stand. For areas that need to move with the body, a knitted tricot interlining with some give is a better match.
What is the difference between interlining and interfacing?
The two terms are largely used interchangeably in modern sewing, though some pattern companies reserve "interfacing" for small-area reinforcement, like a buttonhole placket, and "interlining" for a full inner layer added for warmth, such as in a winter coat. Polyester non-woven interlining is commonly used for both purposes depending on the weight selected.
Why does my collar feel stiff after fusing interlining?
This usually means the interlining weight chosen is too heavy for the shell fabric. Testing a fuse on a scrap before cutting the full piece prevents this, and switching to a lighter gsm option in the 25 to 40 range typically resolves the issue for lightweight shells.
Is sew-in or fusible interlining more durable long-term?
Sew-in interlining tends to outlast fusible interlining across repeated washing and dry cleaning cycles because there is no resin bond to weaken over time. Fusible interlining is faster to apply and sufficient for most everyday garments, but sew-in is the more durable choice for pieces meant to last many years, such as tailored coats.
Can I line a garment without a sewing machine?
Yes, though it is slower. Hand-basting the lining seams with a backstitch or running stitch works for small projects, and fusible interlining still only requires an iron rather than a machine, making it accessible for hand-sewn garments as well.
Does a fully lined garment always feel warmer than an unlined one?
Usually only slightly, since the lining itself is thin. Warmth comes mainly from trapped air between layers rather than the lining fabric's own insulation, so a fully lined jacket with a smooth polyester lining traps a thin layer of still air against the body, which is what creates the modest warmth increase over an unlined shell.
How do I know if my supplier's polyester non-woven interlining is consistent quality across a bulk order?
Test-fuse samples from both the beginning and end of a roll and compare weight, thickness, and bonding strength. Reputable manufacturers hold gsm tolerance within a narrow range, typically plus or minus five percent, and will provide a technical data sheet confirming fiber composition, weight, and recommended fusing temperature for each batch.