 English
 Español
 Türk
TürkContent
- 1 How Much Fabric Do You Need For A Shirt
- 2 Fabric Requirements By Shirt Type And Size
- 3 Common Shirting Fabrics And How They Affect Yardage
- 4 Factors That Change How Much Fabric A Shirt Uses
- 5 How To Measure Your Body For An Accurate Fabric Estimate
- 6 Woven Interlining Fabric And Why It Matters For Shirt Structure
- 7 Woven Versus Non-Woven Interlining: Which One To Choose
- 8 Step By Step Way To Calculate Your Own Fabric Requirement
- 9 Calculating Fabric For Multiple Shirts Or A Small Production Run
- 10 Buffer Percentage And Common Fabric Waste
- 11 Working Out The Fabric Cost Per Shirt
- 12 Practical Tips To Reduce Fabric Waste When Cutting A Shirt
- 13 What To Do With Leftover Shirt Fabric
- 14 Frequently Asked Questions
- 14.1 How much fabric do I need for a long-sleeve men's dress shirt in a large size?
- 14.2 Does a plaid or striped fabric require more yardage than a solid?
- 14.3 How much woven interlining fabric should I buy for one shirt?
- 14.4 Is woven interlining better than non-woven interlining for shirt collars?
- 14.5 How do I calculate fabric for a custom or self-drafted shirt pattern?
- 14.6 Why does fabric width change how much I need to buy?
- 14.7 How much fabric is wasted when cutting a shirt?
- 14.8 Should I buy extra fabric for a first-time pattern?
- 14.9 How much fabric do I need for a women's blouse-style shirt?
- 14.10 Does buying wider fabric always save money?
- 14.11 Can I use non-woven interlining instead of woven interlining fabric to save money?
- 14.12 How much fabric should I add for a monogram or chest pocket?
How Much Fabric Do You Need For A Shirt
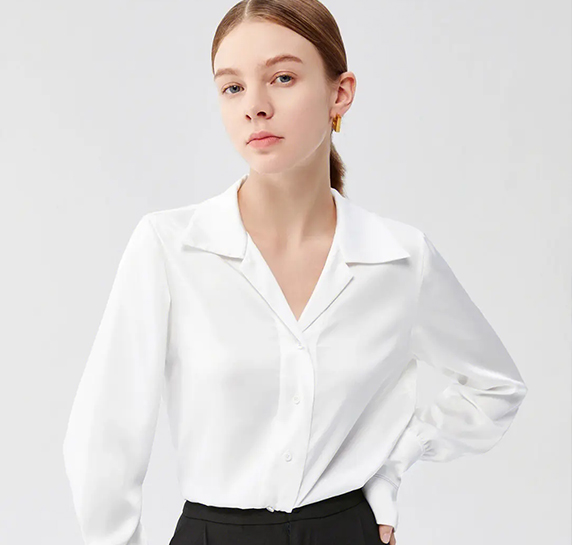
For a standard men's or women's dress shirt in a medium size, you will need 1.75 to 2.25 yards (1.6 to 2.1 meters) of 44-45 inch wide fabric, or 1.5 to 1.75 yards (1.4 to 1.6 meters) if the fabric is 58-60 inches wide. A short-sleeve casual shirt typically uses less, around 1.25 to 1.5 yards on standard width fabric, while an oversized or extra-long shirt can require 2.5 yards or more. These figures already include a small buffer for pattern matching and cutting error, so they reflect what most cutting rooms and home sewists actually purchase rather than a bare-minimum estimate.
The exact number shifts with body size, sleeve length, collar style, pattern direction, and whether the fabric has a one-way design such as a plaid or directional print. A shirt cut from a striped or checked fabric that needs to match at the side seams and pocket can add another quarter yard to half a yard compared with a plain weave. The sections below break down the calculation by shirt style, fabric width, and body measurement so you can land on a precise number before you buy.
It helps to think of the total figure as three separate layers stacked together rather than one single number. The first layer is the shell fabric that forms the visible body, sleeves, and collar of the shirt. The second layer is the supporting material, most commonly a lightweight woven interlining fabric, that reinforces the collar, cuffs, and placket so they hold their shape wash after wash. The third layer is the buffer, the extra length set aside for cutting mistakes, shrinkage, and pattern matching. Most published yardage charts only describe the first layer, which is exactly why so many first-time buyers come home from the fabric store short by a quarter yard or more once they account for the second and third layers.
This guide walks through all three layers in detail, starting with a size-by-size breakdown, moving into the variables that push the number up or down, covering the role of interlining fabric in structured shirts, and finishing with a practical method you can use to calculate yardage for any pattern, off-the-rack style, or custom design you are working from.
Fabric Requirements By Shirt Type And Size
The table below lists typical yardage for the most common shirt styles, based on 44-45 inch wide fabric unless otherwise noted. These numbers come from pattern envelope guides published by major home sewing pattern companies and from cutting ratios used by small-batch shirt manufacturers.
| Shirt Style | Small | Medium | Large | XL / XXL |
|---|---|---|---|---|
| Long-sleeve dress shirt | 1.75 yd | 2 yd | 2.25 yd | 2.5 yd |
| Short-sleeve casual shirt | 1.25 yd | 1.5 yd | 1.75 yd | 2 yd |
| Fitted / tailored shirt | 1.5 yd | 1.75 yd | 2 yd | 2.25 yd |
| Oversized / boxy shirt | 2 yd | 2.25 yd | 2.5 yd | 2.75 yd |
| Children's shirt (ages 4-10) | 0.75 yd | 1 yd | 1.25 yd | - |
If you are working with a plaid, stripe, or large-scale print that needs pattern matching across the front placket, add roughly 0.25 to 0.5 yard to any of the figures above. A one-way print, where all pieces must face the same direction, calls for a similar addition because pattern pieces cannot be flipped or interlocked as tightly during layout.
Fabric Width Changes The Yardage Needed
Fabric width has a direct effect on total yardage because a wider bolt lets the pattern pieces nest more efficiently, particularly the body front and back panels, which are usually the widest single pieces in a shirt pattern. Below is a rough conversion for a medium adult long-sleeve shirt across common bolt widths.
- 35-36 inch width: approximately 2.75 to 3 yards
- 44-45 inch width: approximately 2 to 2.25 yards
- 54-56 inch width: approximately 1.75 yards
- 58-60 inch width: approximately 1.5 to 1.75 yards
Shirting fabrics such as poplin, oxford cloth, and chambray are most commonly milled at 44-45 inches or 58-60 inches, so the two right-hand columns above are the ones most buyers will actually encounter at the fabric counter.
Common Shirting Fabrics And How They Affect Yardage
The fiber content and weave of the fabric itself also plays a role in how much you should buy, mainly because different fabrics behave differently once they are washed and because some weaves are more prone to fraying at the cut edge, which changes how much seam allowance a cutter builds in.
| Fabric | Typical Shrinkage | Suggested Extra Buffer |
|---|---|---|
| 100 percent cotton poplin | 3 to 5 percent | 0.125 to 0.2 yd |
| Cotton oxford cloth | 2 to 4 percent | 0.1 to 0.15 yd |
| Linen and linen blends | 4 to 6 percent | 0.15 to 0.25 yd |
| Chambray and denim shirting | 3 to 5 percent | 0.125 to 0.2 yd |
| Cotton-polyester blend | 1 to 2 percent | 0.05 to 0.1 yd |
| Rayon and viscose blends | 4 to 7 percent | 0.15 to 0.25 yd |
Natural fiber fabrics with higher shrinkage rates, such as linen and pure cotton, should always be pre-washed before cutting whenever that option is available. Pre-washing removes most of the residual shrinkage up front, so the fabric behaves predictably during construction and the finished shirt does not tighten noticeably after the first laundering.
Weave Structure And Cutting Behavior
A tight, balanced plain weave such as poplin holds a cut edge cleanly and can be sewn with a narrower seam allowance, which slightly improves layout efficiency. Looser or more open weaves, along with anything with visible slub texture, fray more at raw edges and are usually cut with a wider seam allowance for insurance, which nudges total yardage upward by a small amount, typically under a tenth of a yard across the whole garment.
Factors That Change How Much Fabric A Shirt Uses
Body Measurements And Ease
Chest circumference, shoulder width, and torso length are the three measurements with the biggest impact on yardage. A shirt drafted with generous ease, meaning extra room between the body and the fabric, will use noticeably more cloth than a slim, close-fitting cut of the same nominal size. As a rough guide, every additional 2 inches of ease added evenly around the chest and hem adds about 1/8 to 1/4 yard to the total requirement.
Sleeve Length And Style
Long sleeves with a full cuff and placket use more fabric than short sleeves, and a raglan or dolman sleeve, which is cut as one piece with the shoulder, uses more fabric than a set-in sleeve because the pattern piece is larger and less efficient to nest on the fabric layout.
Collar And Cuff Details
A standard point collar with a stand, a two-piece cuff, and a full front placket are the baseline used in most yardage charts. Adding a larger spread collar, a French cuff that folds back on itself, or a double-layer yoke can add a small but real amount of fabric, typically under a quarter yard total, because these pieces are cut from the same shirting fabric as the body.
Pattern Layout And Fabric Print
Solid and small-scale prints allow the most efficient layout because pattern pieces can be flipped and interlocked without concern for direction or matching. Directional prints, engineered stripes, and large plaids reduce layout efficiency and are the single biggest reason a home sewist ends up buying more fabric than the pattern envelope suggests.
How To Measure Your Body For An Accurate Fabric Estimate
Charts based on standard sizing get most buyers close to the right number, but taking your own measurements first removes the guesswork entirely, particularly if your proportions fall between two sizes or you are drafting a custom pattern from scratch.
Chest And Body Width
Measure around the fullest part of the chest, keeping the tape level and snug but not tight. Add your desired ease, generally 4 to 8 inches for a classic fit or 8 to 12 inches for a relaxed or boxy fit, to arrive at the finished chest measurement the pattern needs to accommodate.
Shoulder To Hem Length
Measure from the top of the shoulder, where the collar seam sits, straight down to where you want the hem to fall. This single measurement has an outsized effect on total yardage because the front and back body panels are cut at this length twice, once for the front and once for the back, and any additional length is multiplied across both cuts.
Sleeve Length
Measure from the shoulder point down to the wrist with the arm slightly bent, then decide whether you want a long sleeve, a three-quarter sleeve, or a short sleeve, since each option changes the size of the sleeve pattern piece and therefore the total fabric required.
| Size | Chest | Shoulder To Hem | Sleeve Length |
|---|---|---|---|
| Small | 36 to 38 | 28 | 24 |
| Medium | 39 to 41 | 29 | 24.5 |
| Large | 42 to 44 | 30 | 25 |
| XL | 45 to 47 | 31 | 25.5 |
| XXL | 48 to 50 | 32 | 26 |
If your own measurements fall close to the boundary between two rows, it is generally safer to buy according to the larger size, since trimming excess fabric during construction is simple while running short partway through cutting is not.
Woven Interlining Fabric And Why It Matters For Shirt Structure
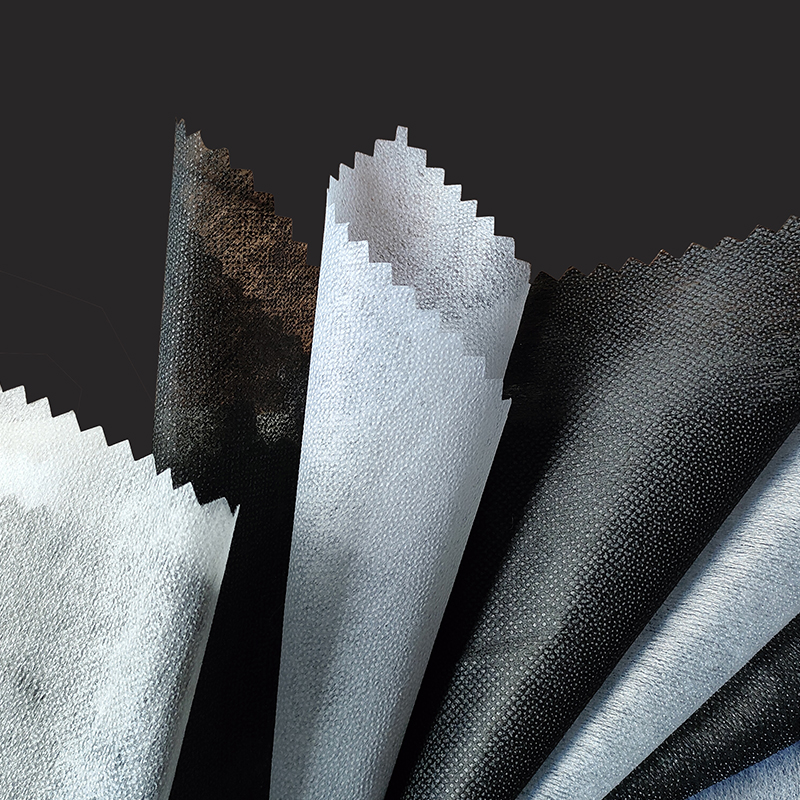
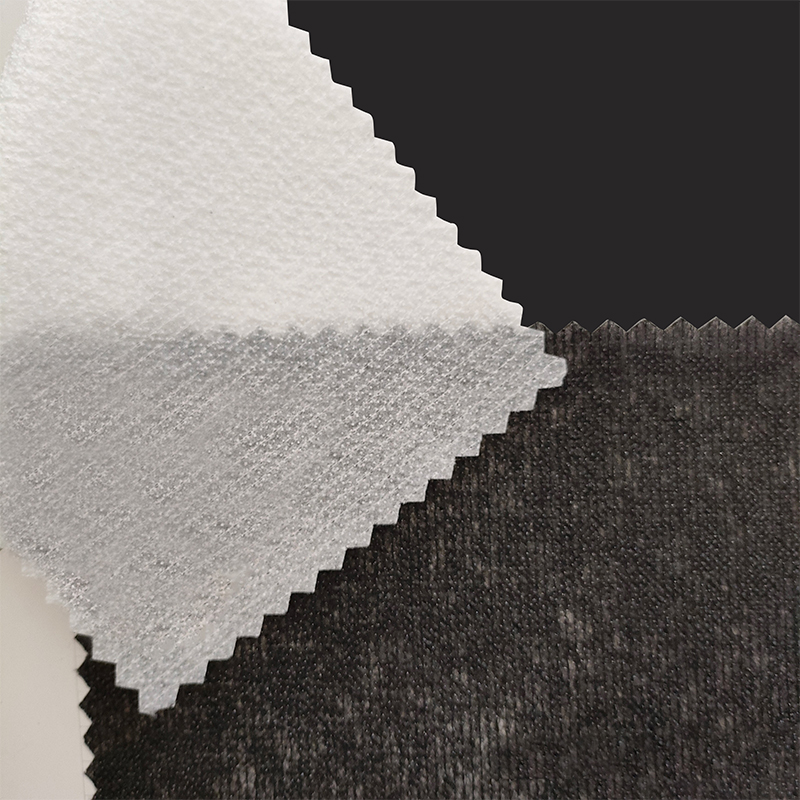
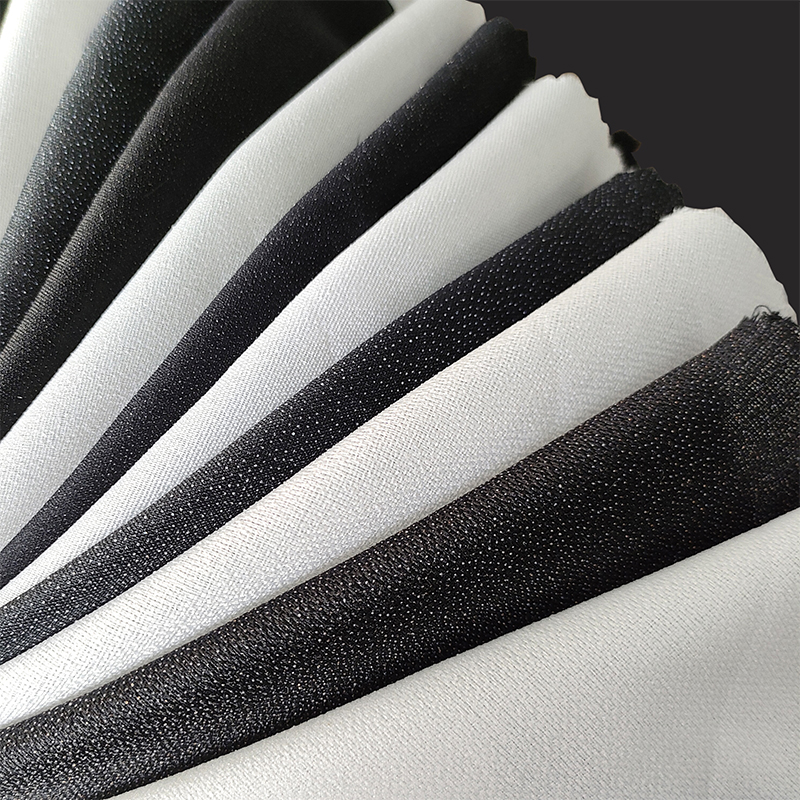
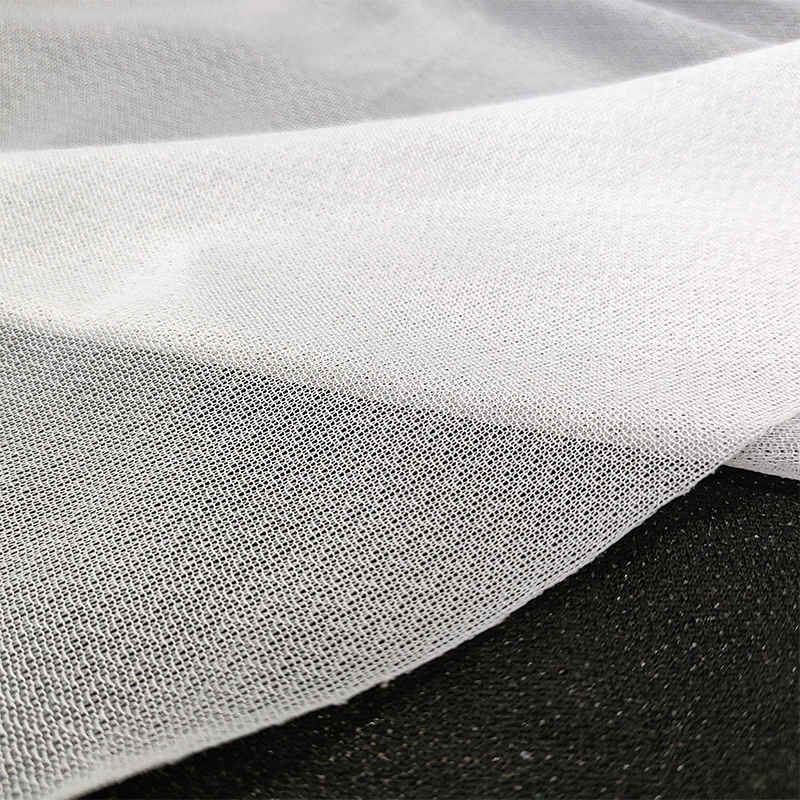
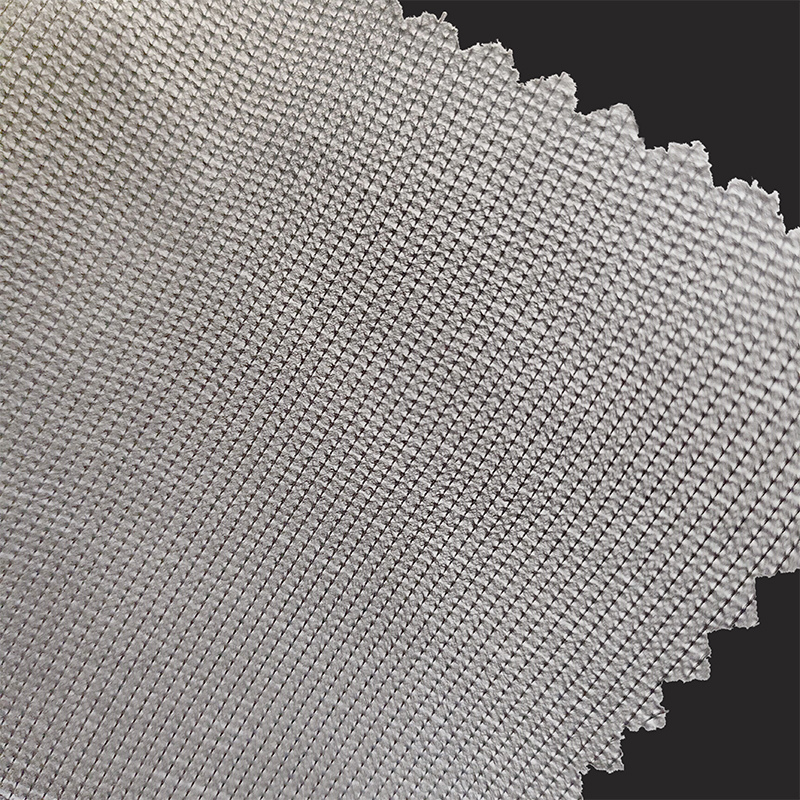
Beyond the shell fabric, most tailored and dress shirts rely on a layer of interlining fabric to give the collar, cuffs, and front placket their shape and crispness. Woven interlining fabric is the most widely used option for shirting because it is cut on the same grain logic as the outer shirting cloth, which means it moves and drapes in a way that matches the shell fabric rather than fighting against it. This is different from non-woven interlining, which is bonded rather than woven and tends to feel stiffer and less breathable over time.
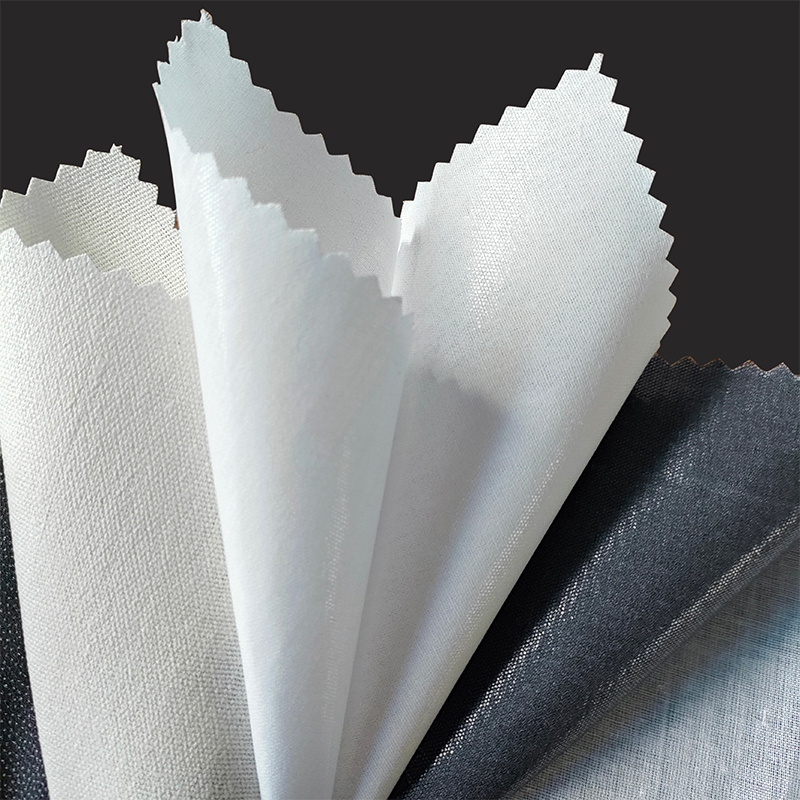
For collar and cuff construction, manufacturers typically use a fusible woven interlining fabric that is pressed onto the wrong side of the fabric with heat and pressure, permanently bonding the two layers together. A lighter weight woven interlining fabric, generally in the range of 60 to 90 grams per square meter, is standard for dress shirts because it needs to reinforce the collar without adding visible bulk. Heavier interlining in the 100 to 130 gram range is more common on workwear shirts and outer shirt jackets where the collar and cuffs need to hold a firmer shape.
How Much Interlining Fabric A Shirt Needs
Interlining is only applied to specific pieces, not the whole shirt, so the quantity needed is much smaller than the shell fabric requirement. A typical adult dress shirt uses interlining for the collar, collar stand, cuffs, and front placket, which together require approximately 0.25 to 0.4 yard of woven interlining fabric, regardless of the overall shirt size, since these pieces do not scale up dramatically between sizes the way the body panels do.
| Component | Interlining Used | Approx. Yardage |
|---|---|---|
| Collar and collar stand | Fusible woven interlining | 0.1 to 0.15 yd |
| Cuffs (both) | Fusible woven interlining | 0.1 yd |
| Front placket | Fusible woven interlining | 0.05 to 0.1 yd |
Because these small pieces cut efficiently from a narrow strip, most cutting rooms buy interlining by the roll rather than matching it to individual shirt orders, and a single 30 to 40 meter roll of woven interlining fabric can typically support several hundred dress shirts depending on collar and cuff size.
Woven Versus Non-Woven Interlining: Which One To Choose
Not every shirt interlining is built the same way, and the choice between woven and non-woven affects both the hand feel of the collar and how long the structure holds up over repeated washing. The comparison below covers the two main categories along with the two application methods used across the industry.
Woven Interlining Fabric
Woven interlining fabric is constructed with interlaced warp and weft yarns, exactly like the shirting fabric it supports. This gives it natural stretch and recovery along the bias and a soft, cloth-like hand. Because it shares the same structural logic as the shell fabric, it moves with the collar rather than resisting it, which is why higher-end dress shirts almost always specify woven interlining fabric for the collar and cuffs.
Non-Woven Interlining
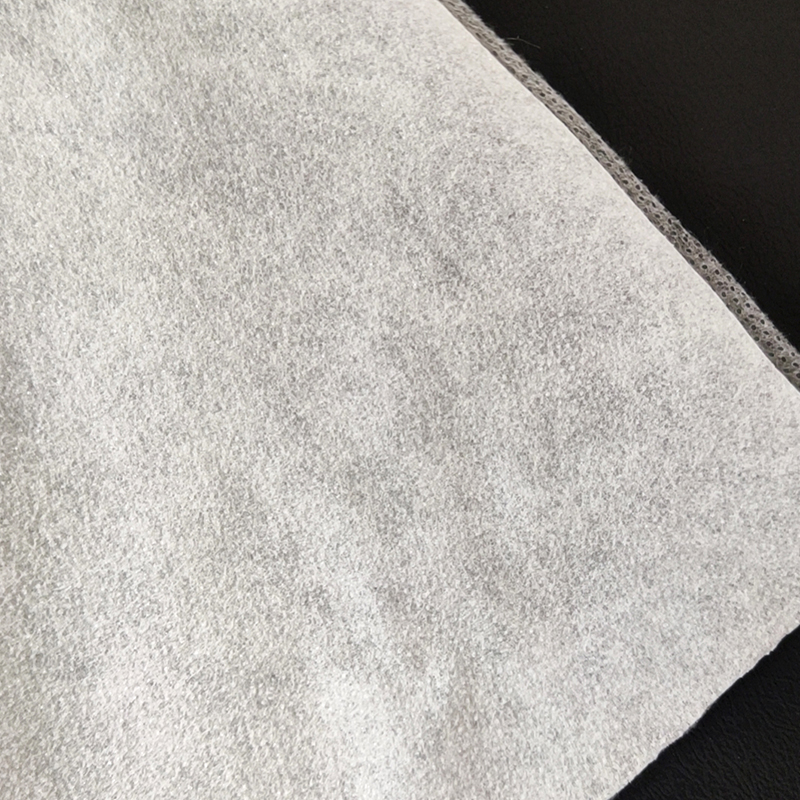
Non-woven interlining is made by bonding fibers together under heat and pressure rather than weaving them, which makes it cheaper to produce and faster to cut since there is no grainline to align. It tends to feel stiffer, has no bias stretch, and can occasionally show a slightly papery hand after multiple washes, which is why it is more common on budget or fast-turnaround casual shirts than on tailored dress shirts.
Fusible Versus Sew-In Application
Fusible interlining, whether woven or non-woven, has a heat-activated resin coating on one side that bonds permanently to the shirting fabric under an iron or a fusing press. Sew-in interlining has no adhesive and is instead basted or stitched into place along the seam allowance, which is slower but avoids any risk of the resin showing through very lightweight or sheer shirting fabrics. The large majority of shirt collars and cuffs on the market today use fusible woven interlining fabric because it is faster to apply at scale and gives a consistently crisp result.
| Type | Hand Feel | Best Use |
|---|---|---|
| Fusible woven interlining fabric | Soft, cloth-like, matches shell drape | Dress shirt collars and cuffs |
| Sew-in woven interlining fabric | Soft, no resin, slightly looser | Sheer or delicate shirting fabric |
| Fusible non-woven interlining | Firmer, less drape | Casual and budget shirts |
Step By Step Way To Calculate Your Own Fabric Requirement
If your shirt has a non-standard fit, unusual sleeve length, or you are working from a self-drafted pattern rather than a commercial one, use this method to arrive at an accurate number rather than relying on a general chart.
- Lay out the pattern pieces in the orientation you plan to cut, following the fabric grainline marked on each piece.
- Arrange the two largest pieces first, usually the front and back body panels, since they set the overall length needed.
- Nest the smaller pieces, sleeves, collar, cuffs, and plackets, into the gaps left around the body panels.
- Measure the total length used from the top of the highest piece to the bottom of the lowest piece.
- Add 10 to 15 percent to that length as a cutting and shrinkage buffer, particularly important for natural fiber shirting that will shrink slightly on the first wash.
This dry-layout method is exactly what production pattern makers use when creating a marker, the master cutting layout used in bulk manufacturing, and it consistently produces a more accurate number than a size chart because it accounts for your specific pattern pieces and your specific fabric width.
Calculating Fabric For Multiple Shirts Or A Small Production Run
When cutting more than one shirt from the same fabric, the yardage does not simply multiply in a straight line, because a shared layout lets pattern pieces interlock across shirts in ways that are not possible when each shirt is cut separately. This is the same principle behind an industrial marker, and it is worth understanding even for a small home batch of two or three shirts.
Simple Multiplication As A Starting Point
For a rough estimate, multiplying the single-shirt yardage by the number of shirts is a safe upper bound. Three medium long-sleeve dress shirts at 2 yards each would suggest 6 yards as a starting budget.
In practice, a combined layout across multiple same-size shirts typically saves 8 to 12 percent compared with cutting each shirt independently, since smaller pieces like collars, cuffs, and plackets from different shirts can be tucked into the same leftover gaps rather than each shirt leaving its own separate scraps. Using the three-shirt example above, a combined layout would likely need closer to 5.3 to 5.5 yards rather than the full 6 yards suggested by simple multiplication.
| Quantity | Simple Multiplication | Shared Layout Estimate |
|---|---|---|
| 2 shirts | 4 yd | 3.6 to 3.7 yd |
| 3 shirts | 6 yd | 5.3 to 5.5 yd |
| 5 shirts | 10 yd | 8.8 to 9.1 yd |
| 10 shirts | 20 yd | 17.6 to 18.2 yd |
This is also why small manufacturers and made-to-order shirt makers batch orders together whenever possible rather than cutting a single shirt at a time. Batching several orders of the same fabric into one cutting session directly lowers the fabric cost per shirt without changing anything about the design itself.
Buffer Percentage And Common Fabric Waste
Even an efficient layout rarely uses one hundred percent of the purchased fabric. A well-planned commercial marker for a basic dress shirt typically achieves 78 to 85 percent fabric utilization, meaning 15 to 22 percent of the purchased cloth becomes cutting waste, seam allowance trim, and small scraps that are too narrow to reuse. Home sewing layouts, which are less optimized than a computer-generated industrial marker, commonly run closer to 65 to 75 percent utilization.
According to figures compiled by apparel manufacturing associations, cutting waste across the wider apparel sector averages around 15 percent of purchased fabric, with shirt production sitting at the more efficient end of that range because shirt pattern pieces are relatively rectangular and nest well compared with curved pieces like blazer fronts or dress bodices.
Where The Waste Comes From
- End-of-roll remnants that are too short for a full pattern repeat
- Selvage trim removed from both edges of the fabric
- Gaps between curved pattern pieces such as armholes and collar points
- Extra length added for pattern matching on stripes, checks, and plaids
- Cutting errors and quality defects found in the fabric itself, such as slubs or dye streaks
Working Out The Fabric Cost Per Shirt
Once you know the yardage, converting that into a cost figure is a simple multiplication, but it is worth doing before you buy so the total lines up with your budget, especially if you are comparing several fabric options side by side.
The Basic Formula
Fabric cost per shirt equals the price per yard multiplied by the total yardage, including your buffer. A medium dress shirt using 2 yards of fabric priced at 12 dollars per yard costs 24 dollars in shell fabric alone before thread, buttons, and interlining are added.
Adding The Secondary Materials
A complete cost estimate should also include roughly 0.3 yard of woven interlining fabric, typically priced lower per yard than the shell fabric since it is a utility material, along with buttons, thread, and any labels. On a mid-range dress shirt, these secondary materials commonly add somewhere between 2 and 5 dollars to the total, depending on button quality and interlining weight.
| Material | Quantity | Estimated Cost |
|---|---|---|
| Shell shirting fabric | 2 yd | 18 to 30 dollars |
| Woven interlining fabric | 0.3 yd | 1 to 2.5 dollars |
| Buttons (8 to 10) | 1 set | 0.5 to 2 dollars |
| Thread | 1 spool | 1 to 2 dollars |
Comparing total material cost per shirt across a few different fabric choices before committing to a bolt is one of the simplest ways to keep a project or a small production run on budget, particularly when higher fabric utilization from the tips in the next section can shave a further 5 to 10 percent off the shell fabric line on its own.
Practical Tips To Reduce Fabric Waste When Cutting A Shirt
Buying the right amount is only half the equation, cutting efficiently is what actually keeps waste down and stretches your fabric budget further, whether you are sewing one shirt or planning a small production run.
Plan The Layout Before Cutting
Lay every pattern piece on the fabric first, adjust for the best fit, and only then start cutting. Rearranging pieces after the first cut is made is the most common cause of running short on fabric partway through a project.
Cut Directional Fabric With A Single Layout
For striped or plaid shirting, decide the matching points at the shoulder seam, side seam, and pocket before cutting, and mark them directly on the pattern pieces with a fabric pen. This prevents the wasted step of cutting a piece, realizing it does not match, and having to cut a replacement from what is left of the yardage.
Buy A Small Additional Buffer For First-Time Patterns
If you have not sewn a particular pattern before, add an extra quarter yard beyond the calculated amount. This covers a muslin test piece for the collar or cuff, and it protects against a measuring or cutting mistake that would otherwise mean an emergency second trip to buy matching fabric, which is not always possible if the dye lot has changed.
Use Fabric-Efficient Grading For Batch Production
When cutting multiple sizes at once, stack same-size pieces and use a shared marker layout across several shirts rather than cutting each shirt individually. This is the same principle industrial cutting rooms use, and it is one of the most effective ways to push utilization above 80 percent.
What To Do With Leftover Shirt Fabric
Even with careful planning, most shirt projects leave behind some usable fabric, and putting a plan in place for these remnants prevents them from becoming waste later.
Small Accessories
Cuts under half a yard are usually enough for a matching pocket square, bow tie, hair scrunchie, or a set of fabric-covered buttons, all of which reuse the exact print or color of the finished shirt.
Repair Patches
Set aside a scrap roughly the size of a postcard specifically for future repairs. Because shirting fabric can fade slightly with washing over time, a patch cut and stored at the time of construction will match the worn shirt far better than fabric bought fresh years later.
Testing And Sampling
Keep a strip long enough to test a new stitch setting, a fusing temperature for interlining fabric, or a topstitching thread color before committing to the final garment. This single habit prevents far more fabric loss than it uses, since a failed test on the actual shirt panel is much costlier than a failed test on a scrap.
Frequently Asked Questions
How much fabric do I need for a long-sleeve men's dress shirt in a large size?
Plan on approximately 2.25 yards of 44-45 inch wide shirting fabric for a large long-sleeve dress shirt, or about 1.75 yards if the fabric is 58-60 inches wide.
Does a plaid or striped fabric require more yardage than a solid?
Yes. Plan on an additional 0.25 to 0.5 yard beyond the solid-fabric figure to allow the pattern to match correctly across the front placket, pocket, and side seams.
How much woven interlining fabric should I buy for one shirt?
Around 0.25 to 0.4 yard of woven interlining fabric is enough to cover the collar, collar stand, cuffs, and front placket of a standard adult dress shirt.
Is woven interlining better than non-woven interlining for shirt collars?
Woven interlining fabric generally drapes and moves more naturally because it shares the same grain structure as the shirting fabric, which is why it is the more common choice for dress shirts, while non-woven interlining is more often used on lower-cost casual shirts where cost and speed of application matter more than drape.
How do I calculate fabric for a custom or self-drafted shirt pattern?
Lay all pattern pieces on the actual fabric width you plan to use, measure the total length the layout occupies, then add 10 to 15 percent for cutting allowance and shrinkage buffer.
Why does fabric width change how much I need to buy?
Wider fabric allows the body and sleeve pieces to nest more efficiently, so fewer total inches of length are needed to fit all the pieces, which lowers the overall yardage required.
How much fabric is wasted when cutting a shirt?
Industrial shirt production typically wastes 15 to 22 percent of purchased fabric as cutting scrap, while home sewing layouts often waste closer to 25 to 35 percent due to less optimized pattern placement.
Should I buy extra fabric for a first-time pattern?
Yes, an additional quarter yard is a reasonable buffer to cover test pieces and any measuring or cutting errors, especially important if the fabric is a dye lot that may not be available for a repeat purchase.
How much fabric do I need for a women's blouse-style shirt?
A fitted women's blouse in a medium size typically needs 1.5 to 1.75 yards of 44-45 inch fabric, slightly less than a men's dress shirt because the body panels are usually narrower and the shirt is often shorter at the hem.
Does buying wider fabric always save money?
Not necessarily. Wider fabric usually costs more per yard, but you need fewer yards, so the total spent often comes out close to the same. It is worth comparing the total project cost across a couple of widths rather than assuming the narrower or wider option is automatically cheaper.
Can I use non-woven interlining instead of woven interlining fabric to save money?
You can, and it will lower material cost slightly, but expect a stiffer collar with less natural drape, so this substitution is better suited to casual or workwear shirts than to a tailored dress shirt where drape and hand feel matter more.
How much fabric should I add for a monogram or chest pocket?
A single patch pocket typically uses about 0.1 yard, and a monogram does not add fabric since it is stitched directly onto an existing panel, so plan for a small pocket allowance only if your design includes one.