 English
 Español
 Türk
TürkContent
- 1 What Makes a Lining Different from Interlining?
- 2 Step 1 – Prepare Your Pattern and Measure the Lining
- 3 Step 2 – Choose the Right Lining Fabric
- 4 Step 3 – Cut the Lining with Correct Grain and Seam Allowances
- 5 Step 4 – Stitch the Lining Together
- 6 Step 5 – Attach the Lining to the Garment
- 7 Common Lining Mistakes to Avoid
- 8 How Do I Clean or Finish a Lined Garment?
- 9 Frequently Asked Questions
If you have ever tried to sew a jacket or a skirt, you already know that making a lining is not the same as making the outer shell. The lining has to move independently, yet stay attached, without pulling, wrinkling, or bunching. The secret lies in choosing the right lining and interlining materials, cutting on the correct grain, and using the right seam allowances. In this guide, I will walk you through the exact steps, from pattern preparation to final attachment, with the practical numbers that experienced garment makers use.
What Makes a Lining Different from Interlining?
Many DIY sewers use the words lining and interlining as if they mean the same thing. In garment manufacturing they are two different layers. A lining is the inside layer that sits closest to the body. An interlining is the support layer placed between the outer shell and the lining, or directly fused to the shell, to give the garment shape, stiffness and stability. If you are making a tailored jacket, you need both. The lining lets the jacket slip over a shirt without dragging. The interlining stops the collar and lapel from becoming floppy after a few wears.
For example, a shirt collar uses a lightweight woven or nonwoven interlining to hold its crisp edge. A suit jacket, on the other hand, uses a soft knitted or nonwoven interlining on the front to create the structure of the chest piece. The choice of interlining changes the hand feel of the garment dramatically. A stiff interlining makes a formal blazer feel rigid, while a soft interlining gives a more relaxed, unstructured look.
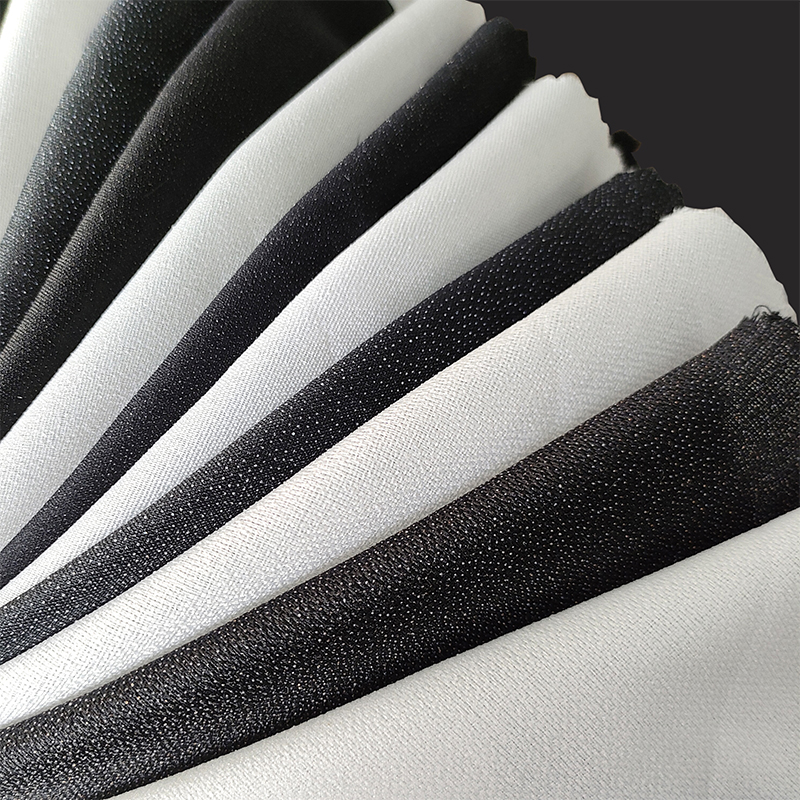
Garment accessory suppliers like our company produce a range of interlining materials suited to different applications.
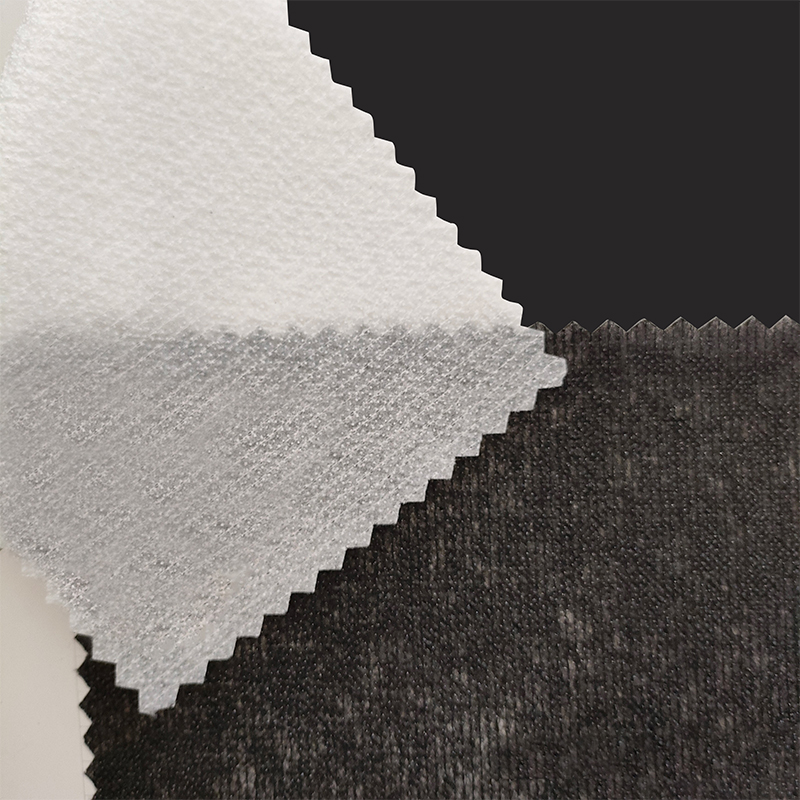
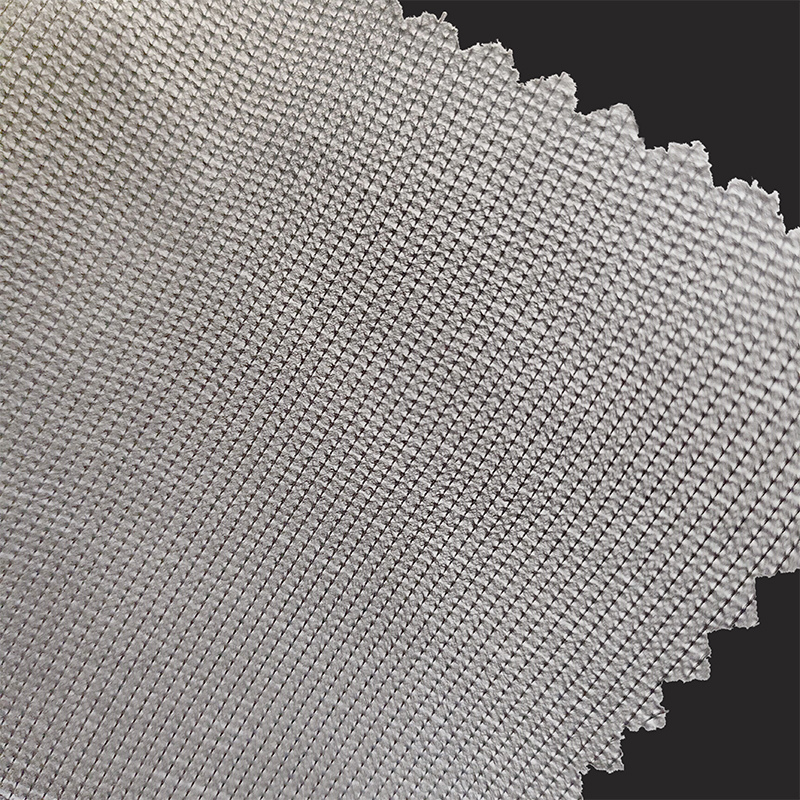
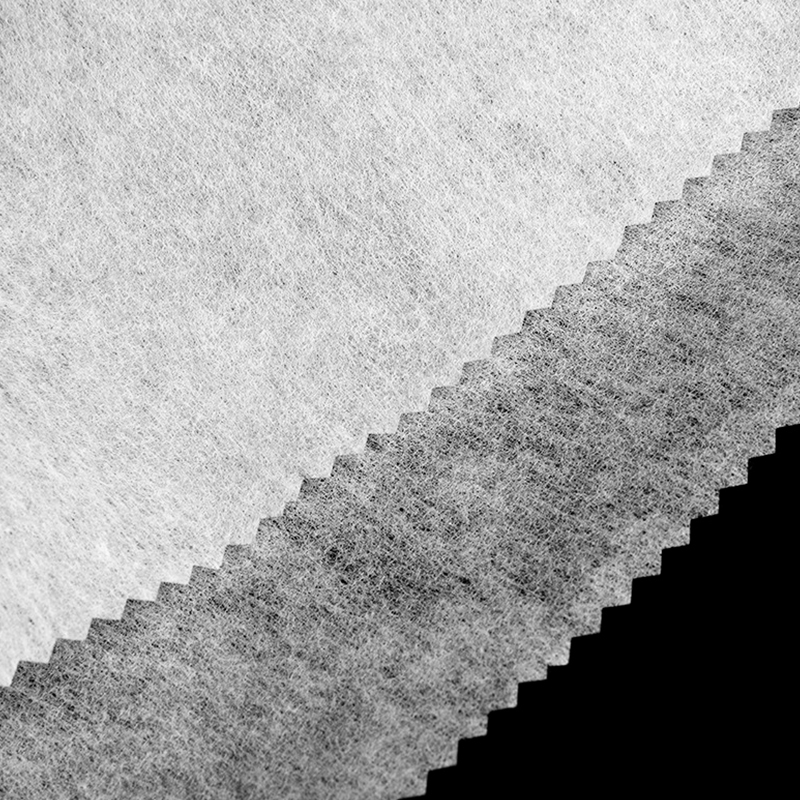 Chemical Bond Nonwoven Interlining for Structured SoftnessChemical-bonded nonwoven interlining adds structure to casual jackets and skirts without extra bulk, offering breathable and absorbent options for versatile garment applications.View Product →
Chemical bond nonwoven interlining is a popular choice for casual jackets and skirts because it balances body with softness, adding structure without extra thickness.
Step 1 – Prepare Your Pattern and Measure the Lining
Before you touch the fabric, you need to modify the pattern block. A lining pattern is not the same as an outer pattern. The lining must be slightly smaller than the shell, because the lining is meant to slide against the body, not support the garment’s weight. The standard ease for a blazer lining is to make it 1.5 cm shorter at the hem and 1.5 cm narrower at the centre front. On the side seams, allow 1.0 cm extra room so the lining can move without tearing the seam.
For a skirt with a waistband, the lining is usually cut 2.0 cm shorter than the outer skirt length and attached to the waistline with a loose seam. This prevents the lining from hanging below the hem and becoming visible.
If you are making a lined garment from a stretch fabric, the lining fabric itself may also stretch. In that case, you should not reduce the lining pattern as much. A good rule is to match the reduction to the stretch percentage of the fabric. For example, if the shell has 5% spandex, reduce the lining length by only 1 cm instead of 1.5 cm.
Step 2 – Choose the Right Lining Fabric
The lining fabric you choose has a huge impact on how the finished garment feels and hangs. Polyester satin is the most common lining material because it is cheap, durable and slides easily. Viscose lining feels more luxurious and breathes better, but it shrinks and wrinkles more. Nylon lining is very strong and smooth, but it feels cheap and static. Acetate lining is often used in formal wear but it is delicate and can crease.
To help you pick, I have put together a comparison table based on typical industry use.
| Fabric | Weight (g/m²) | Breathability | Durability | Best Use |
|---|---|---|---|---|
| Polyester satin | 80-120 | Low | High | Jackets, skirts, casual wear |
| Viscose | 90-140 | High | Medium | Dresses, blouses, luxury garments |
| Nylon | 60-100 | Low | High | Sportswear, outerwear |
| Acetate | 80-100 | Medium | Low | Formal suits, evening wear |
| Silk | 70-120 | High | Medium | High-end tailoring |
In addition to the lining, you also need an interlining for structural areas. For a shirt collar or a crisp front edge, a woven interlining gives the best result.
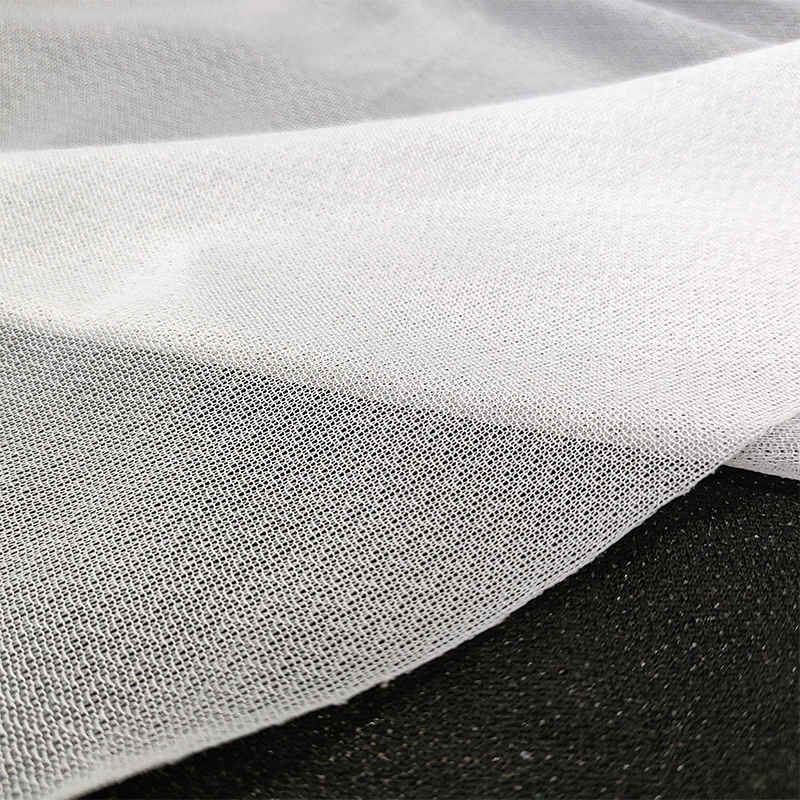
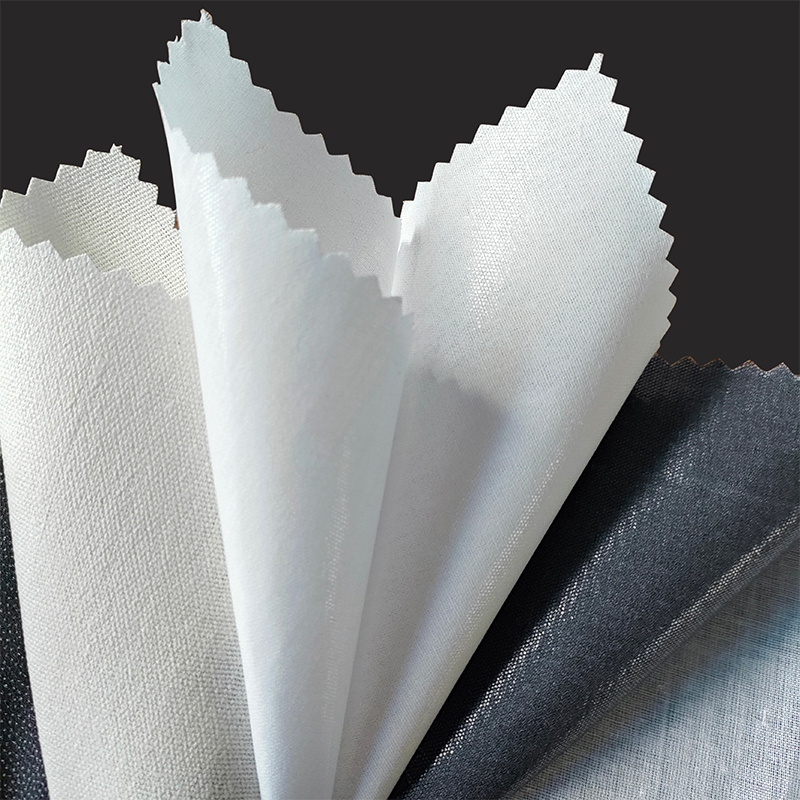 Shirt Interlining for Crisp Collars and PocketsDesigned for shirt collars and pockets, this interlining uses resin-treated cotton or polyester blends to maintain stiffness through repeated washing and dry cleaning.View Product →
Shirt interlining is designed specifically for shirts, providing stiffness that survives repeated washing. To learn more about how woven interlining improves garment construction, read our article on the key advantages of woven interlining fabric in garment manufacturing.
Step 3 – Cut the Lining with Correct Grain and Seam Allowances
Cutting a lining accurately is critical. The grain line must match the shell fabric exactly. If you cut a lining on the cross-grain when the shell is cut on the straight grain, the lining will twist and hang off-center. For plaid or stripe shell fabric, the lining does not need to match the pattern, but it should be cut on the same grain direction.
Use a rotary cutter and a measuring ruler for straight edges, and a pair of sharp scissors for curves. Mark the seam allowances directly on the pattern with washable marker. Standard seam allowances for a lining are: side seams 1.0 cm, shoulder seams 1.5 cm, armhole seams 1.5 cm, and the hem 2.0 cm.
When you cut the lining, add a small extra allowance at the hem to allow for turn-up. This extra 0.5 cm helps the lining fall naturally without pulling.
Step 4 – Stitch the Lining Together
Sewing the lining together requires a different approach from sewing the shell. Use a fresh, sharp needle designed for lightweight fabrics, such as a size 70/10 or 75/11 needle. Set your stitch length between 2.5 mm and 3.0 mm. A shorter stitch can make the fabric pucker, while a longer stitch can pull out at the seams.
Sew the lining in this order: first the shoulder seams, then the side seams, then the armhole seams if the garment has set-in sleeves. For a sleeveless jacket, finish the armhole seams after the side seams. For a skirt lining, sew the side seams first, then the waist darts.
Press every seam immediately after stitching. Use a pressing cloth and low heat. For synthetic linings, a cool iron is essential to avoid melting the fabric. In the armhole area, use a thermo bond nonwoven interlining to stabilize the seam and prevent the lining from stretching out of shape.
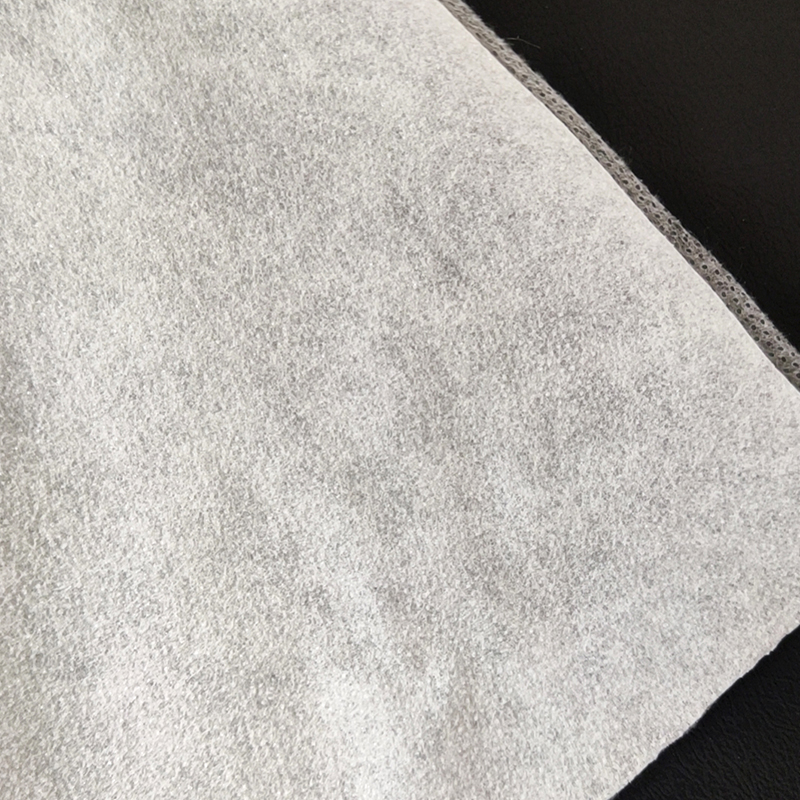
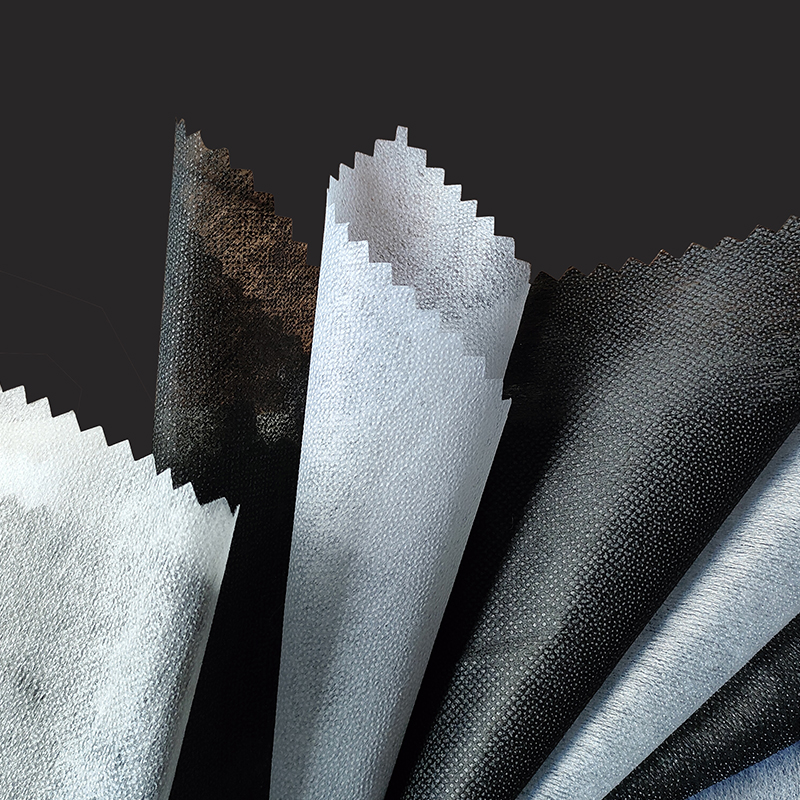 Thermobond Nonwoven Interlining for Seam StabilizationSoft and economical, thermobond nonwoven interlining stabilizes armhole seams and prevents lining stretching, with easy cutting and no fraying edges.View Product →
Step 5 – Attach the Lining to the Garment
Attaching the lining to the shell is where most mistakes happen. The key is to maintain independent movement. The lining should not be pulled tight. When you attach the lining at the neckline or waistband, sew it with a loose stitch or use a small pleat. For a jacket, the lining is usually attached at the front edge and the neckline. You then leave the bottom hem open for a few weeks so the lining can settle, then hand-stitch the lining to the hem with a blind hem stitch.
For a hand-stitched hem, use a needle and thread that blends with the lining. Sew a 0.5 cm slip stitch every 2.0 cm along the hem. Leave a 1.0 cm tail at every 10 cm to allow slight movement. This prevents the lining from splitting when the wearer moves.
Common Lining Mistakes to Avoid
Even with a good pattern, small errors can ruin a lined garment. Here are the most common issues I see in production:
- Cutting the lining on the wrong grain causes twisting at the side seams.
- Skipping pre-washing can make a viscose lining shrink 5-8% after the first wash, pulling the shell out of shape.
- Using a heavy needle creates large holes in lightweight lining, visible on the outside.
- Stitching too tight makes the lining bulge or pucker.
- Forgetting seam allowance at the hem leads to the lining showing below the shell.
- Not allowing ease in the armhole restricts arm movement and tears the underarm seam.
If you are making a garment with a lot of structure, choose interlining carefully. A stiff interlining may be difficult to work with at the armhole. A softer nonwoven interlining that fuses well can be easier for a beginner.
How Do I Clean or Finish a Lined Garment?
Cleaning a lined garment depends on both the shell and the lining. If the lining is synthetic such as polyester or nylon, you can often wash the garment in cold water on a delicate cycle. If the lining is viscose or acetate, dry cleaning is usually safer. Always check the care labels before washing. When ironing the lining, use a low heat setting and a pressing cloth. Iron the lining from the inside so the shell does not shine. When storing a lined jacket, hang it on a wide hanger so the lining does not droop off the shoulders.
Frequently Asked Questions
Can I use regular fabric for a lining?
Yes, you can use almost any fabric as a lining, but it works best if it is smooth and has some slip. Cotton lawn is too matte, but a poly-cotton blend with a satin finish works well for a budget lining.
Do I need interlining in every lined garment?
No. Interlining is only needed where structure is required, such as collars, lapels, cuffs, or front edges. In a simple unlined summer dress, the lining itself may be enough.
How much seam allowance should I add to a lining?
The standard is 1 cm on side seams, 1.5 cm on shoulder and armhole seams, and 2 cm at the hem. These numbers give enough room for the lining to move without being visible.
What is the best lining fabric for a suit jacket?
Polyester satin or a viscose blend are the most practical. Polyester satin is durable and outlasts many wash cycles, while viscose feels more premium and comfortable, though it needs careful cleaning.
How do I stop a lining from clinging or riding up?
Choose a lining with static resistance, like a poly-cotton blend, and attach it at the hem with a loose stitch. Some sewers also use a small amount of fragrance-free anti-static spray on the inside, but the real fix is proper ease in the pattern.