 English
 Español
 Türk
TürkContent
- 1 What to Prepare Before You Fuse Iron-On Interfacing
- 2 Step-by-Step: How to Apply Iron-On Interfacing
- 3 Temperature, Time, Pressure, and Steam: The Four Fusing Variables
- 4 Fusible vs Sew-In: What Is the Difference?
- 5 How to Choose the Right Iron-On Interfacing Weight and Hand
- 6 Common Iron-On Interfacing Mistakes and How to Fix Them
- 7 FAQ: Iron-On Interfacing Questions Answered
- 7.1 Can you iron directly on the interfacing?
- 7.2 How long should you press fusible interfacing?
- 7.3 Do you wash fabric before adding interfacing?
- 7.4 Can you use fusible interfacing on stretch fabric?
- 7.5 What temperature should my iron be for fusible interfacing?
- 7.6 Can you sew through fusible interfacing?
- 8 Final Checks Before You Start Fusing
You just finished cutting out a linen-blend shirt, and the front pieces feel floppier than you expected. By the third wear, the collar will curl and the button band will wrinkle. The fix is not a heavier fabric — it is iron-on interfacing (fusible interfacing), a thin textile coated with thermoplastic adhesive that bonds to your fabric when heat and pressure are applied. The short answer: use enough heat and steam to melt the adhesive, press firmly for 10 to 15 seconds per section, and never slide the iron back and forth. Get those three things right, and most fusing problems disappear.
This guide is written for home sewists and small production teams. The principles below are the same ones used in clothing factories that source fusible interlinings from garment accessory manufacturers.
What to Prepare Before You Fuse Iron-On Interfacing
Fusing is a heat-transfer process, so start by preparing both the fabric and the interfacing. Skip these steps and your fusible may peel, bubble, or show through to the face of the garment.
Tools to have on hand
- A steam iron. A dry iron will not work as well because steam distributes heat evenly and helps the adhesive flow into the fabric.
- A pressing cloth, preferably thin cotton muslin or a Teflon sheet.
- An ironing board with a firm, flat cotton cover.
- Scissors or a rotary cutter plus a cutting mat for accurate sizing.
- A spray bottle for adding moisture to fabrics that need it.
Pre-shrink everything before fusing
Most fusible interfacings are heat-stabilized, but the base fabric can still shrink when exposed to steam. Wash and dry your fabric exactly as you plan to care for the finished garment, then press it flat. If you skip pre-shrinking, the fabric and the interfacing may shrink at different rates later, causing bubbles around the edges after the first wash.
Step-by-Step: How to Apply Iron-On Interfacing
Follow this sequence for almost any fusible product, including woven fusible interfacing, nonwoven fusible interfacing, and fusible knit interfacing.
- Cut the interfacing to match your pattern piece. If you want extra stability in the seam allowance, cut it about 1/2 inch (12 mm) larger all around and trim after fusing.
- Place the fabric wrong side up on the ironing board. Lay the interfacing on top with the adhesive side facing down onto the fabric. The adhesive side is the shiny, slightly rough side.
- Cover the piece with a pressing cloth. This protects both the fabric surface and your iron soleplate from adhesive residue.
- Press firmly for 10 to 15 seconds per section. Work from the center outward, overlapping each press slightly. Do not slide the iron sideways while pressing — lift and move instead.
- Let it cool completely on a flat surface. Moving the fused piece while it is still warm can break the bond between the adhesive and the yarns.
- Check the edges. If any corner lifts, press that area again for 8 to 10 seconds with steam.
Block fusing for efficiency
Block fusing saves time when you need multiple pattern pieces from the same fabric. Fuse a full rectangle of interfacing to one section of fabric, let it cool, then lay your pattern pieces on top. This is the standard approach in garment factories because it minimizes distortion and speeds up cutting. For a home project, block fusing is useful when you are reinforcing a whole bodice, waistband, or jacket front.
Temperature, Time, Pressure, and Steam: The Four Fusing Variables
Most fusing failures come from one of these four variables being off. The table below shows typical settings for common fabric types. These ranges reflect the fusing specifications commonly used by interlining producers; always make a test swatch before fusing your garment pieces.
| Fabric | Iron temperature | Steam | Press time per section | Key note |
|---|---|---|---|---|
| Cotton / linen | 180–200°C (350–390°F) |
Medium to heavy | 12–15 s | Cotton tolerates heat well; use firm pressure. |
| Wool / wool blends | 150–160°C (300–320°F) |
Medium | 10–12 s | Use a pressing cloth to avoid shine. |
| Polyester / nylon | 120–150°C (250–300°F) |
Light | 8–10 s | Test first; synthetic fibers can melt if too hot. |
| Silk / viscose rayon | 120–140°C (250–285°F) |
Light | 8–10 s | Press through a cloth; keep the iron moving between sections. |
| Cotton blends | 160–180°C (320–350°F) |
Medium | 10–12 s | Match the heat to the most delicate fiber in the blend. |
Three rules to remember:
- Heat has to reach the adhesive layer. If your iron is too cool, the adhesive melts only partially, and the bond fails after washing. If it is too hot, the adhesive can bleed through the fabric or harden the hand too much.
- Pressure activates the bond. Press down with the full weight of the iron. In a factory fusing press, the same idea is applied with hydraulic pressure. More pressure means better contact between the adhesive and the yarns.
- Steam helps the adhesive wet into the yarns. For dry synthetic fabrics, a short burst of steam or a slightly damp pressing cloth noticeably improves adhesion.
Fusible vs Sew-In: What Is the Difference?
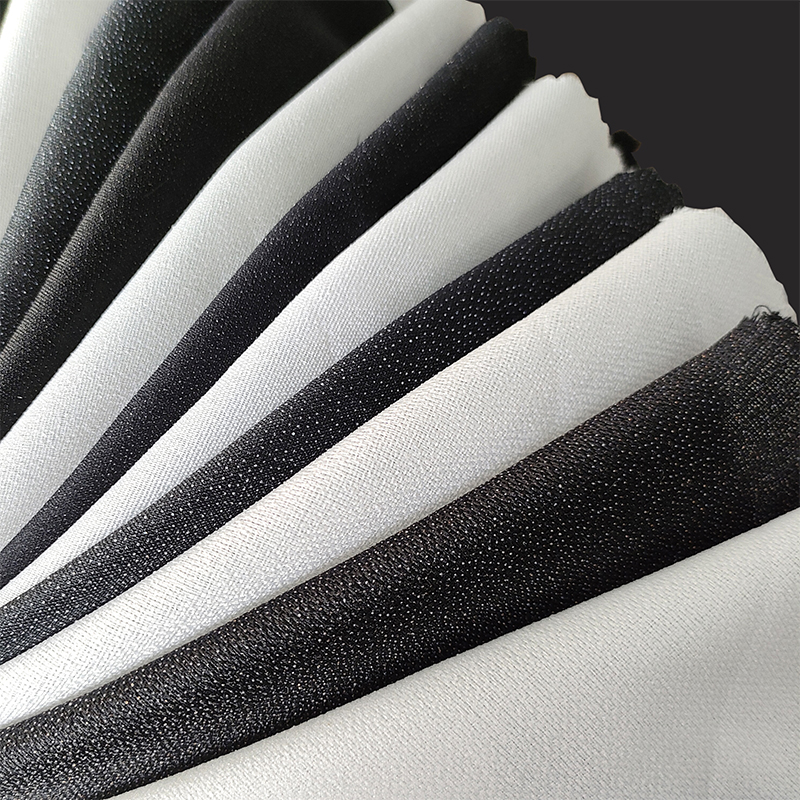
Fusible interfacing has a dry adhesive coating on one side. Sew-in interfacing does not. Fusible saves time and gives a clean, precise shape for stable woven fabrics. Sew-in is better for loosely woven fabrics, heavily textured or napped fabrics, and any project where you want zero risk of adhesive bleed-through.
Woven, Nonwoven, or Knit?
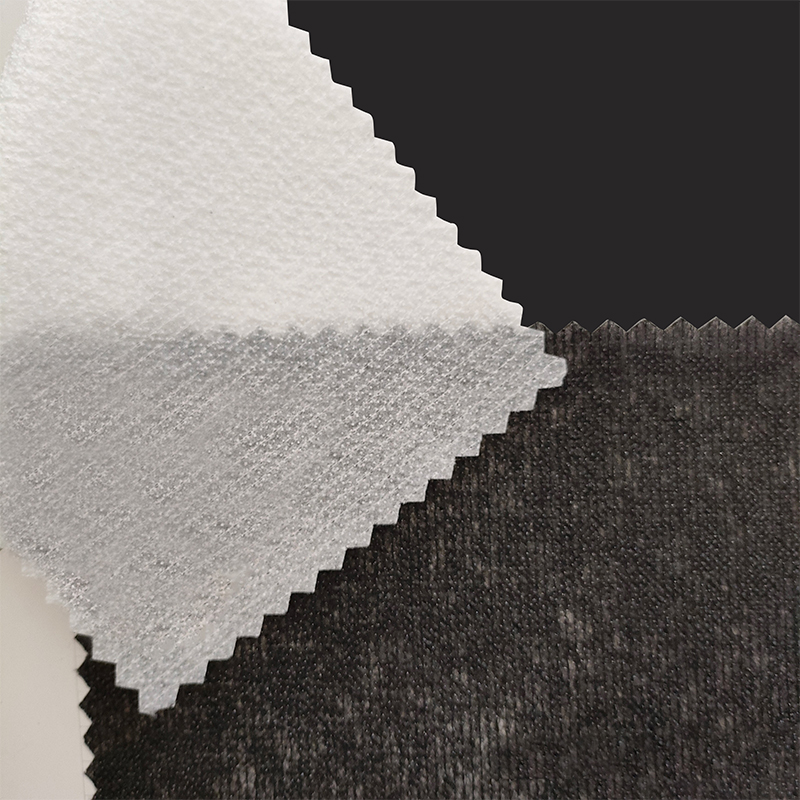
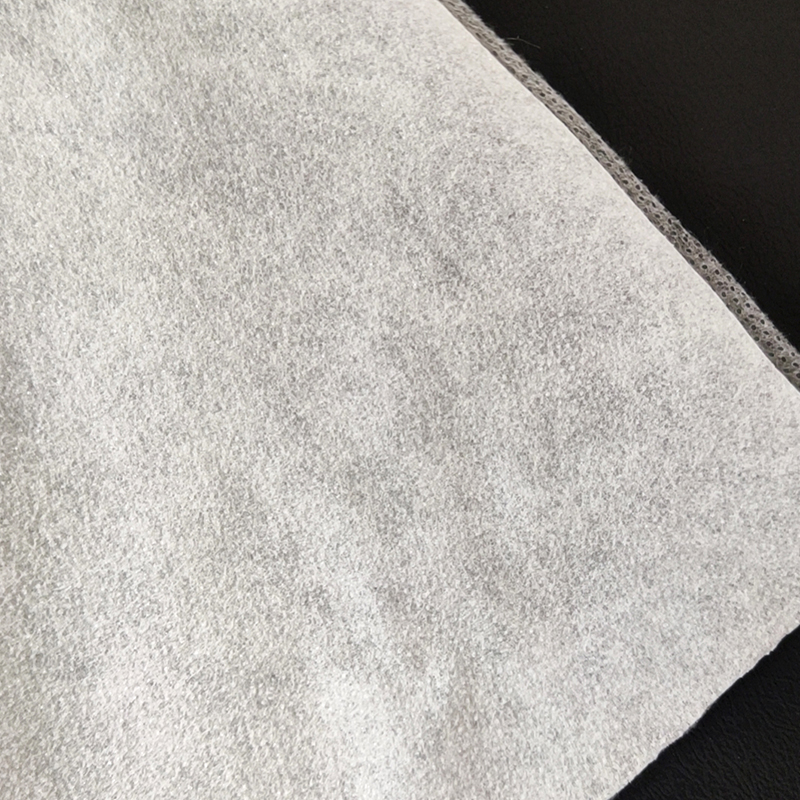
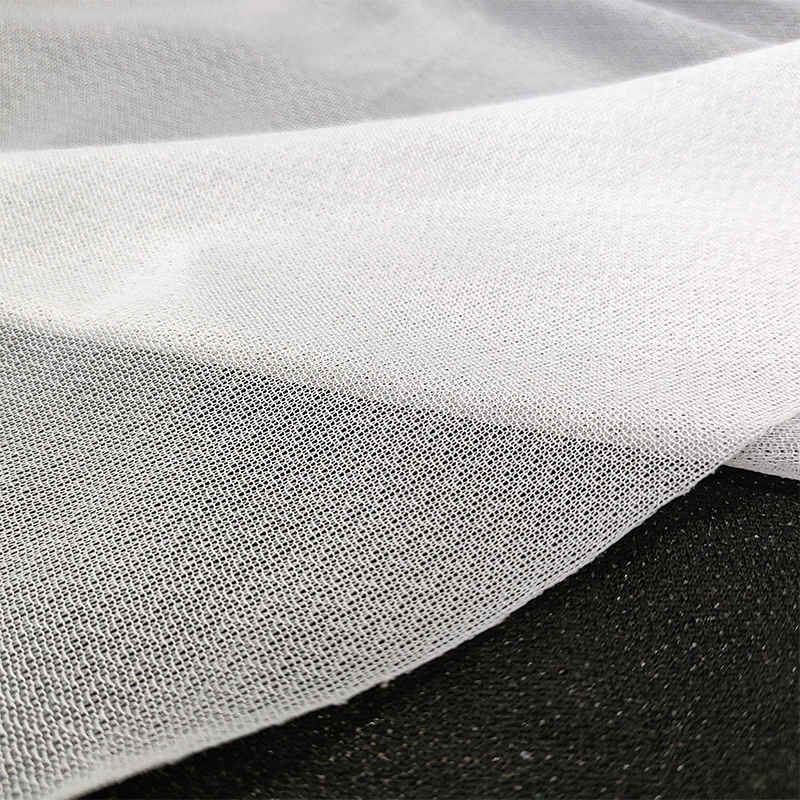
Woven fusible interfacing is made on a loom and follows the drape of woven fabric, making it ideal for structured garments like shirts and jackets. Nonwoven fusible interfacing is made by bonding fibers; it is lighter, easier to cut, and commonly used for facings, collars, pockets, and waistbands. Knit fusible interfacing has a knitted structure with stretch, designed for jersey, rib knit, and stretch woven fabrics.
| Type | Structure | Best for | Key consideration |
|---|---|---|---|
| Woven | Plain or twill weave | Shirts, jackets, tailored pieces | Strong, crisp, holds a fold well |
| Nonwoven | Fibers bonded by heat or chemicals | Facings, collars, cuffs, pockets | Economical, easy to cut, no fray edges |
| Knit | Knitted loop structure | Jersey, rib knit, stretch wovens | Moves with the fabric, reduces rippling |
In production, fusible interlining is far more efficient than sew-in. For mid-weight shirt panels and stable facings, a thermo-bond nonwoven interlining is a dependable starting point.
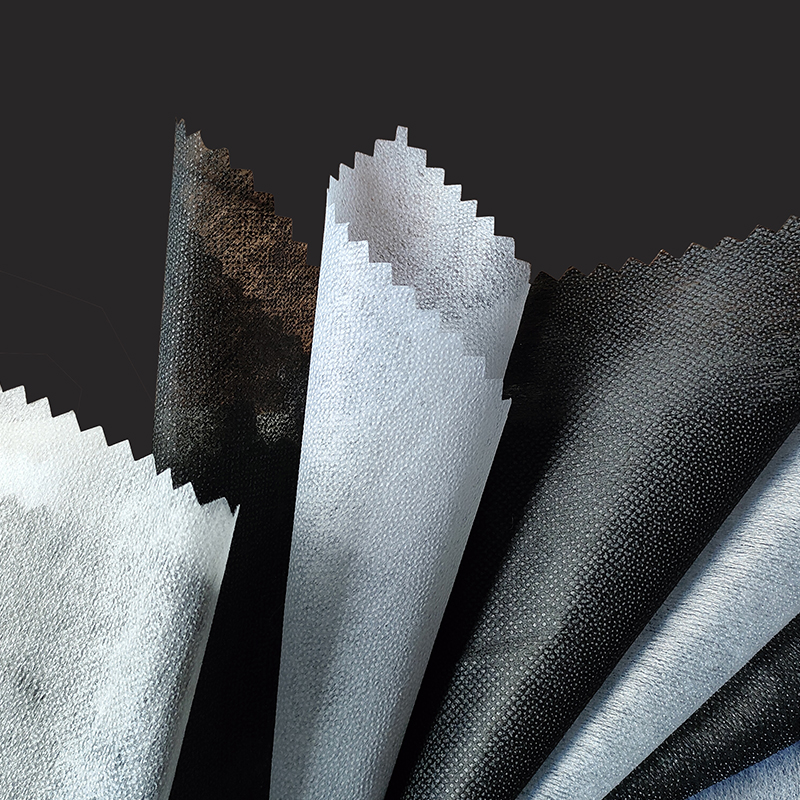 Non Woven Fusible Interlining Fabric Suppliers, FactoryRugao Jilin Garment Accessories Co., Ltd is China non woven fusible interlining fabric suppliers and thermobond nonwoven interlining fact...View Product →
How to Choose the Right Iron-On Interfacing Weight and Hand
A well-fused interfacing should disappear into the fabric. If you can feel the interfacing through the right side, it is too heavy. If the fabric still collapses after fusing, it is too light.
Match the weight to the fabric
- Light fabrics — voile, chiffon, cotton lawn: choose light nonwoven fusible or a fine weft-insertion interfacing.
- Mid-weight fabrics — poplin, linen, chambray: choose medium-weight nonwoven or woven fusible interfacing.
- Heavy fabrics — denim, canvas, twill suiting: choose heavyweight woven or structured interfacing.
Check the drape with a swatch test
Cut a 10 cm square of both interfacing and fabric, fuse them together, and let it cool. Hold the square up and watch how it falls. If it feels too stiff or creates a visible ridge when bent, size down. This two-minute test prevents wasted panels later.
Consider the end use
A crisp shirt collar needs durable woven interfacing that will keep its shape through repeated washing; a shirt interlining is the standard choice for that job. For a soft facing inside a knit cardigan, a lighter chemical-bond nonwoven interlining gives support without stiffness.
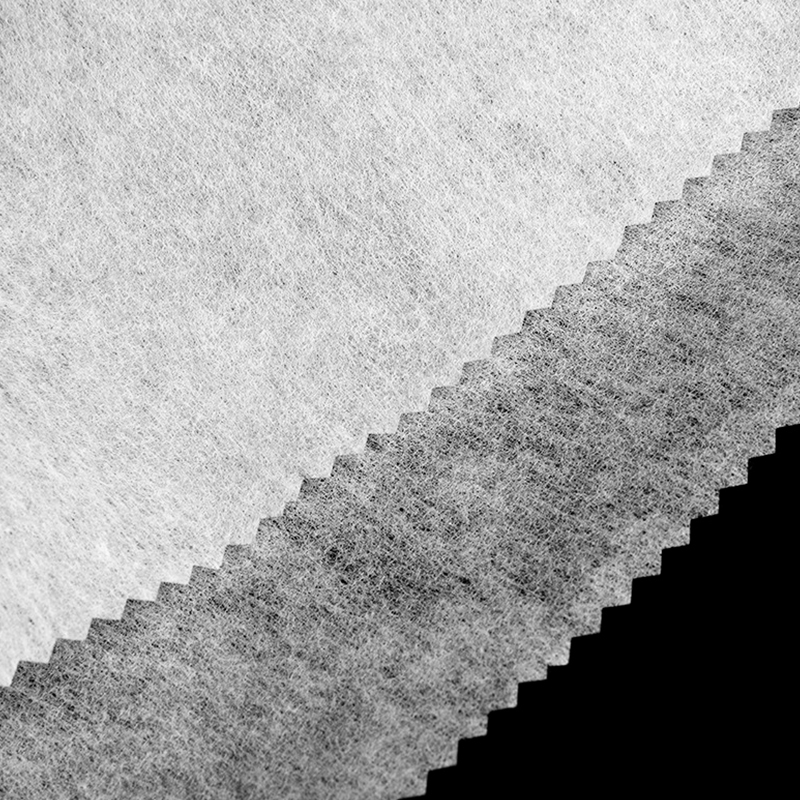 Wholesale Chemical Bond Nonwoven Interlining Manufacturers, Suppliers - Rugao JiRugao Jilin Garment Accessories Co., Ltd is China Wholesale Chemical Bond Nonwoven Interlining manufacturers and Chemical Bond Nonwoven I...View Product →
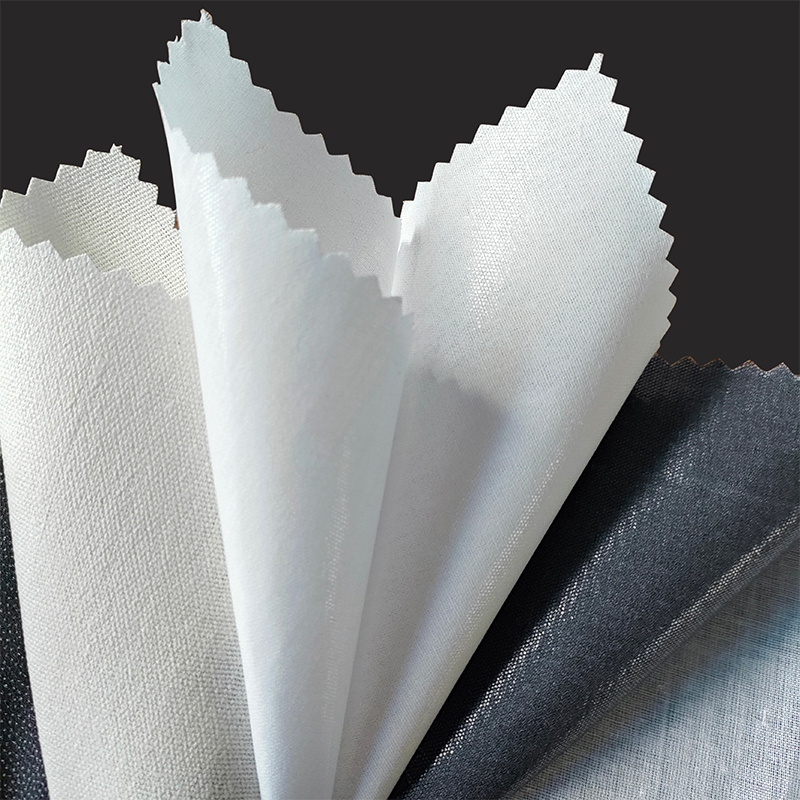 Wholesale Shirt Interlining Manufacturers, Suppliers - Rugao Jilin Garment AccesRugao Jilin Garment Accessories Co., Ltd is China Wholesale Shirt Interlining manufacturers and Shirt Interlining suppliers,Use pure cott...View Product →
Common Iron-On Interfacing Mistakes and How to Fix Them
Bubbles after cooling or washing
Bubbles usually mean the adhesive did not melt fully or the fabric was moved while warm. Place a pressing cloth over the area, add steam, and press firmly for 10 to 15 seconds. Let the piece cool again before moving it.
Adhesive bleed-through
Glue showing on the right side of the fabric is usually caused by an iron that is too hot or a press time that is too long on a low-viscosity adhesive. Lower the temperature, shorten the press time, and always use a pressing cloth.
Peeling edges
Corners and curves lift first because they receive less pressure from the iron. Press those spots again firmly, or trim the interfacing slightly inside the seam line before fusing so the edges do not add bulk in the fold.
Wrinkles in the interfacing
Wrinkles appear when the iron slides over the interfacing before the adhesive sets. Always lift the iron between sections. If a wrinkle has already formed, place a damp cloth over it and press gently; when the adhesive softens, smooth the layer flat and let it cool under pressure.
FAQ: Iron-On Interfacing Questions Answered
Can you iron directly on the interfacing?
No, always use a pressing cloth. Direct contact can transfer adhesive to the soleplate, leave shiny marks on the fabric, and create uneven heat distribution.
How long should you press fusible interfacing?
10 to 15 seconds per section is the practical range for most fabrics. Pressing too briefly melts only the surface of the adhesive bead, while pressing much longer can over-dry the glue and stiffen the hand of the garment.
Do you wash fabric before adding interfacing?
Yes, pre-wash the fabric the same way you will wash the finished garment. Do not wash most fusible interfacings, because the adhesive layer may be damaged. Instead, steam-press the interfacing before use to relax it.
Can you use fusible interfacing on stretch fabric?
Yes, if you choose a fusible knit or a stretch woven interfacing. A rigid nonwoven fusible will restrict the fabric's stretch and can cause rippling at the seams.
What temperature should my iron be for fusible interfacing?
Match the temperature to the most delicate fiber in your fabric. Use 180–200°C for cotton and linen, 150–160°C for wool, 120–150°C for polyester and nylon, and 120–140°C for silk and rayon. Always test on a scrap piece first.
Can you sew through fusible interfacing?
Yes. After fusing, the interfacing becomes one layer with the fabric, and you can cut, sew, topstitch, and construct the garment normally. The fused layer also supports the seam allowance and prevents stretching.
Final Checks Before You Start Fusing
Fusing is repetitive and forgiving once you understand the four variables. Always test on a scrap first, record the settings that worked for that fabric, and keep the fused piece flat until it cools. Whether you are making a single blouse or preparing a production line, the same principle applies: heat, pressure, time, and steam working together.
Run this quick checklist before you start:
- Swatch test fused and cooled
- Fabric pre-shrunk and pressed
- Iron temperature matched to your fabric fiber
- Pressing cloth placed over the interfacing
- Pressure, steam, and time applied consistently section by section
If you are sourcing fusible interlining for a clothing brand or a small factory, working with a manufacturer that produces stabilized and tested interlinings removes much of the guesswork. Perfect fusing is about controlling the variables, not about owning the most expensive iron.