 English
 Español
 Türk
TürkContent
- 1 The Short Answer: How to Cut a Men's Shirt the Right Way
- 2 Tools You Need Before You Make Any Cut
- 3 Understanding Interlining and Why It Matters When Cutting Shirts
- 4 How to Cut the Sleeves: Turning Long Sleeves Into Short Sleeves
- 5 How to Cut the Body of a Men's Shirt for a Slimmer Fit
- 6 How to Cut the Hem: Shortening a Men's Shirt
- 7 Cutting the Collar: How to Modify or Remove a Men's Shirt Collar
- 8 Common Mistakes When Cutting a Men's Shirt—and How to Avoid Them
- 9 Fabric Types and How They Affect Cutting Technique
- 10 Creative Cuts: Transforming a Men's Shirt Into Something New
- 11 Pressing and Finishing: The Step That Separates Good From Great
The Short Answer: How to Cut a Men's Shirt the Right Way
Cutting a shirt for men is not just about grabbing a pair of scissors and going for it. Whether you want to slim a boxy fit, convert a long-sleeve into a short-sleeve, transform an old dress shirt into a casual button-up, or create an entirely new silhouette, the process requires planning, the right tools, and an understanding of fabric behavior. The single most important rule: always measure twice, cut once. A wrong cut on fabric cannot be undone.
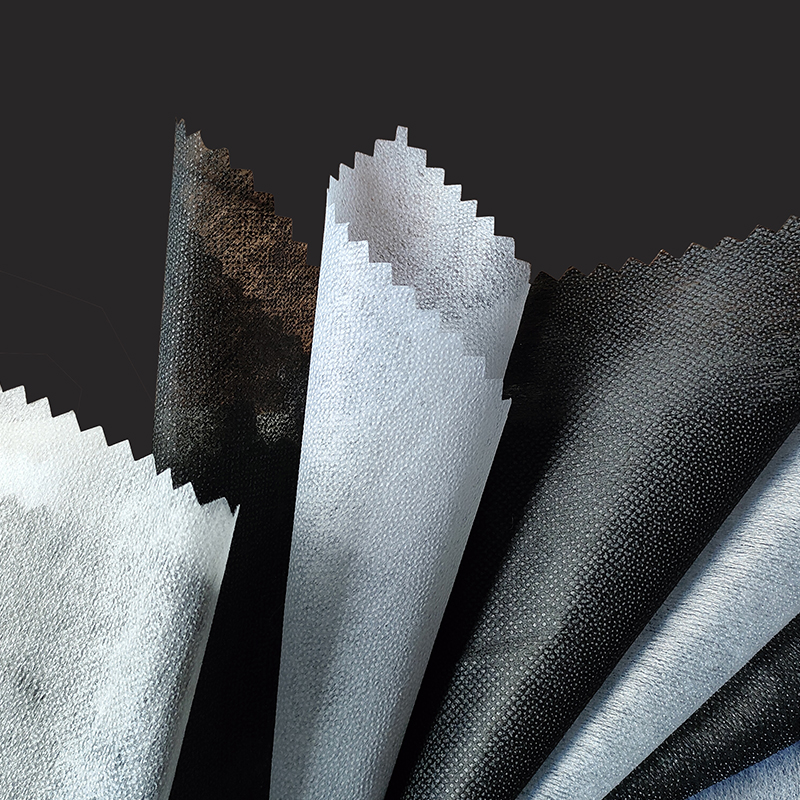
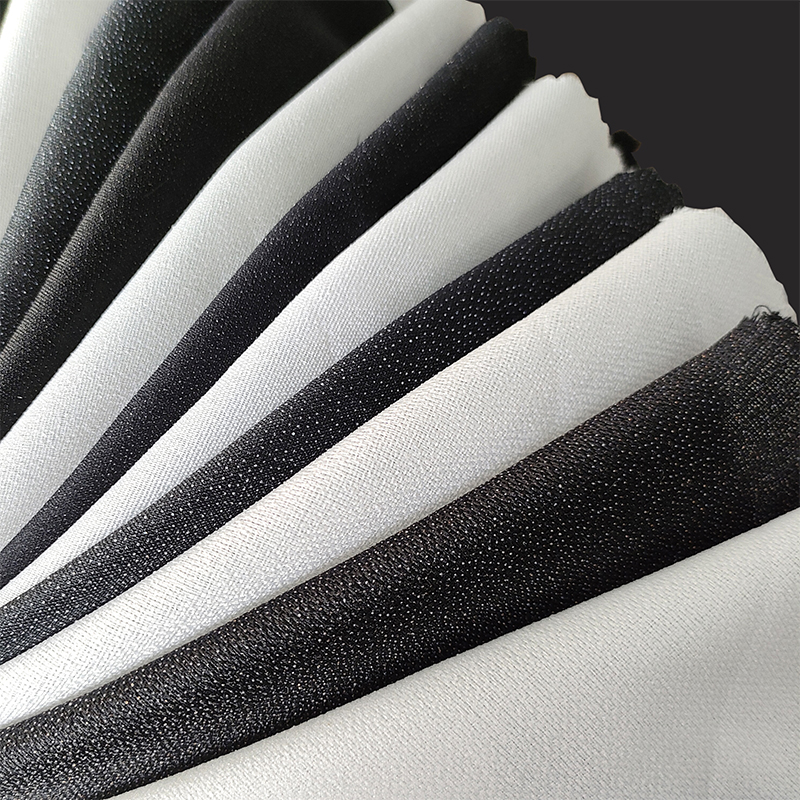
For structural cuts—especially around collars, cuffs, or anywhere the fabric needs to hold a precise shape—using interlining is not optional. Interlining is a layer of material fused or sewn between the outer fabric and lining to add stiffness, shape retention, and durability. It is the reason a collar stands crisp instead of flopping, and why a cuff holds its form wash after wash. Skipping interlining in these zones leads to fabric that puckers, stretches, or distorts over time.
This guide walks through every aspect of cutting a men's shirt—from the tools you need to the techniques that separate clean results from amateur mistakes.
Tools You Need Before You Make Any Cut
Going in unprepared is the fastest way to ruin a shirt. The right tools do not cost a fortune, but they make a measurable difference in the quality of the final result. Here is what you need on your table before anything else:
- Fabric scissors or shears — Not household scissors. Fabric shears have longer blades and are designed to cut cleanly through woven material without fraying the edge. A quality pair like Fiskars 8-inch shears or Gingher dressmaker shears runs between $15 and $40 and is worth every cent.
- Seam ripper — For removing existing stitching before cutting near seams. Essential for cuff removal or collar work.
- Tailor's chalk or fabric marker — Marks wash out or brush off. Never use a pen or pencil directly on fabric.
- Ruler or straight edge — A 24-inch quilting ruler gives you accurate straight lines for hem cuts.
- Measuring tape — Flexible tape for measuring around arms, chest, and collar.
- Pins — For holding fabric flat before marking cut lines.
- Iron and ironing board — Critical for pressing seams flat and activating fusible interlining.
- Fusible interlining or woven interlining — Needed for any cut near collars, plackets, or button bands where structural integrity must be maintained after cutting.
If you plan to finish the raw edges after cutting—which you should on any permanent alteration—a sewing machine with a zigzag stitch or a serger is also recommended. Raw fabric edges fray quickly, especially on cotton and linen shirts, and an unfinished hem will not last more than a few washes.
Understanding Interlining and Why It Matters When Cutting Shirts
Interlining is one of the most underrated elements in shirt construction, and most people do not even know it is there—until it is missing. In a properly constructed men's dress shirt, interlining is applied to the collar stand, the collar itself, the cuffs, and often the front placket. It is what gives these areas their firmness and clean finish. When you cut a shirt and alter these areas, you either work with the existing interlining or you add new interlining to restore the structure.
Types of Interlining Used in Men's Shirts
There are several types of interlining relevant to shirt work, and choosing the right one depends on the fabric weight and the area being reinforced:
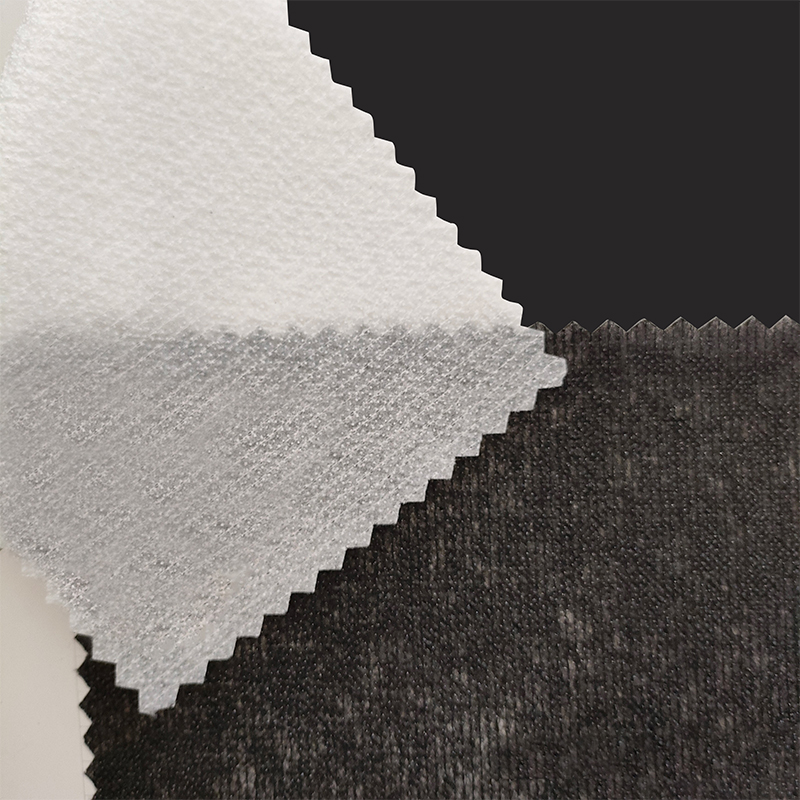
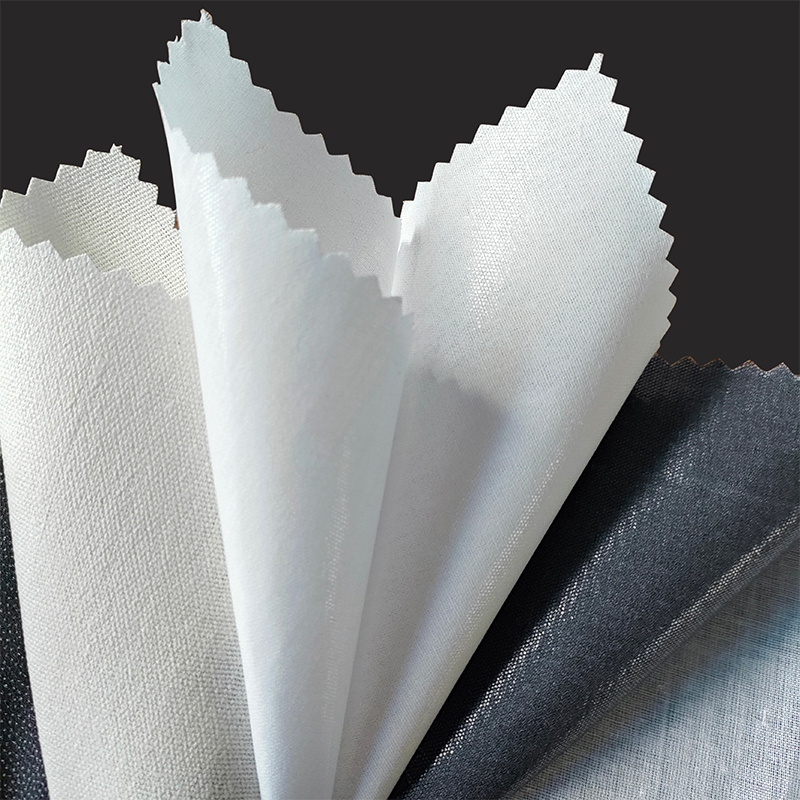
- Fusible interlining — Has a heat-activated adhesive on one side. You press it onto the wrong side of the fabric with a hot iron (usually 150°C for 10–15 seconds with a damp cloth). It bonds permanently and is the easiest option for DIY shirt alterations. Pellon 906F or Vilene G700 are popular choices available at most fabric stores.
- Sew-in interlining — Stitched in place rather than fused. More durable and preferred for high-end dress shirts where repeated dry cleaning might delaminate fusible types. Requires more skill to apply correctly.
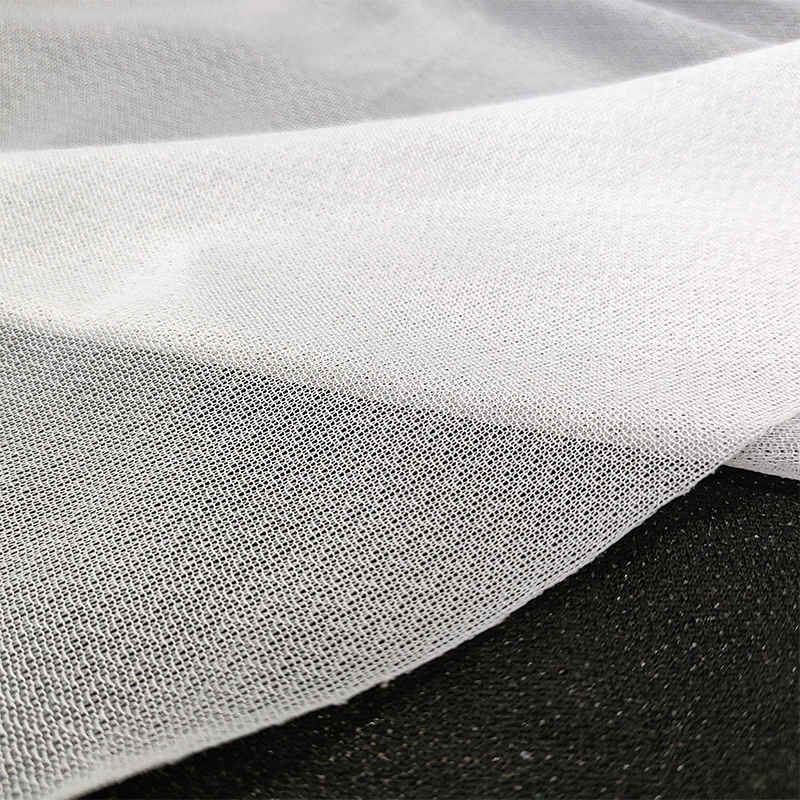
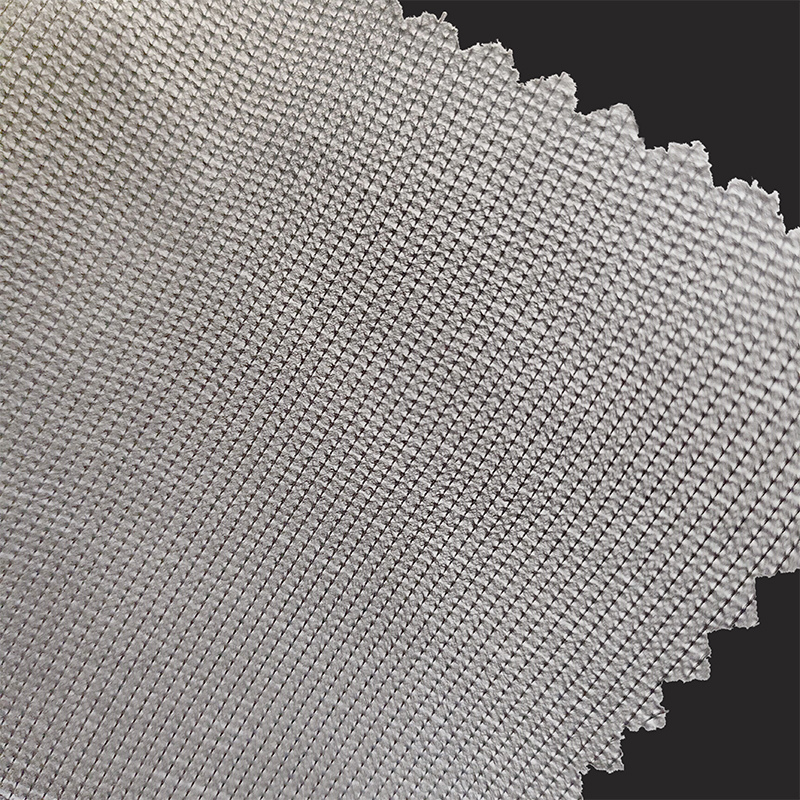
- Woven interlining — Made from woven fabric threads, giving it stretch in the bias direction. Used in tailored shirts for a natural drape and hand-feel. More expensive but preferred in bespoke shirt making.
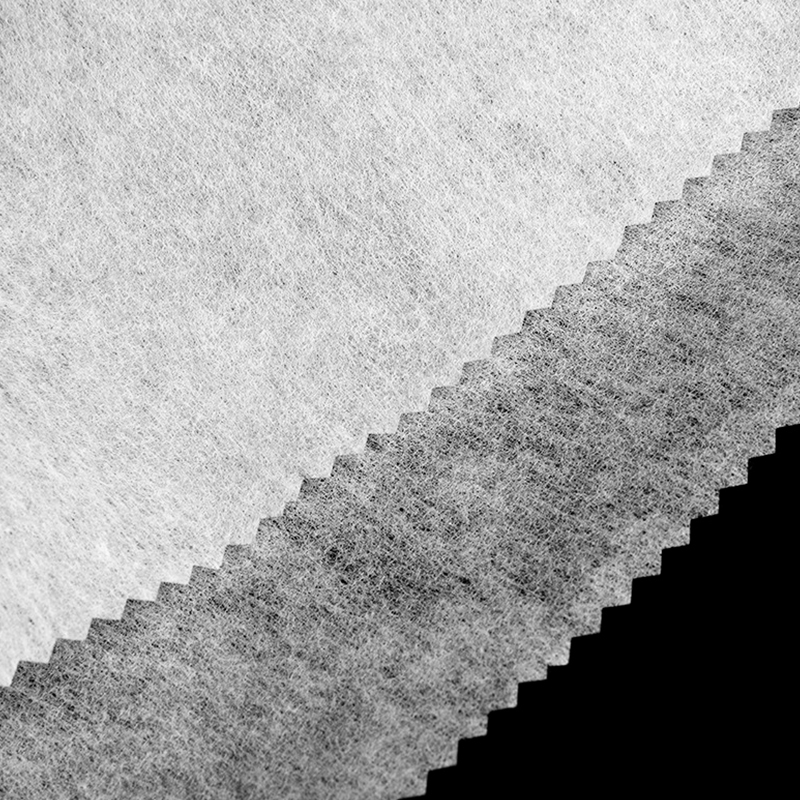
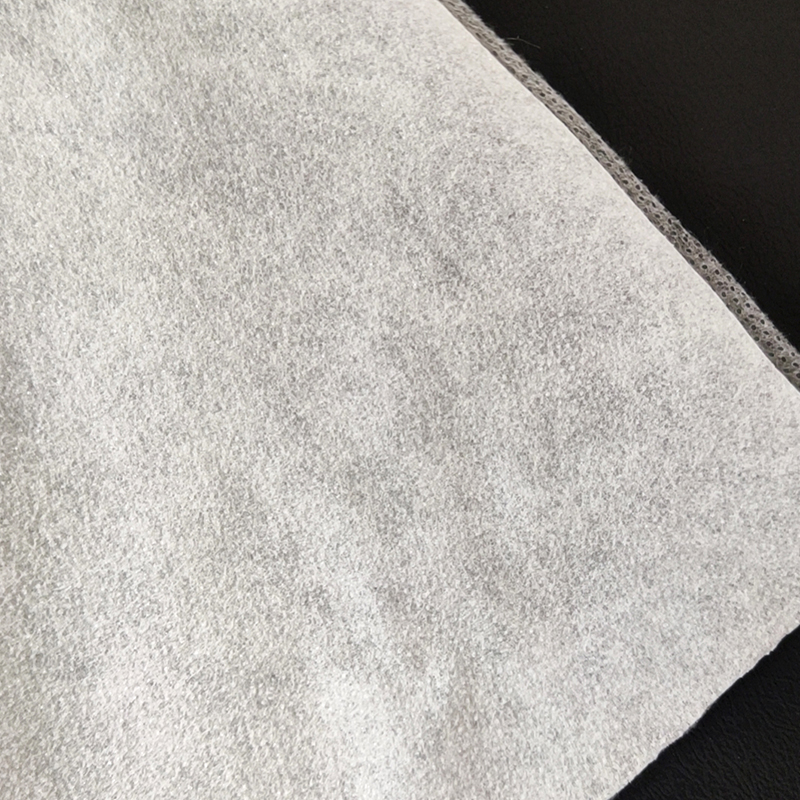
- Non-woven interlining — Made from bonded fibers rather than woven threads. Less drapey, but works for casual shirts and lighter alterations. More affordable and widely available.
When to Apply Interlining During a Shirt Cutting Project
The rule is straightforward: any time you cut fabric that was previously supported by interlining, or any time you create a new edge that will form a structural element, you need to apply interlining before you sew anything back together. For example:
- Shortening a collar: Cut the collar band, apply fresh fusible interlining to the new collar stand pieces, then reattach.
- Removing cuffs to make short sleeves: If you are sewing a new hem band at the sleeve end, apply a strip of lightweight fusible interlining to the hem allowance area to prevent stretching.
- Trimming the button placket: If cutting the placket to a shorter length, reinforce the cut end with fusible interlining before folding and stitching the new hem.
Interlining-related terms you may encounter in tutorials and shirt-making guides include interfacing (the most common American English term for the same concept), stabilizer, chest canvas (used in jacket construction but sometimes referenced in shirt guides), and fusible web (a related but slightly different adhesive product used for no-sew hems).
How to Cut the Sleeves: Turning Long Sleeves Into Short Sleeves
This is one of the most common shirt modifications men make. An old dress shirt or flannel shirt gets new life as a casual short-sleeve. Here is how to do it cleanly:
Step 1: Decide on the Sleeve Length
The standard finished length for a men's short-sleeve shirt sits roughly 1 to 3 inches below the armpit, depending on style preference. A relaxed casual shirt sits lower; a fitted summer shirt sits higher. Put the shirt on and use a mirror or ask someone to mark the desired finished length on both sleeves with chalk. Always mark both sleeves separately—they may not be perfectly symmetrical.
Step 2: Add Hem Allowance Before Cutting
Whatever your finished length mark is, add 1 to 1.5 inches below it for the hem allowance before you cut. This is the fabric that folds under and gets stitched to create a clean hem. Cutting at the finished length line itself leaves you nothing to work with. Mark this lower cut line clearly with chalk and a ruler.
Step 3: Remove the Cuff First
Use a seam ripper to detach the cuff from the sleeve. Work slowly around the cuff seam—typically a single line of straight stitching—removing the cuff without tearing the sleeve fabric. Once the cuff is off, you have a clear sleeve tube to work with.
Step 4: Cut the Sleeve
Lay the sleeve flat on a cutting mat or hard surface. Align your ruler along the chalk cut line and cut straight across. Flip the sleeve over and confirm the cut is even on the underside as well. Repeat for the second sleeve, measuring from the same reference point (usually the shoulder seam to the cut line) to ensure both sleeves match.
Step 5: Finish the Raw Edge and Hem
Serge or zigzag stitch the raw cut edge. Then fold the hem allowance up twice (a rolled hem) and press flat with an iron. Pin in place and stitch around the sleeve hem. If you want the sleeve to hold its shape better—especially useful for structured cotton shirts—apply a narrow strip of lightweight fusible interlining to the inside of the hem allowance before folding. This is a small detail that makes a big difference in how the sleeve drapes.
How to Cut the Body of a Men's Shirt for a Slimmer Fit
Taking in the sides of a shirt to create a slimmer silhouette is one of the most impactful alterations you can make. A shirt that fits the shoulders but is too boxy through the torso is a common problem, particularly with off-the-rack shirts. Here is how to approach the side seam alteration:
Measure the Desired Chest and Waist Width
Put the shirt on over a fitted underlayer and have someone pinch the excess fabric at the side seams—both front and back—until the shirt fits as desired. Pin the excess in place on both sides. Take the shirt off carefully. The total pinched amount at each side seam is the amount you will remove. For example, if you pinch 1 inch on each side seam, you will take in 2 inches total from the chest circumference.
Mark the New Side Seam Line
Lay the shirt flat. Using the pins as a guide, draw a smooth chalk line tapering from just below the armhole (where you do not want to change anything) down through the waist and out to the original side seam at the hem. A subtle taper that comes in 0.5 inches at the chest and 1 inch at the waist looks natural and tailored. A straight vertical line looks stiff and artificial.
Sew First, Cut Second
This is the rule most beginners ignore and regret. Sew the new side seam along your chalk line before cutting away the excess fabric. Try the shirt on. If the fit is right, trim the excess seam allowance to about 5/8 inch and finish with a zigzag stitch or serger. If the fit is slightly off, you still have fabric to adjust. Cutting before sewing leaves no room for error.
Handling the Curved Hem
Most men's dress shirts have a curved hem—longer at the back, shorter and curved at the front sides. When you bring in the side seams, the hem curve shifts. You may need to re-cut the bottom corners of the shirt slightly to maintain a smooth curve. Use small fabric scissors to trim carefully, then press and re-hem those corners.
How to Cut the Hem: Shortening a Men's Shirt
Shortening a shirt hem is one of the simplest cuts you can make, but the hem style matters a lot depending on whether you want to wear the shirt tucked or untucked.
| Hem Style | Shirt Type | Typical Finished Length | Best Worn |
|---|---|---|---|
| Straight hem | Casual tees, flannels, overshirts | Hits at the hip bone | Untucked |
| Curved shirttail hem | Dress shirts, Oxford shirts | 4–6 inches below the waistband | Tucked in |
| Split hem | Casual button-ups, work shirts | At or just below the hip | Untucked or half-tucked |
Steps for Shortening the Hem
- Put the shirt on and determine where you want the finished hem to fall. Mark with chalk.
- Add 1 inch below the mark for the hem allowance. This is your cut line.
- Lay the shirt flat. Use a ruler and chalk to draw the cut line straight across (for a straight hem) or in a gentle curve (for a curved hem).
- Cut along the line with fabric shears.
- Fold the raw edge up 0.5 inches and press, then fold again 0.5 inches and press again.
- Stitch across the hem close to the inner fold.
For a no-sew version, fusible hem tape (a type of fusible web related to interlining materials) can hold the folded hem in place without stitching. It works reasonably well on cotton shirts but is not as durable as stitching through repeated washing.

Cutting the Collar: How to Modify or Remove a Men's Shirt Collar
Collar alterations are more technically demanding than sleeve or hem cuts because the collar is the most structurally complex part of a shirt. It consists of multiple fabric layers held together by interlining, and cutting it incorrectly results in a floppy, misshapen, or asymmetrical finish. That said, modifying a collar is entirely achievable with patience.
Removing the Collar Entirely for a Band Collar Look
The band collar (also called the Mandarin or Nehru collar) has become a popular style choice for men who want a cleaner, more modern look on dress shirts. Converting a standard point collar to a band collar involves:
- Using a seam ripper to detach the collar from the collar stand at the seam where they join.
- Trimming the top edge of the collar stand to a clean, even curve using small scissors. Mark the curve with chalk first using a curved ruler or a round object as a guide.
- Applying fresh fusible interlining to both the outer and inner collar stand pieces before folding and pressing the new top edge. This step is non-negotiable—without interlining, the collar stand will not hold its shape and will collapse when worn.
- Pressing the new top edge under and topstitching to finish.
Trimming Collar Points
If you want to shorten overly long collar points to a more modern length—standard collar points today are typically 2.5 to 3 inches long—you need to:
- Carefully seam rip the stitching around the collar point area.
- Separate the outer collar fabric from the under collar fabric.
- Trim both layers to the new point shape. Trim the interlining layer separately to match, leaving a 3/8-inch seam allowance clear of interlining so the seam does not become too thick.
- Re-sew the collar point seam, clip the corners, turn right side out, press flat, and topstitch if desired.
The interlining inside the collar must be trimmed to match your new collar shape. Using old, stiff, or delaminated interlining during this process will show through the collar face as bubbling or unevenness. Replace it with fresh fusible interlining cut to match.
Common Mistakes When Cutting a Men's Shirt—and How to Avoid Them
Most shirt cutting mistakes fall into a handful of predictable categories. Knowing them in advance saves fabric, time, and frustration.
- Cutting without a seam allowance. Every cut line needs extra fabric beyond the finished line. Forget this, and you have nothing to fold or stitch. Always add at least 5/8 inch for seams and 1 inch for hems.
- Not washing the shirt before cutting. Cotton and linen shrink. A shirt that fits correctly before washing can shrink up to 5% in length and width after the first wash. Always wash and dry the shirt first, then cut.
- Ignoring the grain line. Fabric has a grain—the direction the threads run. Cut lines that run off-grain will cause the fabric to twist or distort after washing. Cut parallel or perpendicular to the selvage (the finished edge of the fabric roll) whenever possible.
- Skipping interlining on structural areas. As covered throughout this guide, interlining is what holds structured areas—collars, cuffs, plackets—in shape. Removing or ignoring interlining in these zones leads to a limp, unprofessional result.
- Using dull scissors. Dull blades drag and distort fabric as they cut, creating uneven edges. Sharpen or replace your fabric shears regularly.
- Cutting both layers without checking alignment. When cutting through two layers of fabric (front and back of the shirt at once), pins or weights must hold the layers perfectly flat and aligned. Even a small shift between layers produces mismatched results.
- Not pressing between steps. Ironing is not optional in shirt work. Every fold, every seam, every interlining application needs pressing before the next step. Unpressed work produces lumpy, amateurish results regardless of how clean the cut was.
Fabric Types and How They Affect Cutting Technique
Not all men's shirt fabrics behave the same way under scissors and iron. Understanding your fabric type prevents a lot of surprises.
| Fabric | Fray Risk | Interlining Compatibility | Notes |
|---|---|---|---|
| Cotton poplin | Moderate | Excellent | Most common dress shirt fabric; accepts fusible interlining cleanly |
| Oxford cloth | Moderate to high | Good | Heavier weave; use medium-weight fusible interlining |
| Linen | Very high | Good with woven interlining | Frays aggressively; finish all cut edges immediately with serger |
| Flannel | Low to moderate | Moderate | Thick fabric; use lightweight interlining to avoid stiffness |
| Polyester blend | Low | Variable | Test iron temperature before applying fusible interlining—synthetics melt |
| Chambray | Moderate | Excellent | Lightweight; use the lightest fusible interlining available |
Linen deserves special attention because its open weave means the threads pull apart very quickly once cut. If you are working with a linen shirt, apply a thin bead of seam sealant (like Dritz Fray Check) along cut edges immediately and let dry before handling. Then serge or zigzag stitch as a second layer of protection. With linen, interlining that has good drape—specifically woven interlining rather than non-woven—is preferable because it does not fight the natural movement of the fabric.
Creative Cuts: Transforming a Men's Shirt Into Something New
Beyond basic alterations, cutting a shirt can be the starting point for a genuine design transformation. Several looks have become popular in men's fashion that begin with an existing shirt and a pair of fabric shears.
Converting a Dress Shirt Into an Overshirt or Jacket
A heavyweight Oxford or flannel shirt can be cut and restructured to function as a lightweight jacket worn open over a tee. The key modifications include cutting the hem to a straighter, hip-length line and optionally adding patch pockets cut from the excess fabric at the bottom. The chest pocket, if present, can be reinforced with a strip of fusible interlining on the pocket bag to prevent drooping.
Making a Camp Collar From a Standard Collar
The camp collar (also called a Cuban collar or resort collar) is a relaxed, open-lapel style where the collar lays flat along the placket instead of standing up. To convert a standard collar to a camp collar, the collar stand is removed entirely, and the collar is reshaped to fold flat. This requires reapplying lightweight fusible interlining to the reshaped collar pieces so the collar holds its flat, open position without curling. The interlining in a camp collar should be lighter weight than in a structured stand collar—the goal is shape guidance, not stiffness.
Cropped Shirt
The cropped shirt trend in men's fashion—popular in streetwear and fashion-forward circles—involves cutting the shirt hem to sit at or just above the natural waist, roughly 2 to 4 inches above the trouser waistband. This is one of the simplest creative cuts: measure, mark, add 1 inch for the hem, cut, finish, and hem. The straight cut version is the most wearable. A curved crop (slightly higher at the front sides than center) adds shape.
Raw Edge Distressed Look
For a deliberate unfinished aesthetic popular in casual and streetwear contexts, some cuts are intentionally left raw and unfinished. A straight scissors cut on cotton jersey or chambray left to fray naturally over several washes produces a soft, worn look. This only works well on fabrics that fray in a controlled way—linen frays too aggressively, and polyester barely frays at all. Flannel and chambray are ideal. In this case, interlining is deliberately not used, since the raw, deconstructed look is the goal.
Pressing and Finishing: The Step That Separates Good From Great
Finishing work is where most home tailors lose points. A clean cut and a straight seam can still look sloppy if it is not pressed properly. Pressing—using an iron with steam and pressure—is fundamentally different from ironing. Ironing moves the iron back and forth across the fabric. Pressing means placing the iron down, applying pressure for a few seconds, lifting, and moving to the next section.
Every seam you sew should be pressed open or to one side before you sew any intersecting seams. Every hem should be pressed flat before stitching. Every piece of fusible interlining should be pressed according to the manufacturer's instructions—usually 150–160°C for 10–15 seconds with a damp press cloth—to ensure full adhesion without scorching the fabric.
A tailor's ham (a firm, rounded pressing cushion) is useful for pressing curved seams and collars. You can make one from scrap fabric stuffed tightly with sawdust, or purchase one for around $15–$20. For collar work specifically, pressing over a ham helps the collar curve sit naturally rather than lying flat in an unnatural position.
Once your cuts are finished, sewn, and pressed, give the entire shirt a final press from the inside out. This flattens any puckering at seam lines and reactivates any fusible interlining that might have shifted slightly during sewing. The result is a shirt that looks clean, professional, and—critically—like it was always supposed to look that way.