 English
 Español
 Türk
TürkContent
- 1 The Main Coat Collar Types at a Glance
- 2 Structured Lapel Collars: Notch and Peak
- 3 The Shawl Collar: Engineering a Continuous Roll
- 4 Stand and Mandarin Collars: The Vertical Band
- 5 Convertible and Polo Collars: Flexibility by Design
- 6 How Collar Type Dictates Interlining Selection
- 7 Technical Considerations for Collar Construction
- 8 Common Collar Defects and How to Prevent Them
- 9 Frequently Asked Questions
- 9.1 Q1: Do all coat collars need interlining?
- 9.2 Q2: What is the difference between fusible and sew-in interlining for collars?
- 9.3 Q3: Which interlining is best for a wool coat collar?
- 9.4 Q4: Can the same interlining be used for every collar type?
- 9.5 Q5: How do I prevent collar curl after production?
A coat collar is not merely a folded piece of fabric. It is a load-bearing structural component that must hold its shape through years of wear, repeated dry cleaning and countless folding cycles. The collar type a designer selects determines the interlining system that supports it, the sewing sequence, the pressing tolerances, and the final cost structure of the garment.
For nearly three decades, our factory in Rugao, China has produced woven and nonwoven interlinings for coat manufacturers across Europe, the Americas, South Korea and Southeast Asia. During that time, our technical team has evaluated thousands of collar constructions across every major style. This guide distills what we have learned about the six principal coat collar categories, how each one behaves structurally, and which interlining materials produce the cleanest roll line, the firmest notch, and the longest-lasting shape memory.
The rules that follow apply to both industrial coat production and small atelier work. If you are a garment engineer, a quality-control manager, or a sourcing specialist looking for interlining materials that perform predictably under production conditions, the information below will help you make better decisions.
The Main Coat Collar Types at a Glance
Six collar families dominate contemporary coat design. The table below compares them on five factors that matter most in manufacturing: silhouette, structural stiffness, common applications, and the direction the interlining must work in.
| Collar Type | Silhouette | Structural Level | Typical Coat Styles | Interlining Direction |
|---|---|---|---|---|
| Notch Collar | Stepped notch at lapel junction | Medium | Blazers, trench coats, car coats | Medium-weight woven fusible |
| Peak Lapel | Upward-pointing lapel tips | High | Tuxedos, formal overcoats, double-breasted coats | Firm canvas or hair interlining |
| Shawl Collar | Continuous curve, no notch | Soft roll | Dinner jackets, robe coats, cardigan coats | Bias-cut soft woven or nonwoven |
| Mandarin Collar | Closed vertical stand band | Firm column | Minimalist coats, workwear, Asian-inspired outerwear | Firm self-supporting nonwoven |
| Convertible Collar | Wearable open or closed | Versatile | Casual to semi-formal coats | Balanced-stability woven |
| Polo Collar | Short soft band | Relaxed | Weekend coats, sports jackets | Lightweight or no interlining |
These classifications matter because interlining suppliers categorize products by weight, weave density, coating type and stiffness. Matching the collar family to the correct interlining specification prevents costly rework during fusing and pressing.
Structured Lapel Collars: Notch and Peak
Notch and peak lapels are the backbone of tailored coat design. Both feature a lapel that folds outward from the chest and a collar that wraps around the back of the neck. What distinguishes them is the shape of the gorge line and the direction of the lapel point.
Notch Collar
The notch collar has a stepped cutaway at the point where the collar joins the lapel. This creates the familiar V-shaped opening at the chest, which draws the eye vertically and makes the wearer appear taller and narrower. The notch collar is a default choice for single-breasted blazers, trench coats and casual overcoats.
From a manufacturing perspective, the notch adds one critical complication: two intersecting fold lines must align perfectly. The lapel roll line and the collar break line meet at the notch, and any inconsistency in the interlining stiffness on either side of that junction will cause the notch to gape or fold unevenly. Industry practice calls for a medium-weight woven fusible interlining, typically in the 40 to 70 g/m² adhesive-coated range, fused at 150 to 160 °C for 12 to 15 seconds, to stabilize the lapel without making it board-like.
Peak Lapel
Peak lapels are cut so that the lapel points angle upward toward the shoulder, creating a broad, authoritative visual impression. This is the standard lapel for double-breasted coats, tuxedos and formal overcoats. The upward orientation means the lapel must resist gravitational pull when the coat is open. Without a firm interlining, the peak will droop forward after a season of wear.
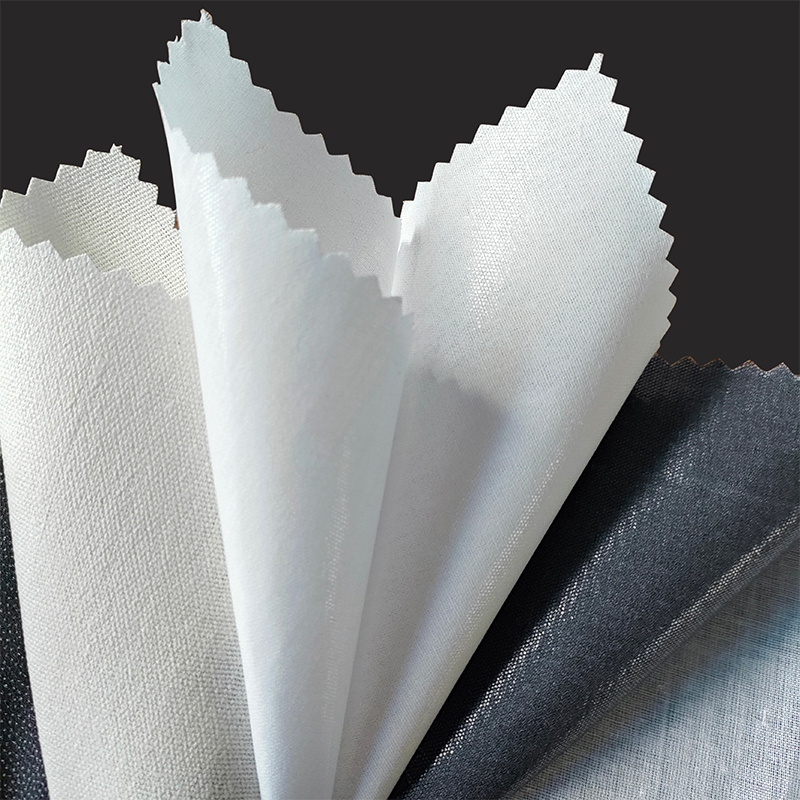
For peak lapels, canvas or hair interlinings with a higher stiffness modulus are recommended. These products typically combine a cotton or wool base with a discontinuous adhesive coating that allows the lapel to roll softly in the upper third while remaining firm at the point. The target flexural rigidity for a peak lapel in a 350 g/m² wool coating is roughly 30 to 50 percent higher than what a notch lapel requires in the same fabric weight.
 Canvas and Hair Interlining for Structured Peak LapelsThis interlining category provides the higher flexural rigidity needed for peak lapels in heavy wool coatings, helping the lapel roll softly while staying firm at the point.View Product →
The Shawl Collar: Engineering a Continuous Roll
The shawl collar is one continuous band that wraps from the back neck across the front chest and terminates at the natural buttoning point. There is no notch, no lapel junction, and no break in the visual line. This is the collar of dinner jackets, robe coats and many modern minimalist overcoats.
Because the shawl collar rolls rather than folds, it places unique demands on interlining. The roll line forms by stacking fabric layers: the outer shell fabric, the interlining, and the under-collar fabric. Each layer must have compatible bending behavior or the roll will drift inward or outward during wear.
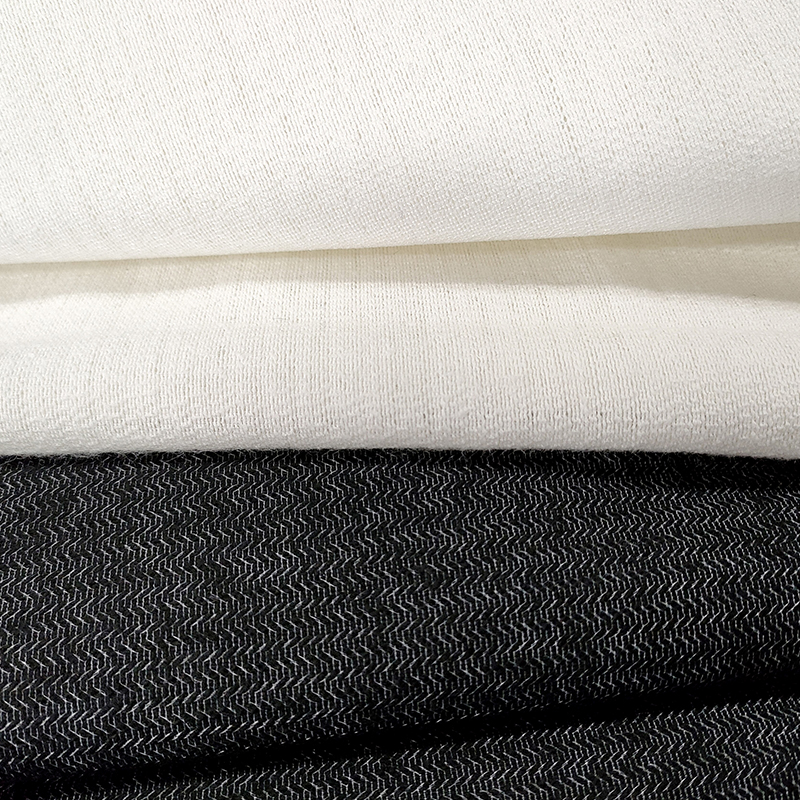
The most common mistake in shawl collar construction is cutting the interlining on the straight grain. The proper method is to cut the shawl collar interlining on the true bias at 45 degrees so that the interlining conforms to the curved roll line without creasing. A napped or brushed woven interlining is especially effective because the fiber pile grips the shell fabric and prevents the layers from shifting during fusing and pressing.
In practice, for a shawl collar in a 300 to 400 g/m² fabric, we recommend a bias-cut napped interlining with a fused weight of 55 to 75 g/m², pressed at 155 °C with a pressure of 3.5 to 4.5 bar for 12 seconds. This combination produces the soft, rolled front edge and the firm back-neck support that a tailored shawl collar needs.
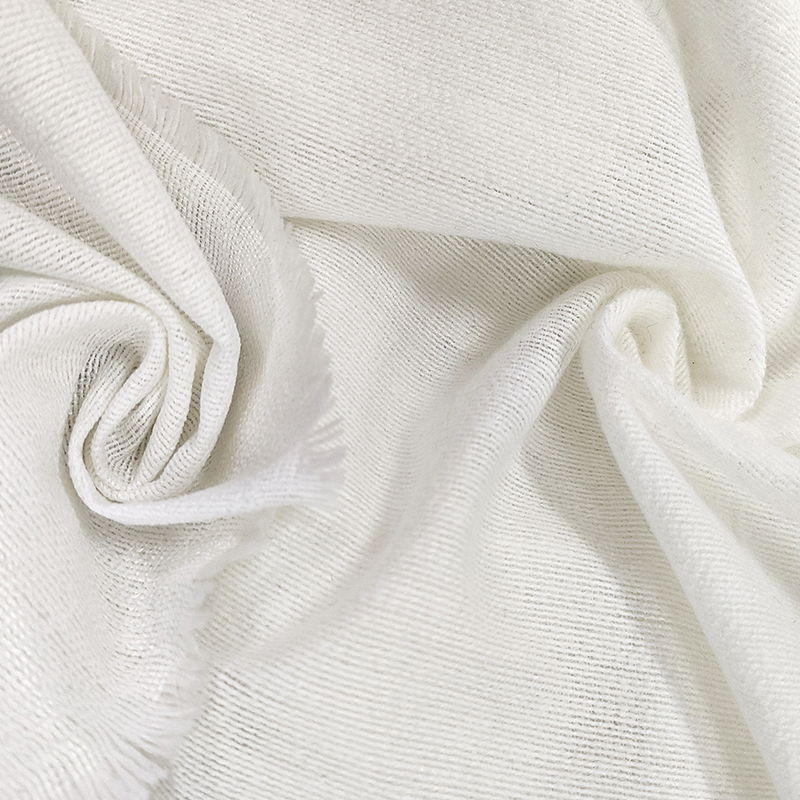 Napped Interlining for Soft Rolled Shawl CollarsRecommended for shawl collars in medium-weight fabrics, this bias-cut napped interlining fuses at controlled temperature and pressure to create a soft front edge with firm back-neck support.View Product →
Stand and Mandarin Collars: The Vertical Band
Mandarin and stand collars are vertical bands that encircle the neck without folding over. They appear in minimalist coats, workwear and Asian-influenced outerwear. The collar stands on its own, which means the interlining must provide compressive resistance in the vertical direction rather than bending resistance along a fold line.
The critical dimension is the collar height, which ranges from 3 cm for a low-band style to 6 cm or more for a dramatic stand collar. As the height increases, the interlining must become progressively stiffer to prevent the collar from buckling when the wearer turns their head. For collars above 5 cm, a double-layer interlining system is often required: a firm fusible on the outer layer and a lighter, softer stabilizer on the inner layer to cushion the neck.
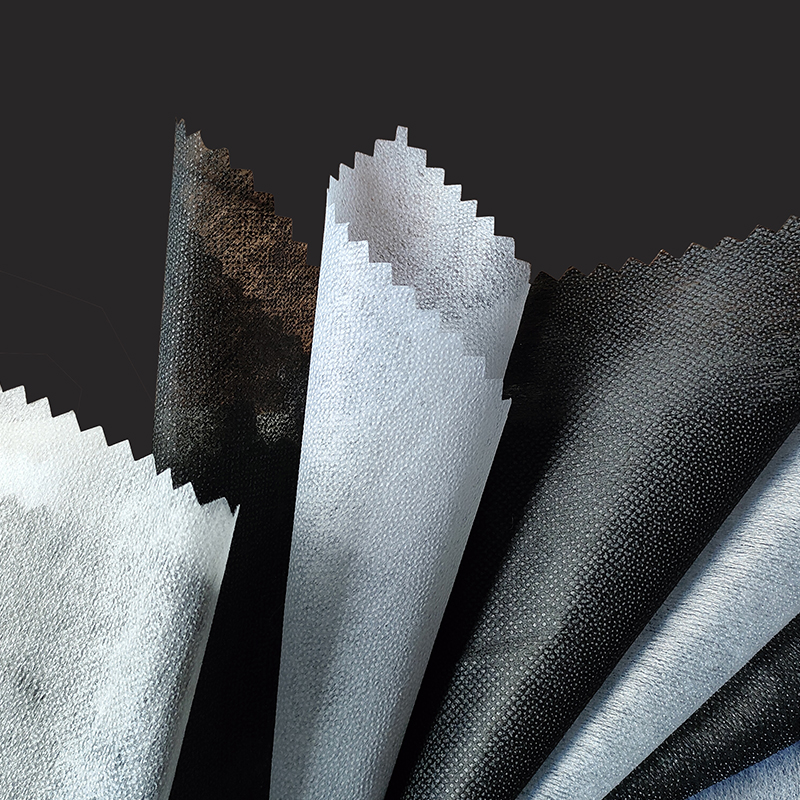
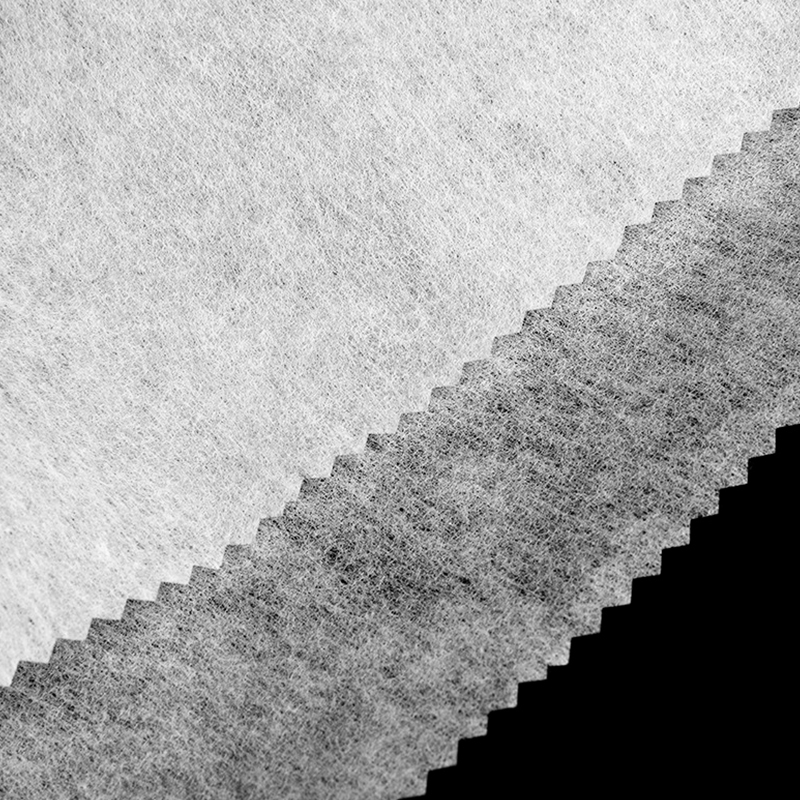
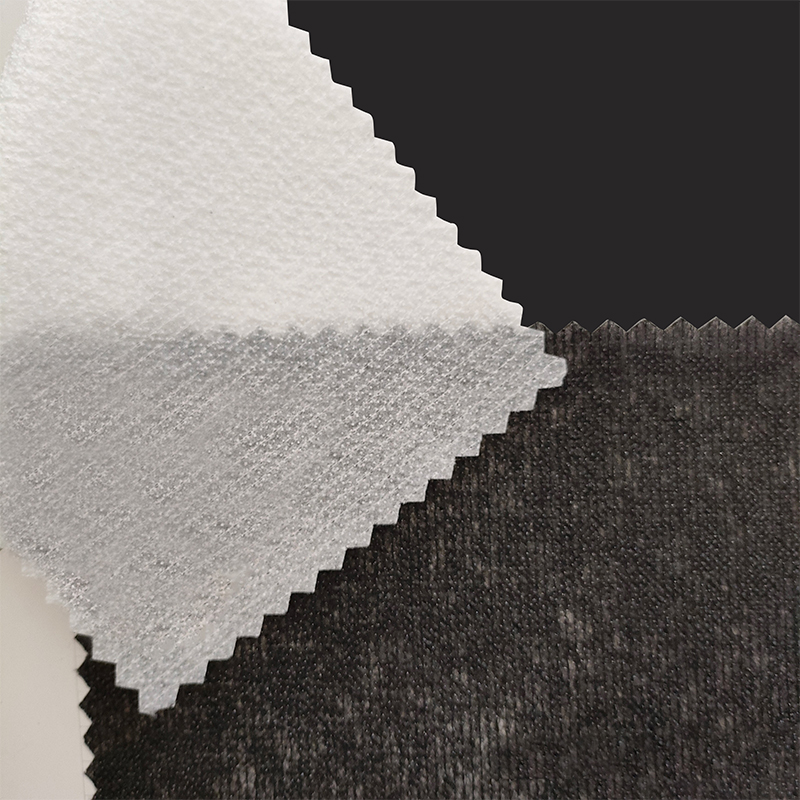
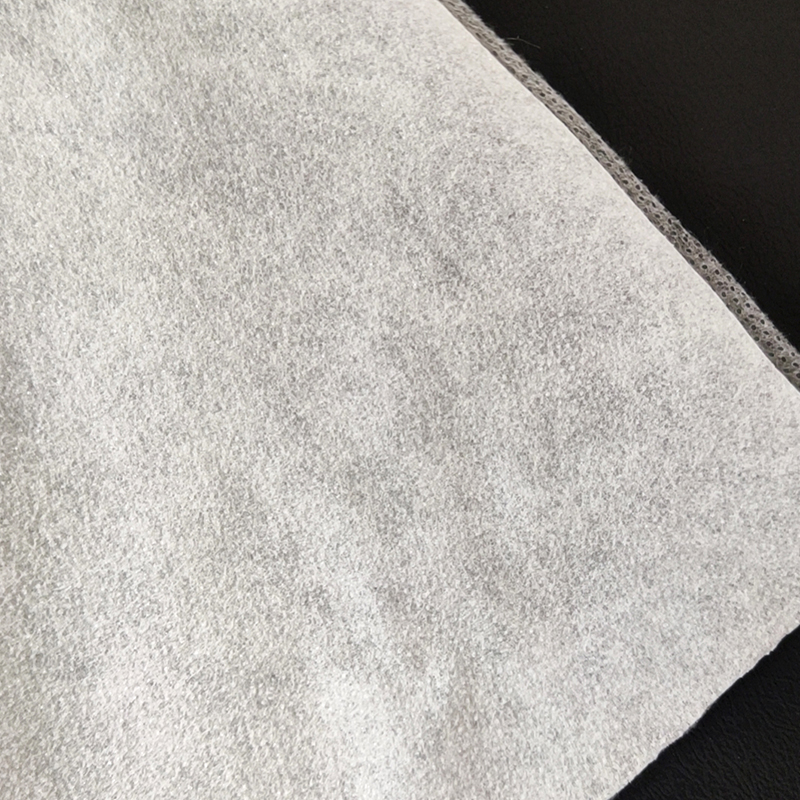
Nonwoven interlinings perform well in this application because they offer uniform stiffness in all directions. A thermo-bond or chemical-bond nonwoven at 60 to 90 g/m² provides sufficient body for most stand collars. For heavier woollen coatings above 450 g/m², a resin-coated woven interlining with a high warp density is the safer choice, as it prevents the collar from stretching along its length when the garment is pulled over the head.
The fusing temperature for stand collars deserves special attention. Because the interlining must bond over a narrow curved area, it is vulnerable to edge lift. We advise a two-stage press: first at 160 °C for 10 seconds, then a second press at 145 °C for 8 seconds after the collar has been folded and topstitched. This two-stage approach locks the shape better than a single hot press.
Convertible and Polo Collars: Flexibility by Design
Convertible collars are designed to be worn either open with the top buttons undone or closed with the collar folded flat. The interlining must therefore accommodate two different shape memories without visible stress marks. This is achieved by using a woven interlining with balanced warp and weft stability, typically a plain-weave construction with equal thread density in both directions.
Polo collars, by contrast, are short bands that use a soft ribbed fabric, knit structure, or spongy double-knit and require minimal or no interlining. When the shell fabric is too loose to hold the collar band upright, a very light nonwoven at 20 to 35 g/m² is fused just to the inner face of the collar to stabilize the fold without compromising drape.
Designers should note that convertible collars on waterproof or lined outdoor coats demand water-resistant interlining adhesives. Standard polyamide fusible resins soften at around 120 °C, and repeated washing at 40 °C can gradually weaken the bond. A copolyamide adhesive with a higher melting point, fused at 165 to 170 °C, gives the collar better wash durability without increasing stiffness.
How Collar Type Dictates Interlining Selection
Choosing interlining by collar type is more reliable than choosing by garment type alone. The collar is the most demanding part of the coat in terms of shape retention, and it sees the most mechanical stress.
Woven Interlining for Structured Collars
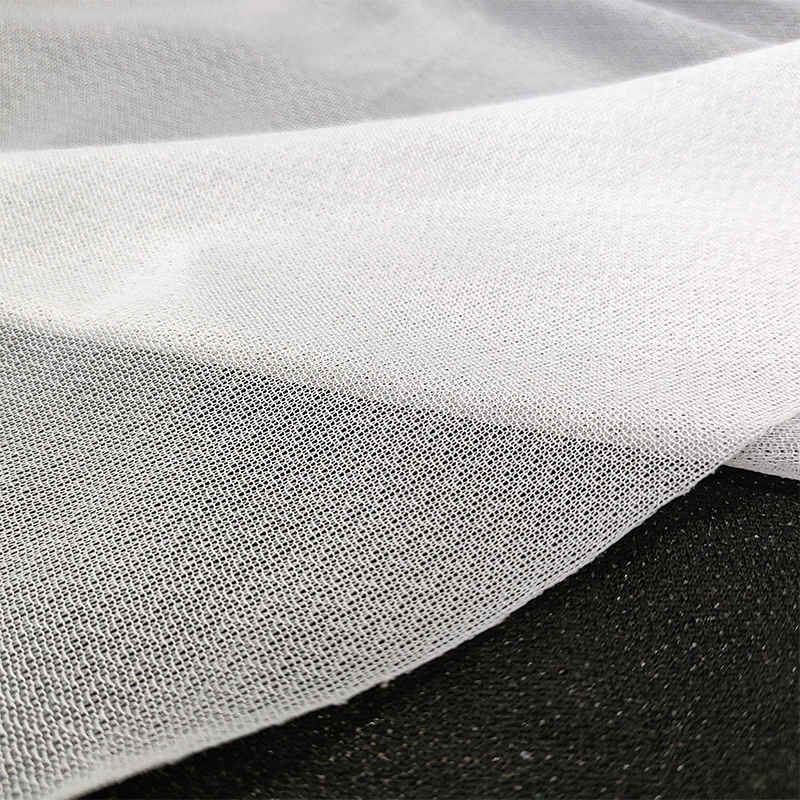
Woven interlinings are made from cotton, polyester or blended yarns. They offer predictable stiffness along the warp direction and controlled flexibility along the weft. For notch, peak and convertible collars, woven interlinings provide the most consistent results because they can be cut on the same grain as the shell fabric, making the fold line stable and the roll clean. As we have explained in our article on key advantages of woven interlining fabric, this grain alignment is the single greatest factor in preventing collar distortion over time.
Nonwoven Interlining for Soft and Vertical Collars
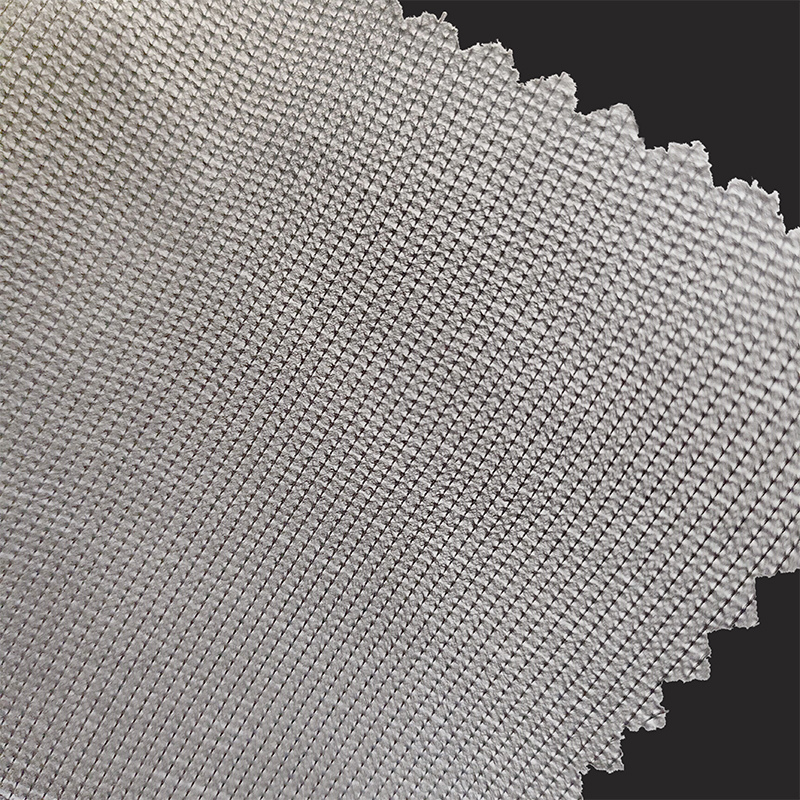
Nonwoven interlinings are made by bonding fibers mechanically, thermally or chemically. They have no grain direction, so stiffness is uniform in every direction. This makes them ideal for mandarin collars, polo collars and shawl collar roll lines where isotropic behavior prevents twisting. The trade-off is lower tensile recovery: nonwonens can lose shape after repeated folding, so they are not recommended for heavily structured lapels on high-end tailored coats. Our woven plain or twill interlining at 50 to 80 g/m² is a workhorse for mid-weight coat collars that need balanced support.
Weight Grading and Its Impact on Collar Performance
Interlining weight is the fastest way to communicate stiffness, but it is not the only factor. The same g/m² interlining can feel soft or stiff depending on fiber diameter, weave density, coating type and coating pattern. A practical approach is to use the weight-to-shell-fabric ratio: for shell fabrics of 200 to 300 g/m², choose interlining in the 40 to 60 g/m² range; for 300 to 450 g/m² shells, choose 55 to 85 g/m²; and for shells above 450 g/m², use 80 to 120 g/m² or a canvas/hair laminate. These ratios hold across most woven interlining product lines regardless of the specific supplier.
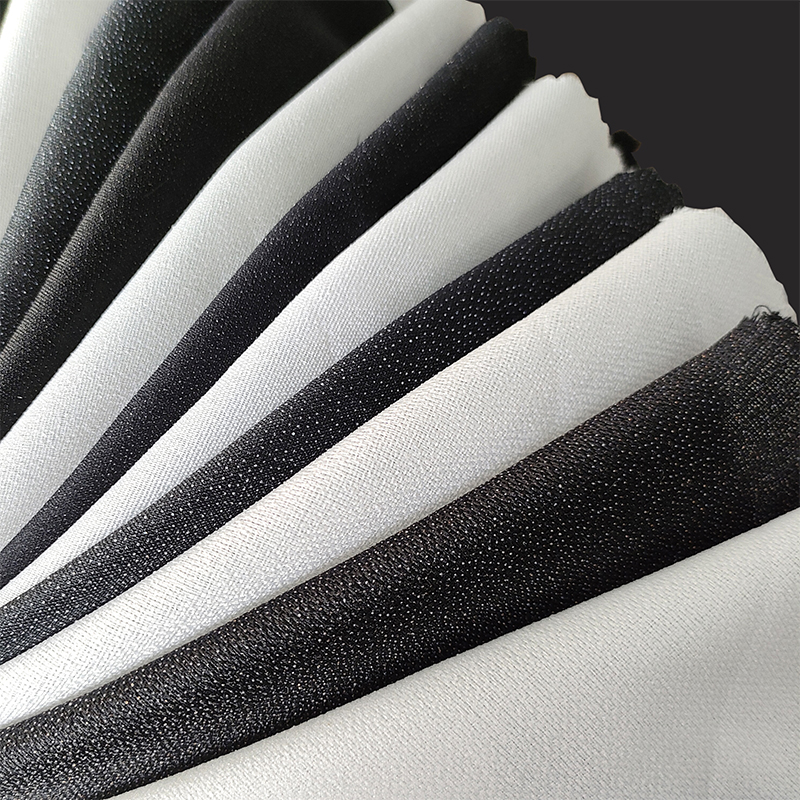 Woven Plain and Twill Interlining for Reliable ShapingWoven interlining offers good abrasion resistance and dimensional stability, making it a dependable choice when matching interlining weight to shell fabric for consistent collar performance.View Product →
Technical Considerations for Collar Construction
Regardless of collar type, four technical parameters determine whether the collar will perform well on the production line and in the customer's wardrobe.
- Fusing temperature: Polyamide adhesives require between 150 and 170 °C at the glue line. Low-temperature fusibles with copolyester coatings activate at 130 to 145 °C. Exceeding the recommended temperature by more than 10 °C can melt through the interlining and strike through the shell fabric.
- Pressure and dwell: Industrial fusing presses deliver 2.5 to 5.5 bar. Thin, delicate shell fabrics demand lower pressure; heavy wools require the higher end. Dwell time ranges from 10 to 15 seconds, depending on press type.
- Shrinkage control: Quality interlinings should shrink less than 1 percent in warp and weft after 10 minutes at 160 °C. Higher shrinkage causes the collar to pucker after washing or dry cleaning. Always test interlining shrinkage against the shell fabric before bulk production.
- Collar roll line stabilization: The roll line of a lapel or shawl collar is where folding stress concentrates. Adding a tape or stay of knitted fabric along the roll line at 1 cm inside the fold prevents the folded edge from stretching during pressing and wear.
For a full overview of interlining categories and properties, you can browse our interlining product range and match each collar type to a tested specification.
Common Collar Defects and How to Prevent Them
The table below lists the five collar defects we see most frequently in garment factories, along with the usual root cause and the corrective action.
| Defect | Root Cause | Correction |
|---|---|---|
| Collar roll collapse | Interlining too soft for shell weight | Increase interlining g/m² or use a napped woven product |
| Cupped or curled collar edges | Interlining cut on straight grain instead of bias | Recut the interlining at 45 degrees for curved collar sections |
| Puckering at the lapel fold | Interlining shrinkage exceeds 1 percent | Pre-shrink interlining or switch to a low-shrink product |
| Delamination after dry cleaning | Fusing temperature below the adhesive melting range | Verify press temperature at the glue line; raise by 5 to 10 °C |
| Notch gaping | Unequal stiffness between collar and lapel sections | Use matching interlining weights on both sides of the notch |
Each of these defects is preventable with a structured interlining selection process. Testing five samples before bulk production is faster and cheaper than reworking five hundred collars after cutting.
Frequently Asked Questions
Q1: Do all coat collars need interlining?
Not all, but most do. A collar that is left completely unlined risks bending unpredictably at the fold line, drooping at the points, and wrinkling after only a few wears. The exceptions are collars made from self-supporting fabrics such as heavy wool melton, some technical knit shells, and certain structured synthetics that are stiff enough on their own. Even in these cases, a lightweight interlining of 20 to 40 g/m² is often added to the under-collar piece to stabilize the seam and prevent the fabric from stretching during sewing.
Q2: What is the difference between fusible and sew-in interlining for collars?
Fusible interlining has a thermoplastic adhesive coating applied to one side. Heat and pressure bond it directly to the shell fabric, creating a single inseparable layer. Sew-in interlining, also called woven fusible or hair canvas, is stitched into the garment rather than glued. Sew-in construction is traditional in high-end tailoring because it allows the lapel to flex more naturally, but it is more labor-intensive and expensive. For most order quantities above 5000 units, fusible interlining is the standard because of its consistency and speed of application.
Q3: Which interlining is best for a wool coat collar?
For a typical wool coating fabric in the 300 to 450 g/m² range, a woven interlining of 55 to 85 g/m² with a polyamide dot coating is the most reliable. If the collar is a shawl style, use a napped woven interlining cut on the bias. If the wool is a heavy melton above 450 g/m², move up to a canvas or hair interlining in the 90 to 120 g/m² range to prevent the lapel from collapsing under the fabric weight.
Q4: Can the same interlining be used for every collar type?
Technically, yes, one interlining will work across all collar styles. But the collar will not look right on at least some of them. A single interlining weight cannot deliver both the crisp lapel of a peak collar and the soft roll of a shawl collar. For a small production run with one shell fabric, we recommend preparing 30 cm wide sample strips of two or three interlining weights and pressing them into trial collars. The visual difference between 45 g/m² and 70 g/m² on the same wool shell is immediately visible.
Q5: How do I prevent collar curl after production?
Collar curl, where the outer edges fold upward or downward, is caused by a mismatch between the shell and interlining bending stiffness. A classic cause is fusing a full-coverage adhesive that stiffens the interlining more than the shell in one direction, creating a differential bending moment. Solutions include switching to a discontinuous adhesive dot pattern, cutting the interlining on the bias, or adding a narrow fusible tape along the outer edge to equalize tension. Testing across three fusing temperatures and two interlining weights normally solves the issue within a day.