 English
 Español
 Türk
Content
- 1 Where Beaded and Sequined Panels Actually Go Wrong
- 2 Reading Embellishment Load to Choose Stabilizer Weight
- 3 Topping: The Thin Layer That Keeps Sequins Flat
- 4 Cut-Away or Tear-Away: What a Bead Load Does to Backing
- 5 Needle, Thread and Machine Settings for Beaded and Sequined Work
- 6 The Garment Panel Behind the Embroidery
- 7 Backing Choices That Cut Waste Without Losing Stability
- 8 Defect, Cause and Fix at a Glance
- 9 Frequently Asked Questions About Beads and Sequins Embroidery
- 9.1 What stabilizer should I use for beads and sequins embroidery?
- 9.2 Is tear-away ever acceptable under sequins?
- 9.3 Do I really need water-soluble film on top of sequins?
- 9.4 How do I stop sequins from breaking needles?
- 9.5 Can beaded and sequined panels be machine washed?
- 9.6 What if the beading sits on a stretch knit?
- 9.7 How much backing should be left after trimming?
Beads and sequins embroidery is rarely lost at the needle. It is lost underneath the fabric. A sequin tilts because the backing below it flexes; a bead hole saws through thread because the panel shifts a fraction of a millimetre with every stitch; a bodice that looked crisp on the sample table comes back from a wash test cupped and wavy because nothing was holding the grain of the cloth. The most reliable upgrade to beaded and sequined work is a three-layer setup: a firm cut-away backing for stability, a water-soluble topping that lets the foot glide across the discs, and a fusible interlining inside the garment panel when the base cloth is light, sheer or stretchy.
Most of the defects that reach a sampling room, a wash test or a customer claim trace back to a mismatch between the weight of the embellishment and the weight of the backing. The rest come from needle choice, stitch density and trimming discipline.
Everything below explains how to match those layers to bead size, sequin diameter, stitch count and fabric weight, plus the machine settings and inspection points that keep a bulk order inside tolerance.
Where Beaded and Sequined Panels Actually Go Wrong
Six defect patterns repeat across almost every beaded or sequined program, and each one points back to a specific layer under the needle.
- Sequin tilt. Sequins are stamped discs with a hole that is not perfectly centred, so they rock. Without a topping film holding the thread line down, the presser foot rides over each disc and lifts its leading edge. On larger sequins the tilt builds across a run until the whole panel catches light unevenly.
- Puckering between bead clusters. Beads sit on top of the cloth and add bulk, so the backing below has to absorb the pull of the stitch field. A backing that is too soft lets the fabric gather between clusters.
- Thread abrasion at bead holes. Glass, acrylic and metal beads all have edges. When a thread passes through the same bead a dozen times per motif, it is being filed down with every stroke.
- Backing shadow at design edges. Cut-away that is trimmed too wide, or in the wrong tone, reads as a halo through light fabric. Too narrow and the edge curls into a ridge after pressing.
- Cupping after washing. Bead weight, dense stitching and a shrinking backing pull a panel out of shape the first time it meets water.
- Needle deflection and breakage. A needle that glances off a bead deflects sideways, enlarges the hole and then cuts the thread on the next stitch.
It also helps to think about scale. One 4 mm sequin weighs almost nothing, but a fully covered panel contains hundreds of discs, plus the thread that holds them, plus the backing and topping layers. A design that runs perfectly as a small chest motif can cup badly when the same artwork is scaled up to a full skirt panel, because the load grows faster than the visual coverage suggests.
Reading Embellishment Load to Choose Stabilizer Weight
Pick the backing by total load and removal method, not by habit. The table below is the working starting point we use when a design first arrives in the sampling room, before any stitch file is tested.
| Embellishment load | Backing and topping | Typical weight | Removal |
|---|---|---|---|
| Light scatter, 2 to 3 mm sequins, small motifs | Tear-away polyester | 40 to 60 gsm | Tear by hand |
| Medium beading, 3 to 4 mm sequins, front panels | One-side cut-away polyester | 60 to 80 gsm | Trim |
| Heavy coverage, 5 to 6 mm discs, full panels | Two-side cut-away polyester plus 30 micron topping film | 80 to 100 gsm | Trim both sides |
| Sheer bases: tulle, organza, mesh, chiffon | Water-soluble film plus water-soluble nonwoven | 25 to 40 micron film, 40 to 60 gsm nonwoven | Dissolve in water |
| Stretch knits and jerseys | Fusible knit interlining plus cut-away | 40 to 60 gsm | Trim |
The logic behind the table is simple: as bead diameter, sequin diameter or stitch count rises, the backing must get firmer and the removal method must become more permanent. Any order that mixes light scatter and heavy coverage on the same garment should be split into two backing specifications rather than averaged into one.
Topping: The Thin Layer That Keeps Sequins Flat
A 25 to 35 micron water-soluble film laid on top of the sequins does three jobs at once. It gives the presser foot a continuous surface instead of a field of tilted discs, it stops the embroidery thread from sinking into the gaps between beads, and it holds every sequin flat until the run is finished and the panel is off the machine.
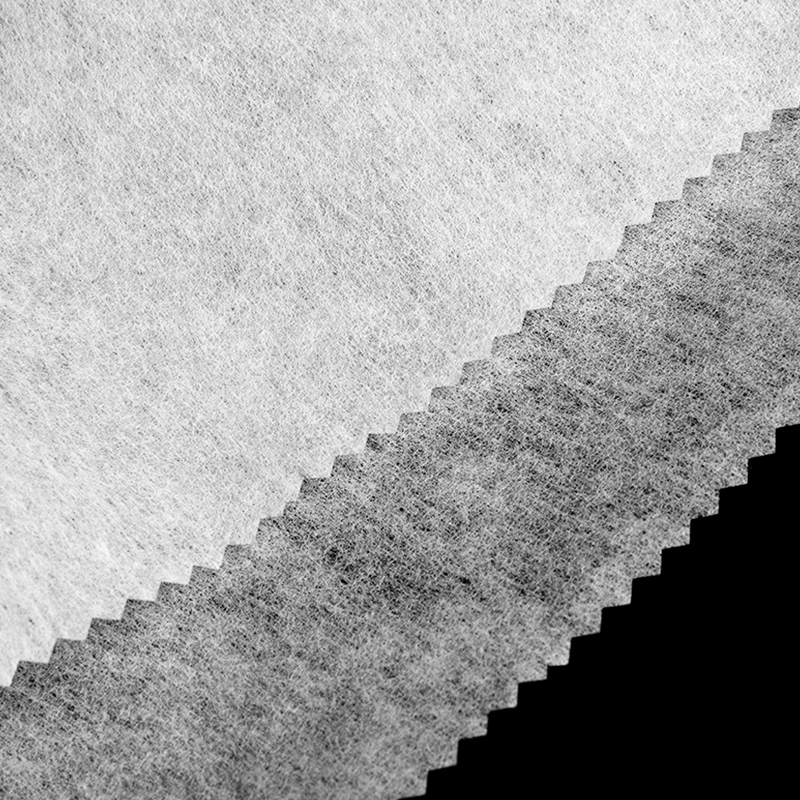
Cold-water grades are the practical default. A 30 micron film breaks down within seconds in a soak at normal hand-wash temperature under light agitation, so a few minutes of soaking is more than enough to clear it. Hot-water grades are used when the panel needs a warmer rinse, when the film has to survive longer handling on the production floor, or when a more substantial water-soluble layer is needed to carry the weight of dense beading. In those heavier cases, a hot-water-soluble nonwoven fabric gives more body than film alone while still rinsing away completely.
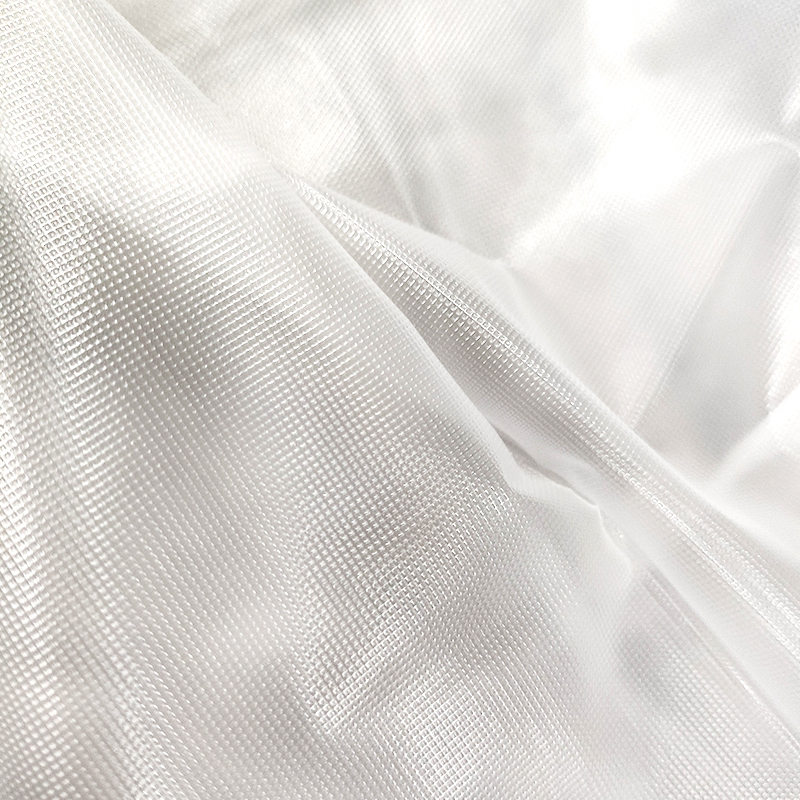 Cold Water Soluble FilmIt can be dissolved by water at room temperature, which can make the embroidery feel soft, but it is easy to be damp, and it can be used for small area embroidery.View Product →
Two handling rules matter on the floor. First, apply the film as a single smooth layer with no folds; a crease in the film becomes a visible line of distorted sequins. Second, keep topping and backing separate at the cutting table so nobody stacks a water-soluble layer where a permanent one was intended. On a sheer base, that mistake turns into a visible rectangle inside the design after the first rinse.
Cut-Away or Tear-Away: What a Bead Load Does to Backing
Tear-away looks attractive on paper. It is lighter, quicker to remove and needs no trimming blades. Under a bead load it fails for one reason: tear-away depends on the fibre structure staying intact around the stitch field, and the constant flexing of sequins in wear, plus the pull of bead rows, opens those perforations over time.
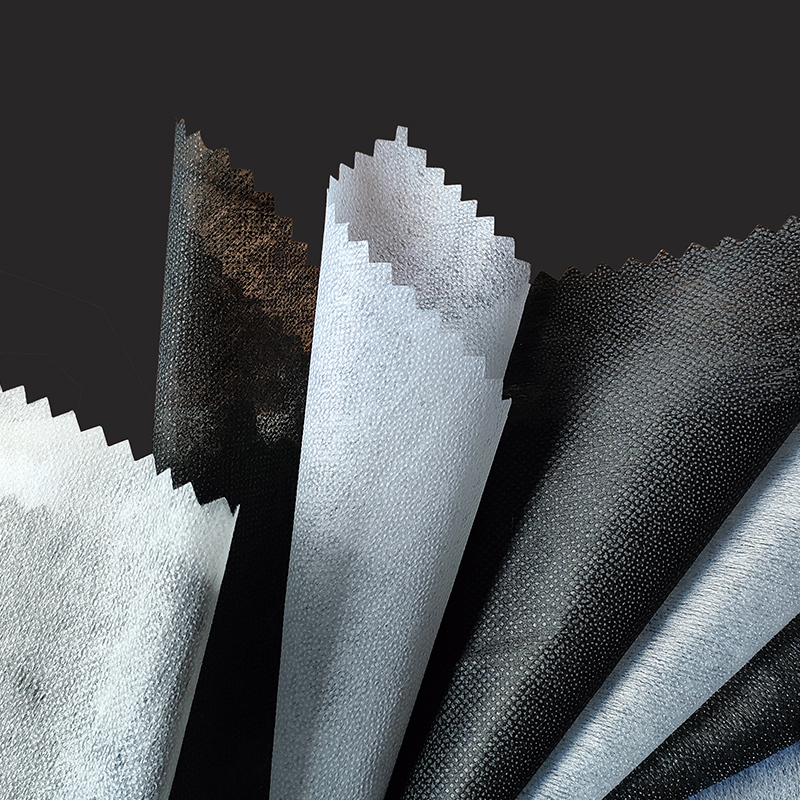
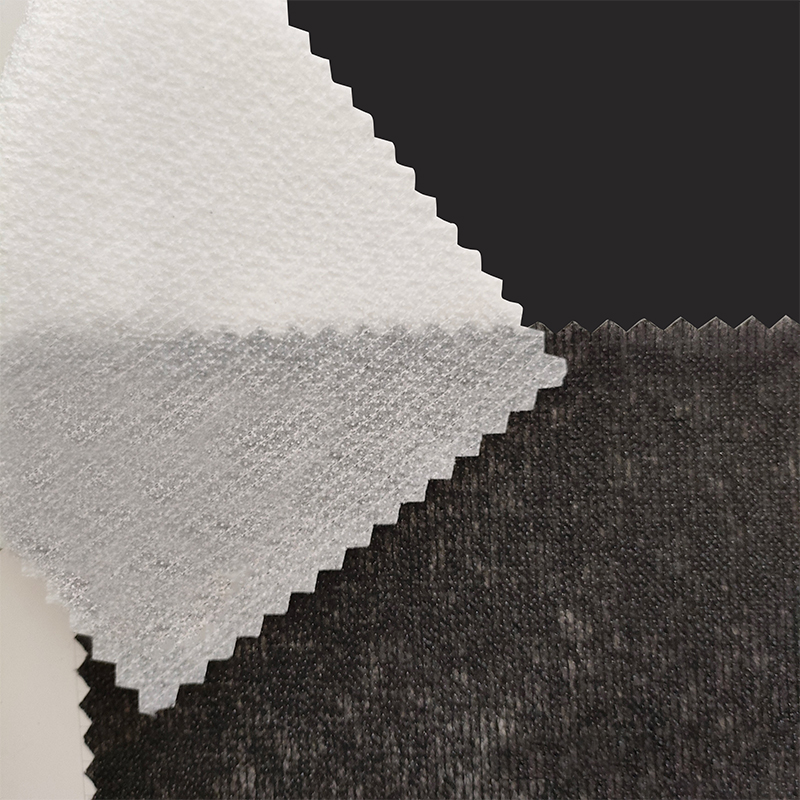
Cut-away keeps a permanent frame of nonwoven around the design, which is exactly what a beaded panel needs. One-side cut-away leaves a softer face for skin contact and is a sensible choice on a bodice where the backing sits against the body. Two-side cut-away is firmer and holds its shape better; for panels where the ornamentation covers most of the surface, a two-side cut-away in the 80 to 100 gsm range is the standard selection.
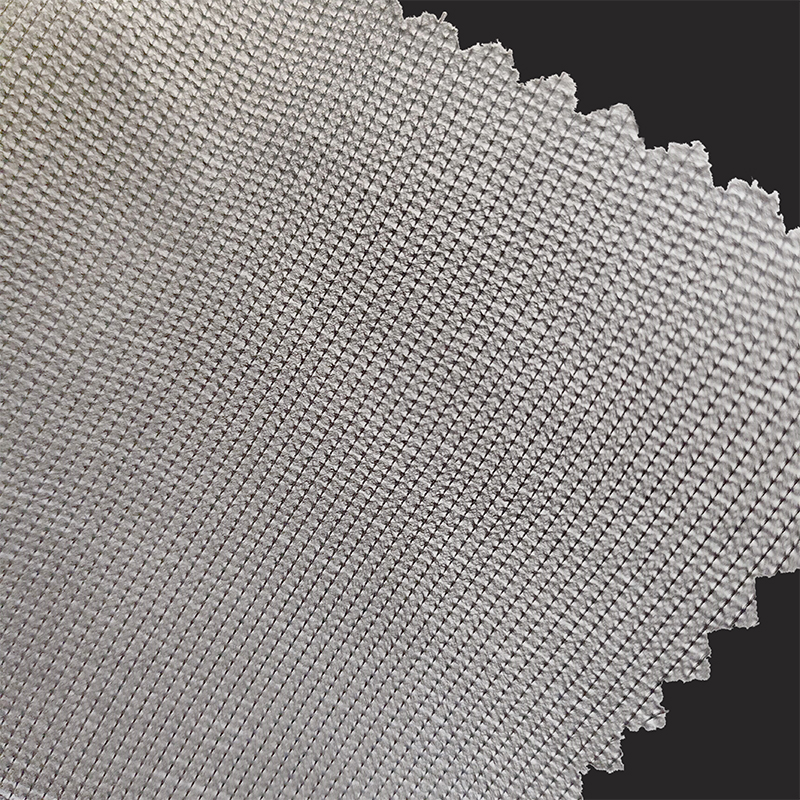
 Two-Side Cut Away Polyester Embroidery BackingThermobond Nonwoven Interlining View MoreView Product →
Trimming discipline decides how the finished panel reads. Leave 3 to 5 mm of backing beyond the outermost bead or sequin, then trim in one pass with sharp curved blades rather than nibbling at the edge. Wider margins show as a shadow through light cloth; narrower margins curl and create a ridge that a steam press will only make more obvious.
Needle, Thread and Machine Settings for Beaded and Sequined Work
Once the layers are right, settings decide whether the run is smooth or a stop-start exercise in rethreading. These are the values that hold up in production on a multi-head machine.
- Needle. A 75/11 sharp point suits fine bead work, an 80/12 sharp point covers mixed sequin and bead designs, and a 90/14 is reserved for metal beads or stacked sequins. Replace needles on a fixed cycle rather than waiting for a break, because a needle with a hooked point cuts thread even when it does not snap.
- Thread. A 40 weight trilobal polyester covers most bead and sequin attachment; step up to 30 weight when beads are larger than 5 mm. Cotton-wrapped threads fray quickly against glass and metal bead edges.
- Underlay. A centre run plus an edge run before the visible stitching is usually enough. Skip the standard zigzag fill under dense bead clusters, because it perforates the backing twice in the same place and weakens the frame.
- Density. Around 0.4 to 0.5 mm stitch spacing works for sequin attachment lines, opened to 0.5 to 0.6 mm over bead clusters. Compared with a plain satin fill, expect to open density by roughly 10 to 15 percent.
- Speed. Dropping to 500 or 650 stitches per minute over bead lines is the cheapest quality improvement available. Plain areas can run faster, so split the file rather than slowing the whole colour sequence.
- Tension. Keep top tension at the lower end of the working range and accept a slightly visible bobbin thread on the back. A tight top thread pulls sequins into the cloth and is the fastest way to create puckering.
Run a 20 cm test panel at the start of every colour change on a new order, and inspect it under raking light. Tilt and puckering are far easier to see at an angle than from directly above.
The Garment Panel Behind the Embroidery
Backing stabilises the stitch field, but it does not control the cloth the stitch field sits on. On a beaded bodice the base fabric and the ornamentation pull in opposite directions: the embroidery contracts, the bead weight drags downward, and on a light woven cloth the front panel can grow noticeably across its width by the time the run ends.
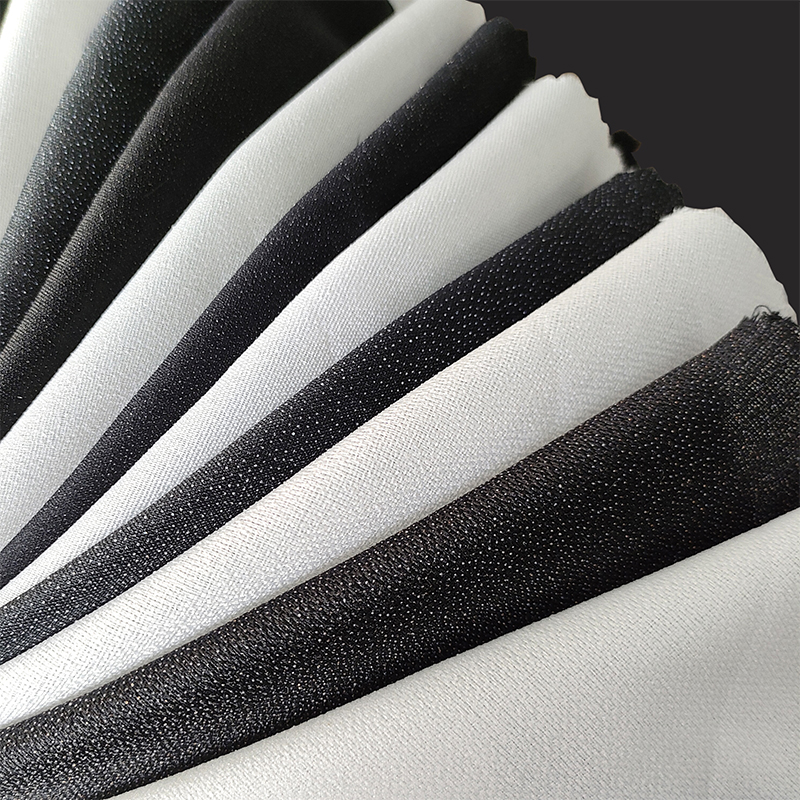
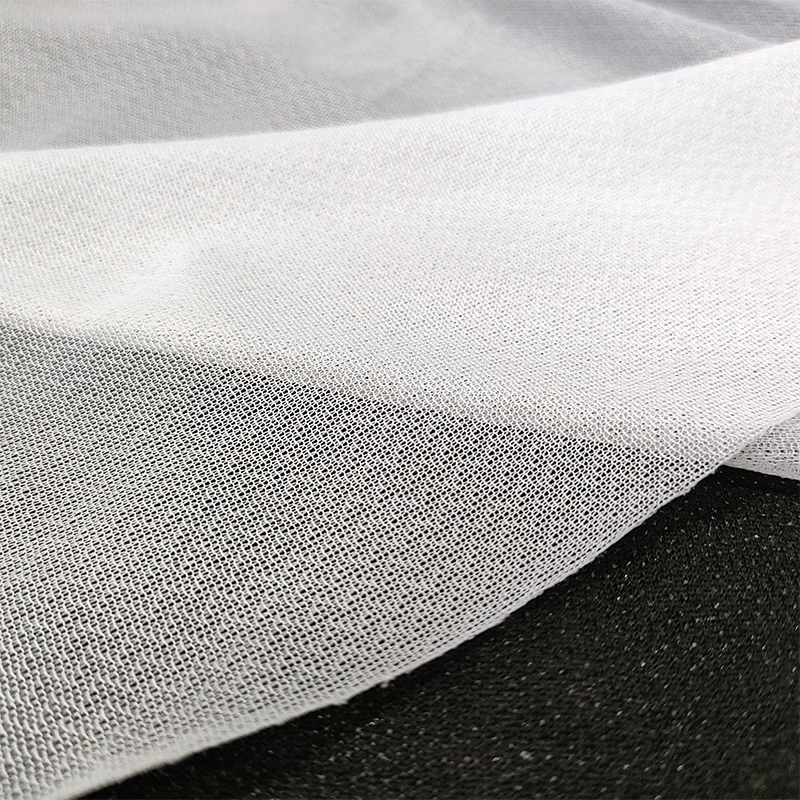
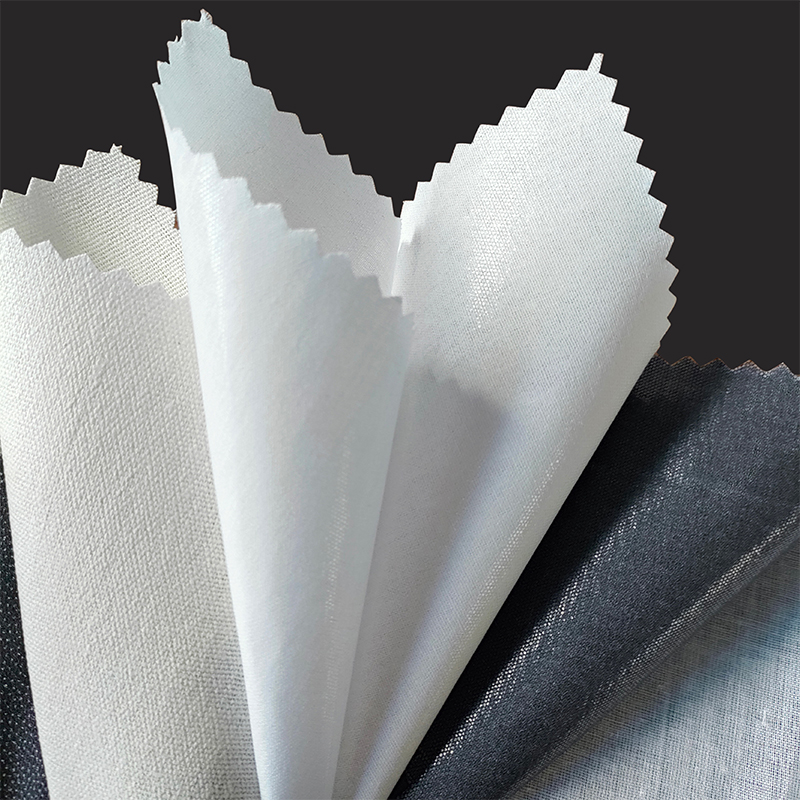
Fusing a woven interlining into the panel before embroidery gives the cloth a stable grain and spreads the bead load over a wider area. The choice follows the same logic as backing: a firm woven or canvas interlining for structured bodices and jacket fronts, a knit interlining for jerseys and stretch fabrics where the panel must still move with the body, and a light shirt-grade interlining for collars and cuffs that receive small bead trims.
Fuse before the frame goes on the machine, not after. Interlining applied to an already embroidered panel distorts the sequin lines and cannot be repositioned without leaving a mark.
Backing Choices That Cut Waste Without Losing Stability
Two habits trim waste without touching design quality. The first is choosing the removal method panel by panel instead of order by order, so a small chest motif is not cut from a heavy backing that will be trimmed away and thrown out. The second is specifying a backing material that matches what the end product claims.
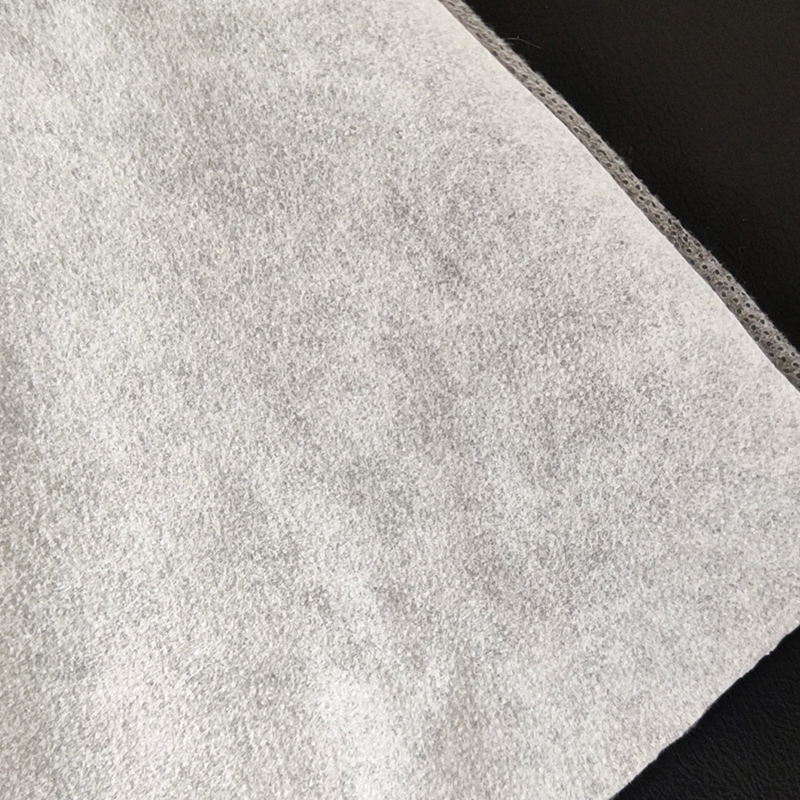
Where the backing stays inside the garment, a recycled cotton embroidery backing is a practical swap. It behaves much like a conventional cotton backing at the needle, resists the pull of bead rows, and gives a fibre story that is easy to declare when a buyer asks what is inside the finished piece.
 Recycled Cotton Embroidery BackingRecycled cotton embroidery backing is a highly practical and environmentally friendly material. It is easy to use, just tear off the excess after embroidery, featuring...View Product →
On sheer garments, water-soluble options remove the trimming step entirely, which reduces both labour and the risk of a blade nicking a sequin line. That saving usually covers the higher material cost once a panel carries more than a handful of dense clusters.
Defect, Cause and Fix at a Glance
When a beaded panel fails inspection, the correction is usually one of five actions. Work down the list in order, because changing two variables at once makes the result impossible to read.
| Defect | Usual cause | Correction |
|---|---|---|
| Puckering around bead clusters | Backing too soft, density too tight | Step backing up one weight, open spacing to 0.5 to 0.6 mm |
| Sequins tilt after washing | No topping, weak underlay | Add 25 to 35 micron water-soluble film, add a centre run |
| Thread breaking at bead holes | Hooked needle, tight top tension | Change needle on schedule, reduce top tension |
| Backing halo at design edge | Margin too wide or wrong tone | Trim to 3 to 5 mm, match backing tone to the cloth |
| Wavy panel after wear | No interlining, beads crowding the seam | Fuse a light knit or woven interlining before embroidery |
Keep one approved test panel per order on file with the stitch file number, backing lot and needle size written on the reverse. When a claim arrives months later, that panel answers most questions before any rework starts.
Frequently Asked Questions About Beads and Sequins Embroidery
What stabilizer should I use for beads and sequins embroidery?
Start with a cut-away polyester backing in the 60 to 80 gsm range for medium bead and sequin loads, and step up to a two-side cut-away at 80 to 100 gsm when coverage is heavy or sequins are larger than 5 mm. Add a 25 to 35 micron water-soluble film on top. On sheer fabric, replace both with water-soluble film and water-soluble nonwoven so nothing remains visible.
Is tear-away ever acceptable under sequins?
Yes, but only under a light load: scattered 2 to 3 mm sequins in a small motif where the panel will not be washed aggressively. Once bead rows run across a large area, the perforations left by tear-away open up and the panel starts to cup, so cut-away becomes the safer specification.
Do I really need water-soluble film on top of sequins?
On anything larger than about 3 mm, yes. The film stops sequins from tilting under the presser foot and stops the thread from sinking between beads, which is what causes uneven shine and pulled stitch lines. It rinses away in seconds under normal hand-wash conditions, so there is no residue to explain to a customer.
How do I stop sequins from breaking needles?
Use a sharp point needle in 80/12 for mixed work, reduce machine speed to 500 to 650 stitches per minute over bead lines, and replace needles on a fixed interval rather than after a breakage. Running the presser foot over a flat topping film also reduces the glancing contact that pushes a needle sideways into a sequin edge.
Can beaded and sequined panels be machine washed?
They survive best when the backing is a permanent cut-away and the thread is a 40 weight polyester, which handles repeated tumbling better than cotton-wrapped thread. Turn the garment inside out, use a mesh bag and a low spin speed. Sequins will dull with abrasion regardless of the backing, so treat heavy coverage as a delicate wash item.
What if the beading sits on a stretch knit?
Fuse a light knit interlining into the panel before framing, then use a cut-away backing behind. The interlining controls how much the knit stretches during stitching, so the embroidery and the cloth recover at the same rate instead of one pulling the other out of shape.
How much backing should be left after trimming?
Three to five millimetres beyond the outermost bead or sequin is the working range. Less than that and the edge curls; more and the backing shows as a halo through light fabric, especially in photographs.
Beads and sequins embroidery rewards planning more than it rewards speed. Decide the backing by load, top the sequins with a water-soluble film, stabilise the garment panel before framing, and set the machine for the slow, gentle run that bead work actually needs. Those four decisions account for most of the difference between a panel that photographs well and a panel that survives a wash test.
Build the specification once, document it with a reference panel, and reuse it on every repeat order. That file, not the machine, is what keeps quality stable across seasons.